J
Jono
Guest
OK, I realise most of you guys have probably already fitted an IK of some sort and your technical abilities almost certainly exceed mine by some way, but I thought this small offering may be useful to any future newbies who need some technical guidence! Usual disclaimer applies, this is just how I did it - if you choose to follow the guide you do so at your own risk! :nod:
Tools required: 10mm Spanner & Socket. I used a ratchet-spanner thing which made life easy.
For the purpose of orientation, I've taken most pics from this angle:
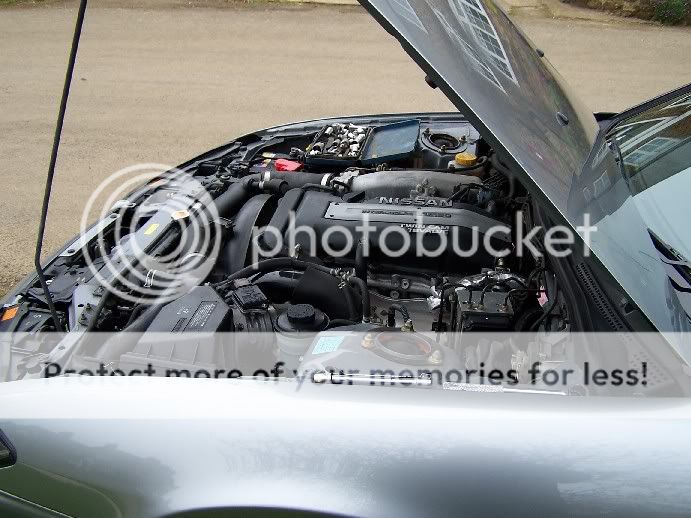
Step 1: Remove original filter assembly
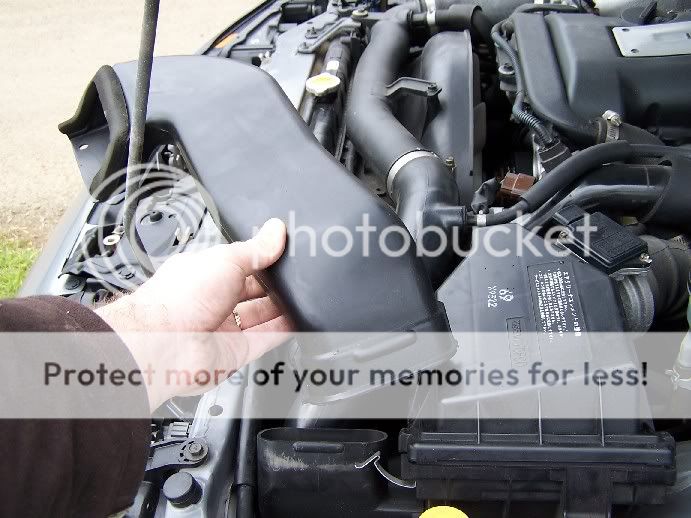
This is very simple. Start by removing the induction channel from the airbox. This is clipped on at the front of the engine bay and simpy slots into the airbox at the other end. The clips are easily removed with the flat tip of a small screwdriver. Keep the induction pipe safe somewhere, you may or may not wish to use it again later.
Next, remove all bolts holding the airbox in place. There are just 7 in total! The order in which you remove these is up to you. I started with the 4 bolts that join the airbox to the inlet:

Be careful to keep the bracket on the top corner that holds a small wiring loom in place. You'll eventually re-attach this. Unclip the wiring loom too to make life easier:

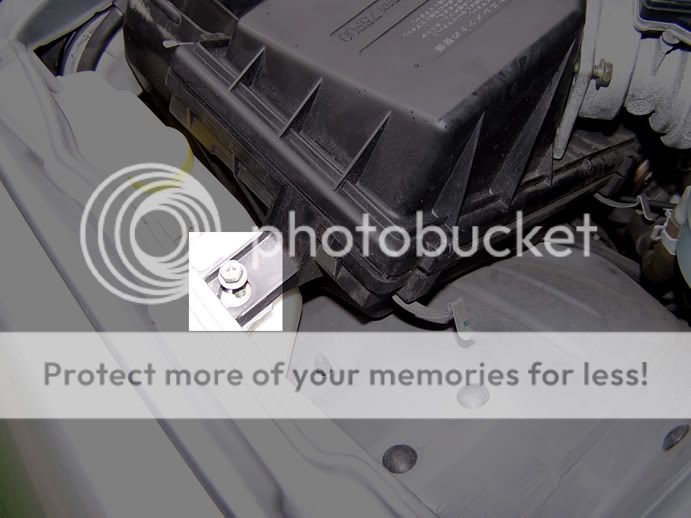
Next I removed the bolt shown in this image:
Unclip all 4 spring clips around the sides of the airbox and the top should come away easily. You'll see your paper filter inside:
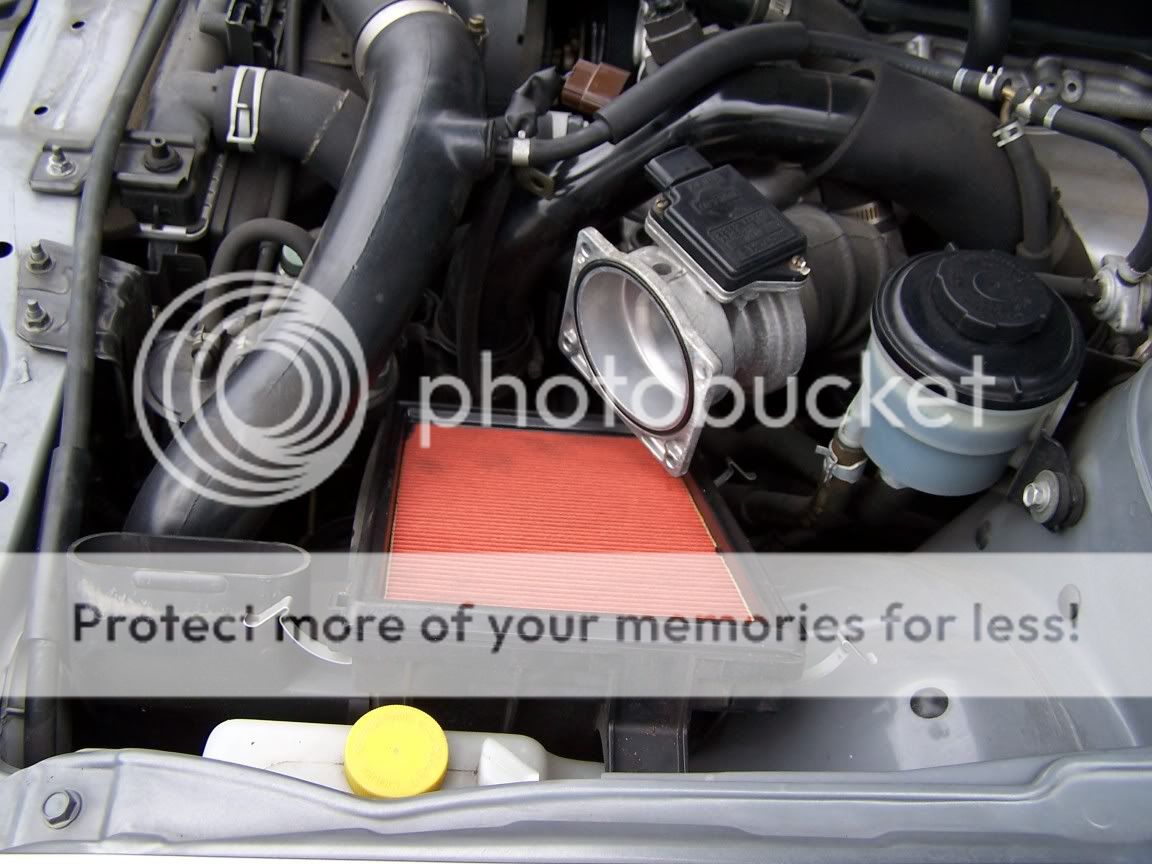
Lift the paper filter out and you'll see two nuts/bolts holding the airbox in place:
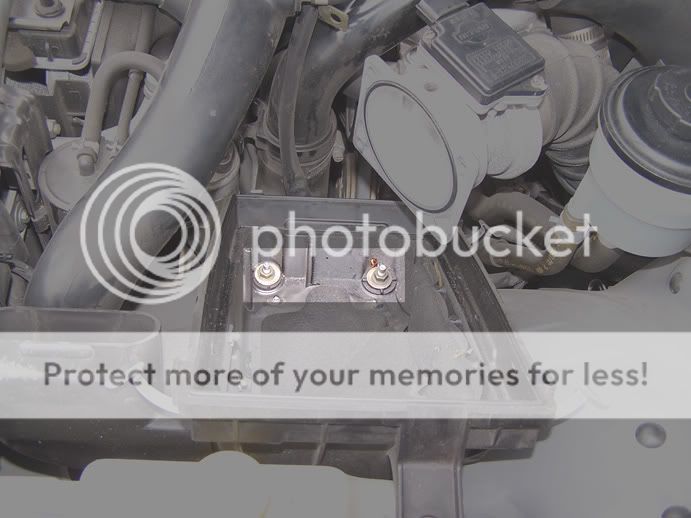
Using the 10mm socket, remove the nuts highlighted above. Keep the nuts as you can use one later.
The airbox is removed! There's just one more small job to do:

Highlighted above is a bolt holding a fluid-bottle in place. Remove this bolt from the bodywork and discard it. You'll see why later!
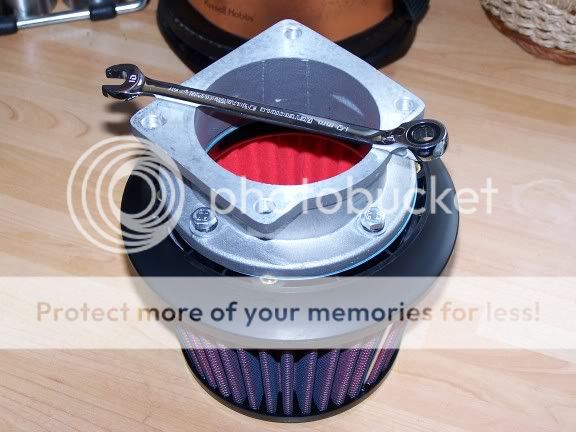
Step 2: Fit adapter to Apexi intake.
Sounds simple and IS simple, but I didn't do it in this order and wish now I had! Do this before you move on to fit the kit. You'll notice with your kit comes some comprehensive japanese instructions. These won't help you much! But here's what I did. The blue ring (gasket?) you receive with the kit fits between the adapter and the red intake. Line up the holes in the ring with the inner-most threads on the intake. Then marry up the adapter with the same holes. Bolt it all together using the shorter of the bolts supplied, spring washers and flat washers (in that order, I think). Tighten everything good and firm, you won't want any 'leaks' in the joint.
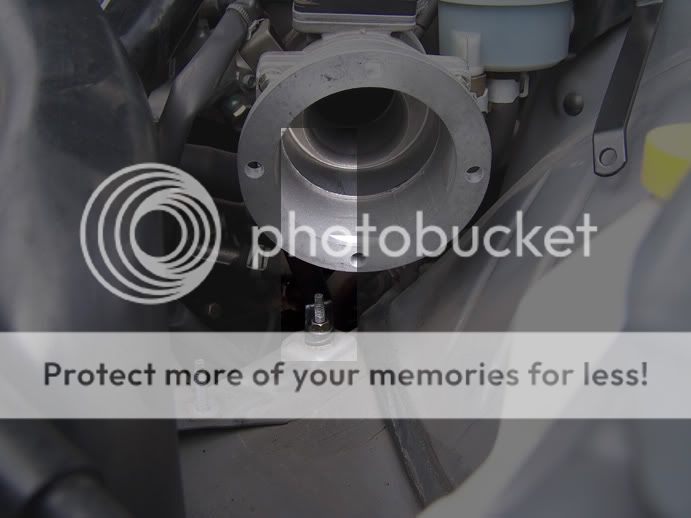
Step 3: Fit Intake/Adapter to Inlet and secure in place.
There are two brackets supplied with your kit to secure the intake in place. It took me a while to establish which went where so I'll save you the mensa puzzle and show you. The shortest 'L' shaped bracket bolts on to one of the original fittings from the old airbox. As you look at the car sideways on, it's the right hand fitting. Shown (sort of) here:
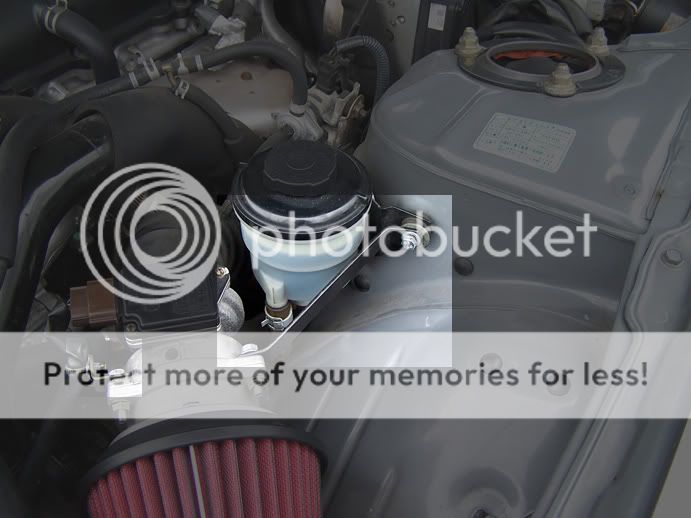
The longer bracket fits to where you took out the bolt holding a fluid-bottle in place. Use a long bolt supplied in your kit, with washers and bolt the bracket in place at the same time as re-securing the fluid bottle:
Finally, bolt the adapter/intake to the inlet. This is fairly simple as the nuts supplied in your kit 'bite' against the metal making it easy to get the bolts in. Remember though, on 3 of the 4 corners you must attach brackets. There's the bracket holding the assembly in place toward the bottom, the bracket holding the asemply in place at the top and the bracket that you removed holding the wiring loom in place. You should end up with the assembly looking like this once complete:
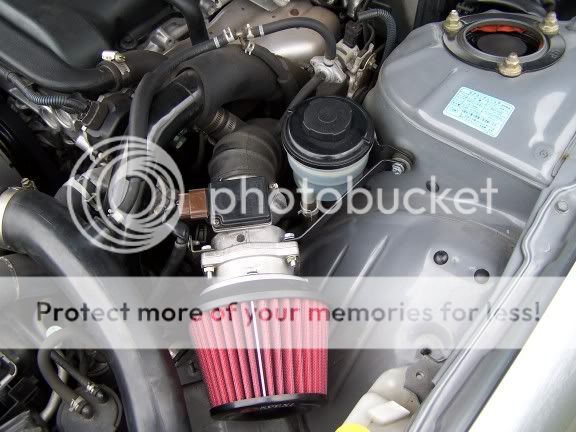
Then, if you wish, re-fit the old air-induction pipe to direct more cold air toward the filter. It's not great, but it's probably better than it not being there at all.
Hope you find this useful folks! :thumbs:
Tools required: 10mm Spanner & Socket. I used a ratchet-spanner thing which made life easy.
For the purpose of orientation, I've taken most pics from this angle:
Step 1: Remove original filter assembly
This is very simple. Start by removing the induction channel from the airbox. This is clipped on at the front of the engine bay and simpy slots into the airbox at the other end. The clips are easily removed with the flat tip of a small screwdriver. Keep the induction pipe safe somewhere, you may or may not wish to use it again later.
Next, remove all bolts holding the airbox in place. There are just 7 in total! The order in which you remove these is up to you. I started with the 4 bolts that join the airbox to the inlet:
Be careful to keep the bracket on the top corner that holds a small wiring loom in place. You'll eventually re-attach this. Unclip the wiring loom too to make life easier:
Next I removed the bolt shown in this image:
Unclip all 4 spring clips around the sides of the airbox and the top should come away easily. You'll see your paper filter inside:
Lift the paper filter out and you'll see two nuts/bolts holding the airbox in place:
Using the 10mm socket, remove the nuts highlighted above. Keep the nuts as you can use one later.
The airbox is removed! There's just one more small job to do:
Highlighted above is a bolt holding a fluid-bottle in place. Remove this bolt from the bodywork and discard it. You'll see why later!
Step 2: Fit adapter to Apexi intake.
Sounds simple and IS simple, but I didn't do it in this order and wish now I had! Do this before you move on to fit the kit. You'll notice with your kit comes some comprehensive japanese instructions. These won't help you much! But here's what I did. The blue ring (gasket?) you receive with the kit fits between the adapter and the red intake. Line up the holes in the ring with the inner-most threads on the intake. Then marry up the adapter with the same holes. Bolt it all together using the shorter of the bolts supplied, spring washers and flat washers (in that order, I think). Tighten everything good and firm, you won't want any 'leaks' in the joint.
Step 3: Fit Intake/Adapter to Inlet and secure in place.
There are two brackets supplied with your kit to secure the intake in place. It took me a while to establish which went where so I'll save you the mensa puzzle and show you. The shortest 'L' shaped bracket bolts on to one of the original fittings from the old airbox. As you look at the car sideways on, it's the right hand fitting. Shown (sort of) here:
The longer bracket fits to where you took out the bolt holding a fluid-bottle in place. Use a long bolt supplied in your kit, with washers and bolt the bracket in place at the same time as re-securing the fluid bottle:
Finally, bolt the adapter/intake to the inlet. This is fairly simple as the nuts supplied in your kit 'bite' against the metal making it easy to get the bolts in. Remember though, on 3 of the 4 corners you must attach brackets. There's the bracket holding the assembly in place toward the bottom, the bracket holding the asemply in place at the top and the bracket that you removed holding the wiring loom in place. You should end up with the assembly looking like this once complete:
Then, if you wish, re-fit the old air-induction pipe to direct more cold air toward the filter. It's not great, but it's probably better than it not being there at all.
Hope you find this useful folks! :thumbs:


