
The attention to detail on this build is fantastic, it is going to be an absolute stunner when finished. How much does a full re spray cost? And does it reduce the cost a lot if you remove all the glass and do all the sanding yourself?

Well something of the scale i undertook including glass removal undersealing chassis painting and so on we would wharge about3000 upto 3300 euro this was based on my cars condition which i dont like to admit was quite poor..lots of surface rust and even though i had a spankey new kit it was a horror to work withThe attention to detail on this build is fantastic, it is going to be an absolute stunner when finished. How much does a full re spray cost? And does it reduce the cost a lot if you remove all the glass and do all the sanding yourself?
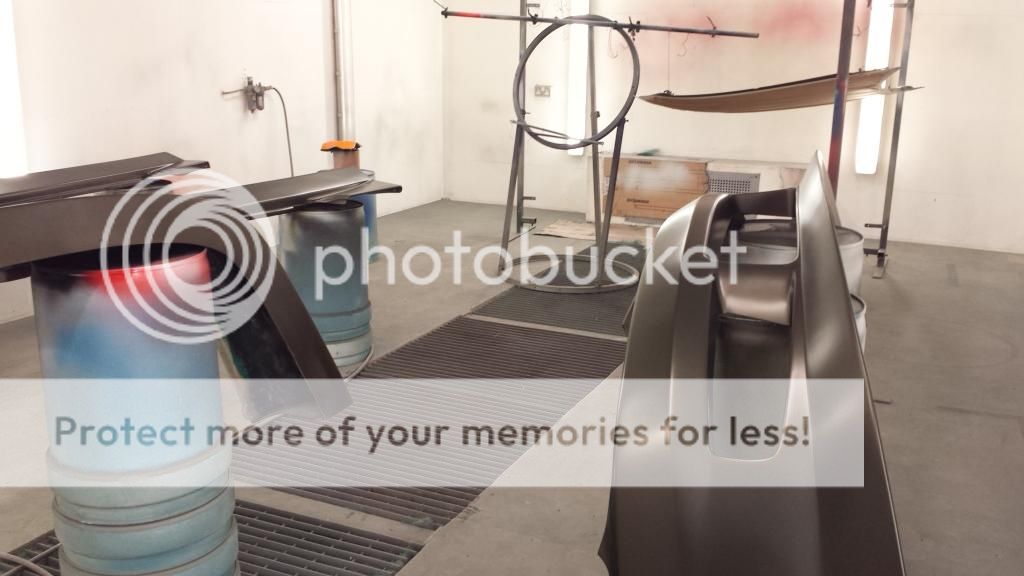
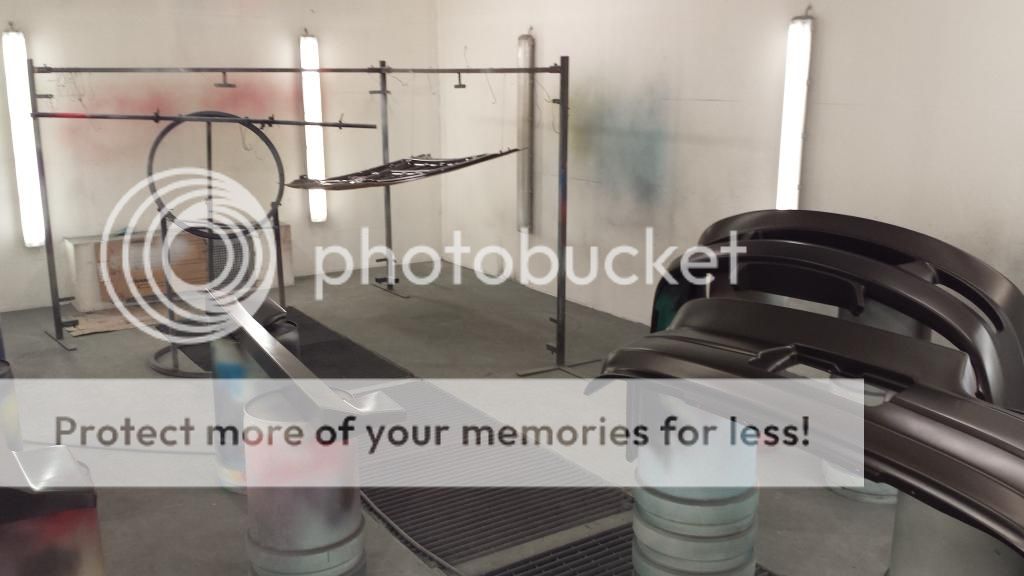
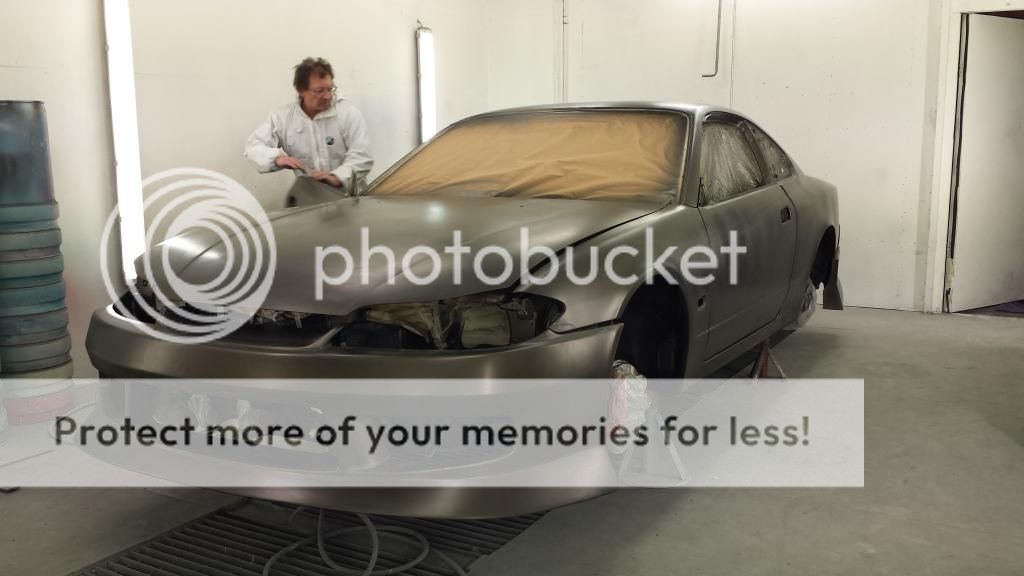
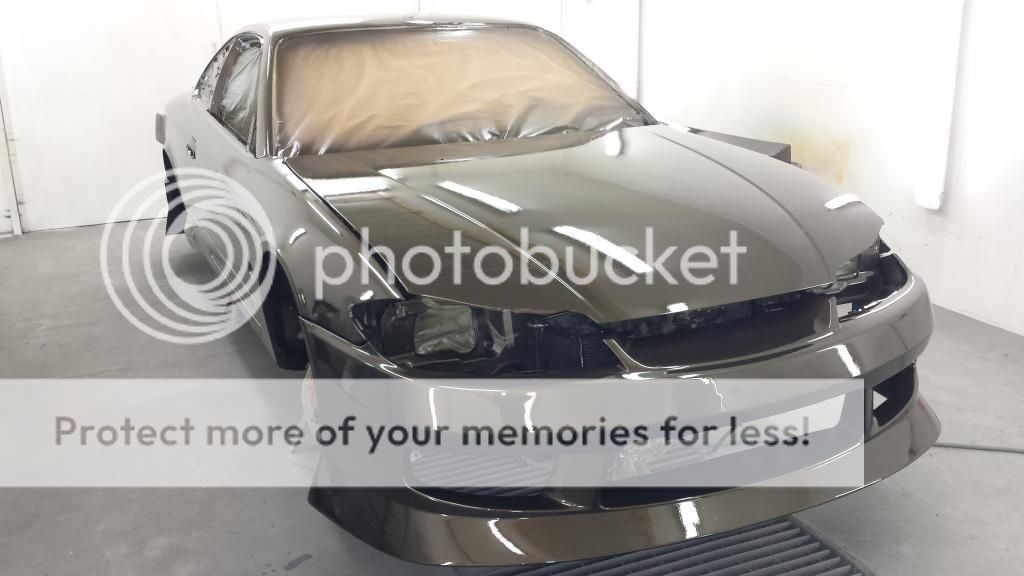
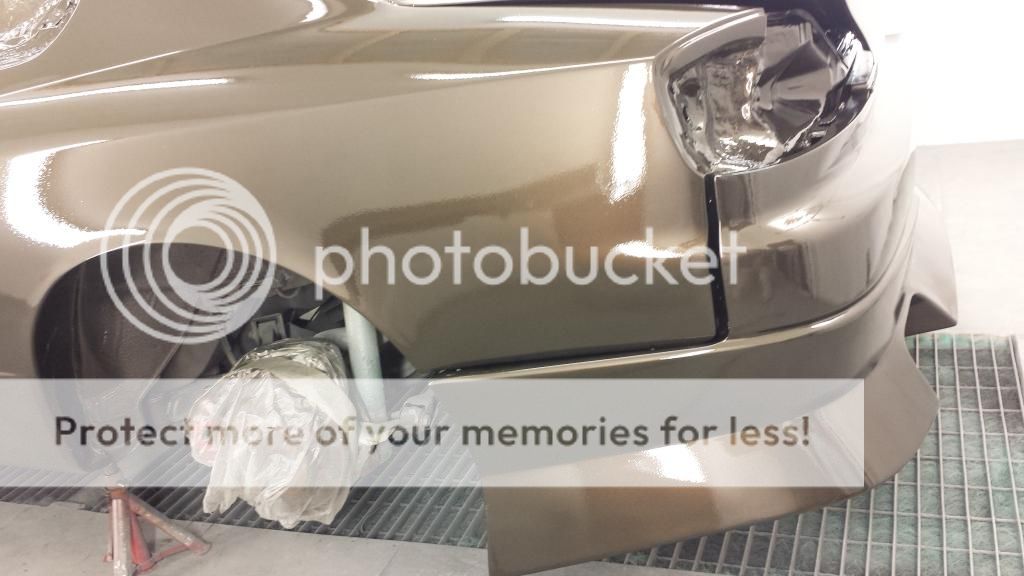
Once the car was in the booth it was masked off using film and brown paper where required as pictures above i separated the mirrors,petrol cap and other small bits to make sure the paint went everywhere it was supposed to.
After the masking the car was given a quick once over with a scuff pad and a compressed air gun to blow away all dust and to ensure the surface was of a matte feel for proper paint sticking
Next step was some coating of degreaser to make sure 100% that the surface was spotless
Once degreased the paint system I used needed 2-3 basecoats so for peace of mind we gave it 2 heavy coats and a 3rd light coat
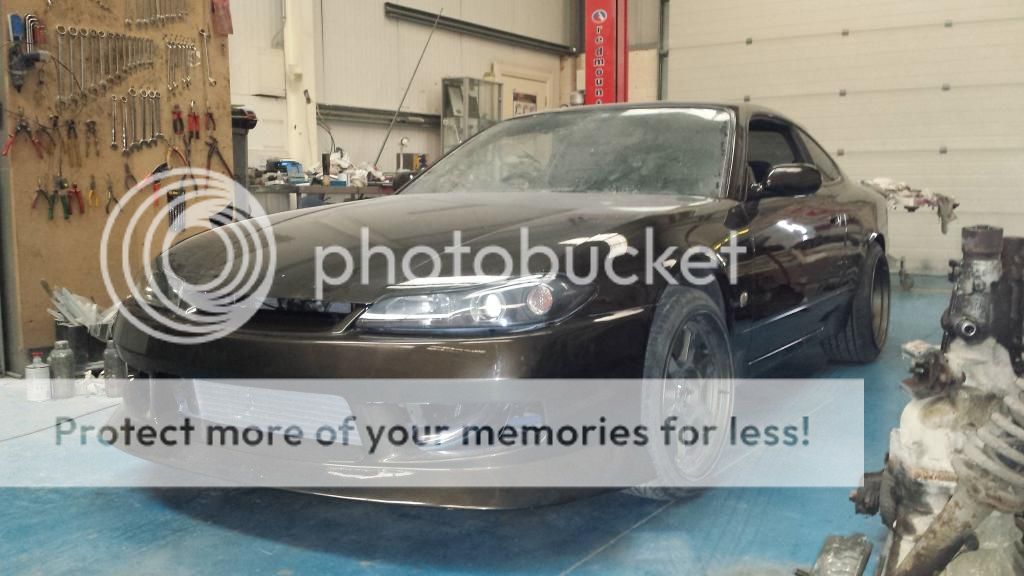
The basecoat used was a Citroen brown from the new ds4 and the final coat to be applied is slightly more bronze its a mixture of Nissan Bmw and Citroen paints as I wanted a certain depth of colour took some fidling but we got there...


After the masking the car was given a quick once over with a scuff pad and a compressed air gun to blow away all dust and to ensure the surface was of a matte feel for proper paint sticking
Next step was some coating of degreaser to make sure 100% that the surface was spotless
Once degreased the paint system I used needed 2-3 basecoats so for peace of mind we gave it 2 heavy coats and a 3rd light coat
The basecoat used was a Citroen brown from the new ds4 and the final coat to be applied is slightly more bronze its a mixture of Nissan Bmw and Citroen paints as I wanted a certain depth of colour took some fidling but we got there...


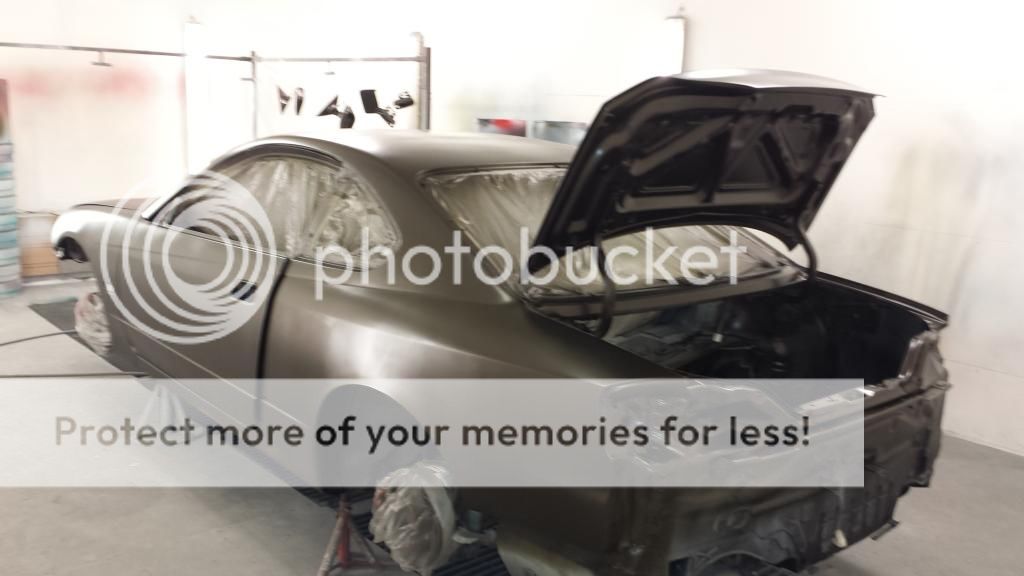
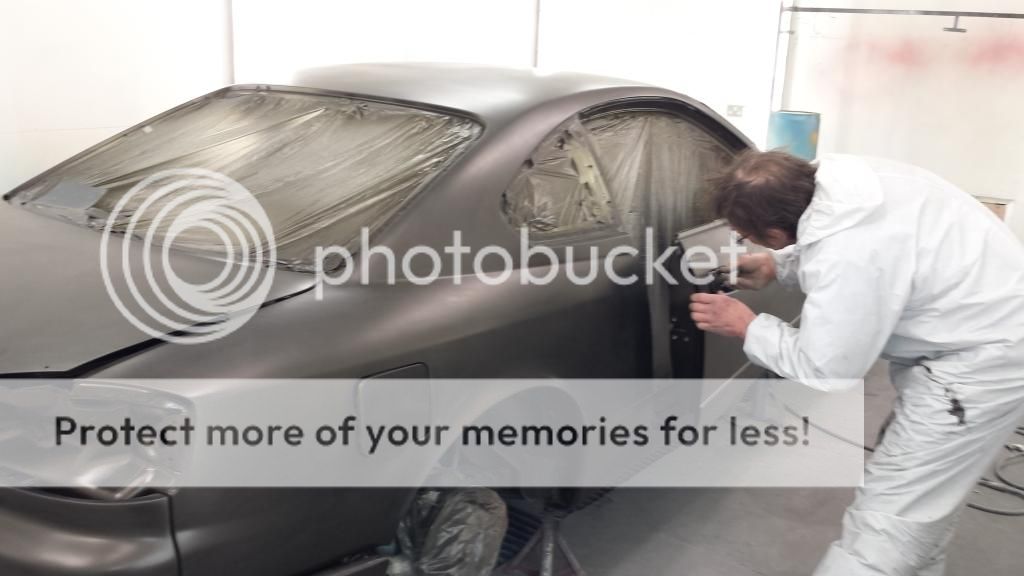
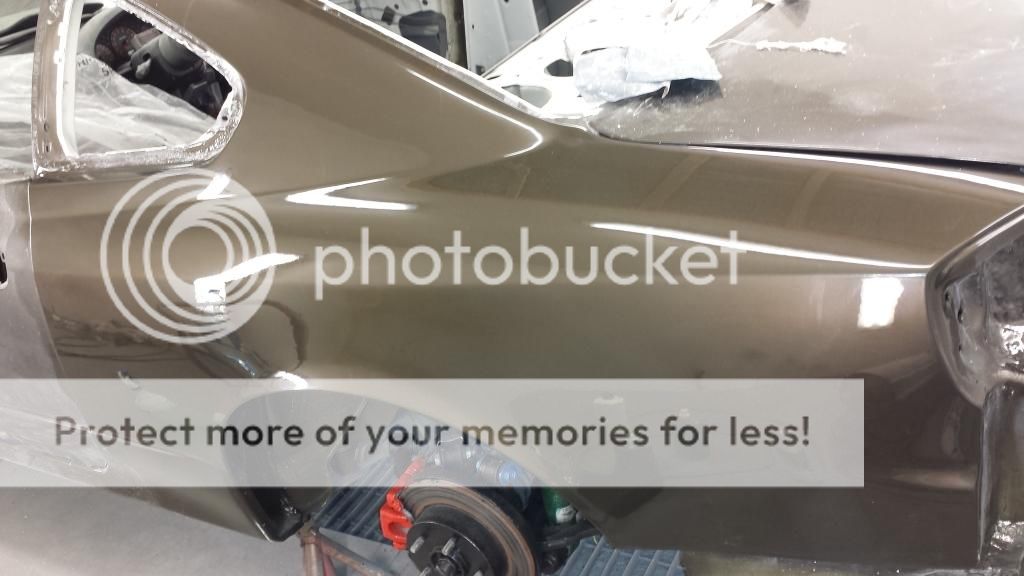
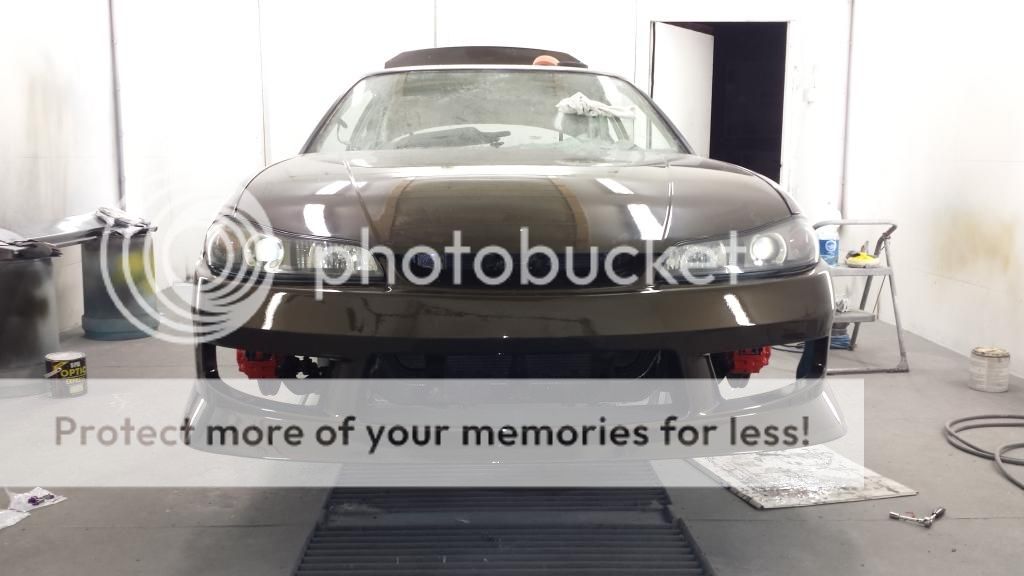
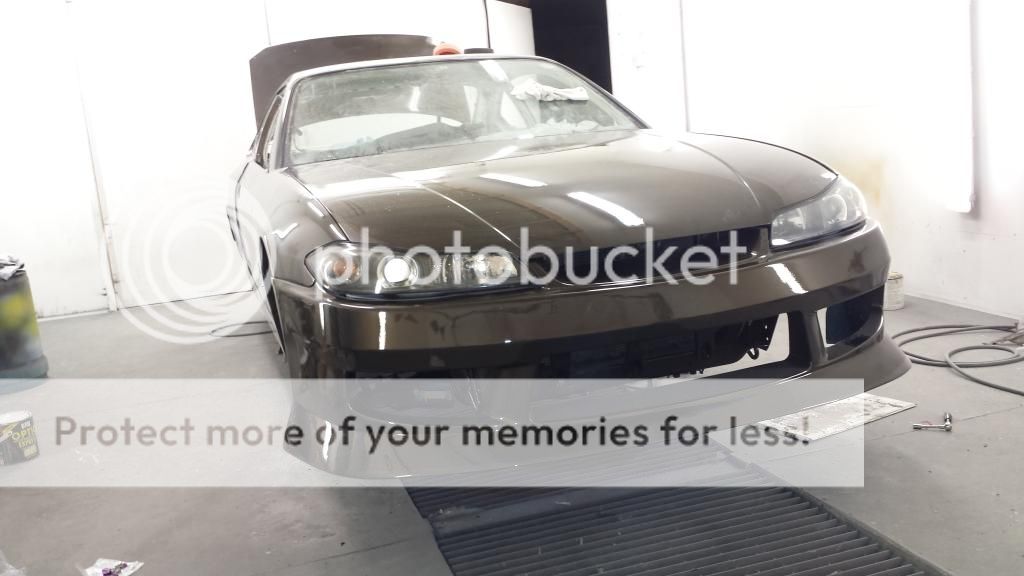
Next came the actual coating of the car with the custom pearl paint
All this was done by my friend Nick as I said he has huge experience with custom paints as he did alot of custom bikes in his time
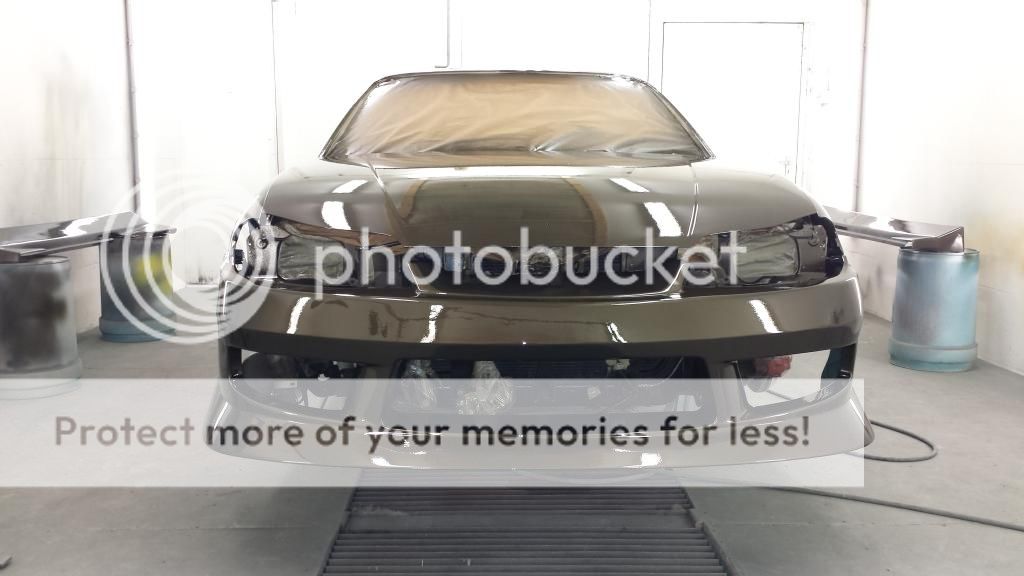
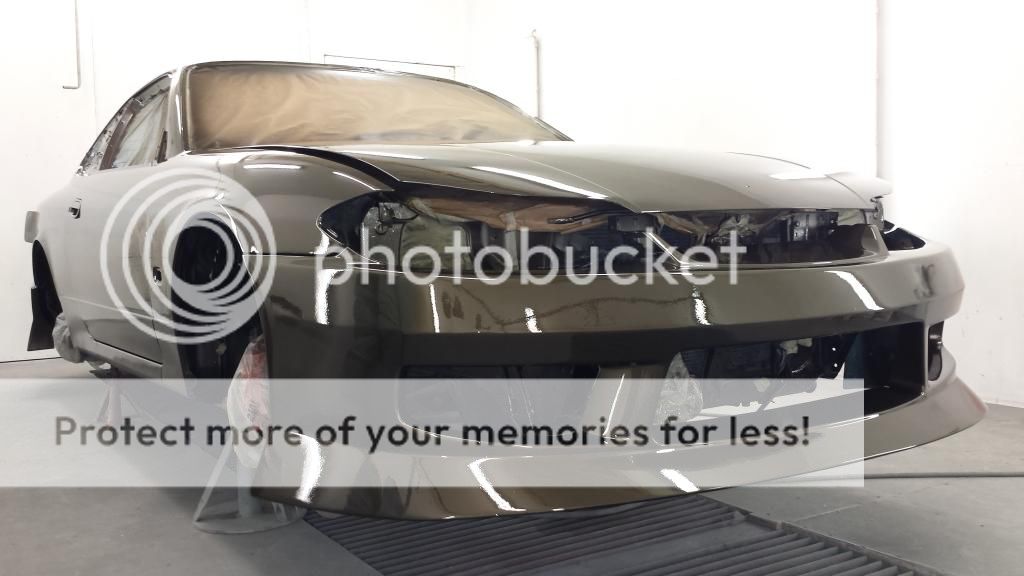
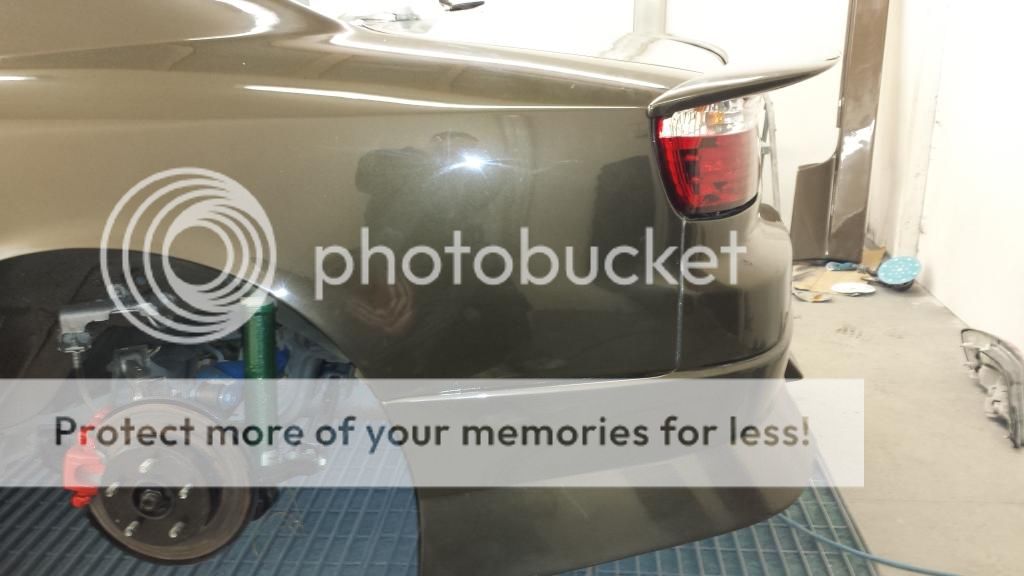
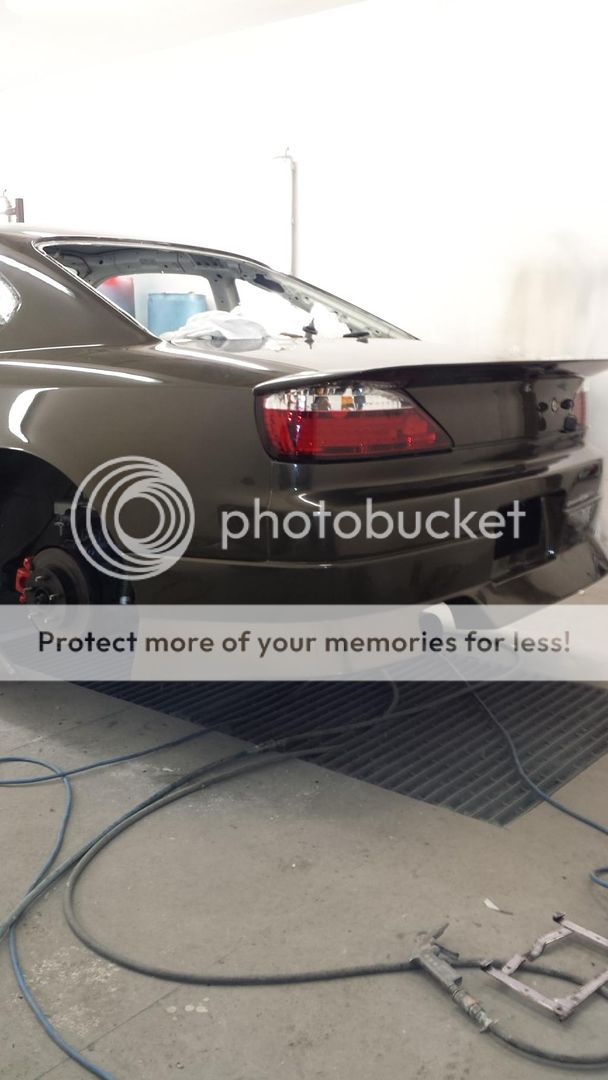
Some of these pics are after a few coats of lacquer others after 1 or 2 in total there was 7 coats of lacquer used the lacquer I picked was standox as it shined amazing on my previous Toyota levin
anyways heres some of the snaps just as spraying
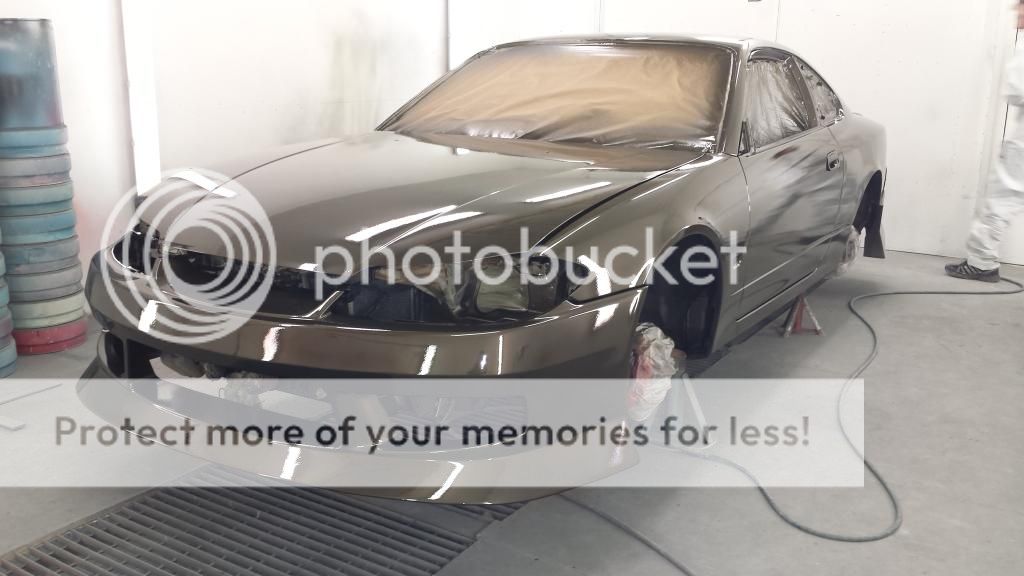
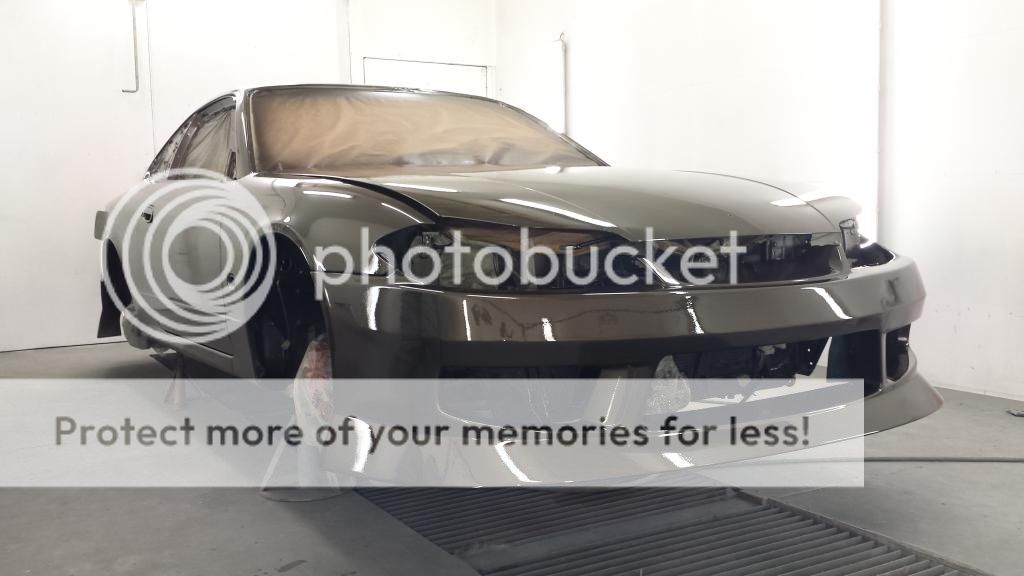
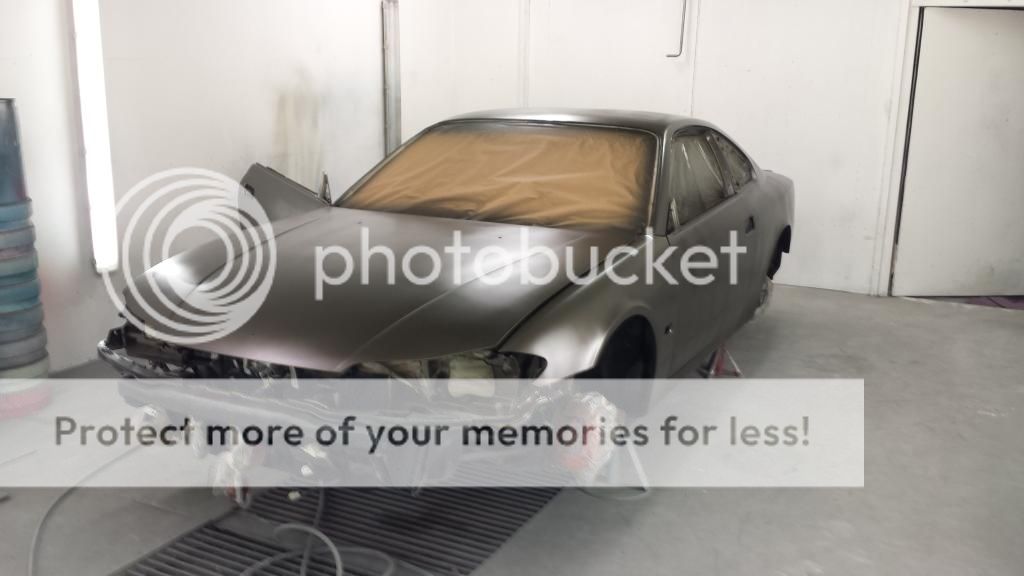
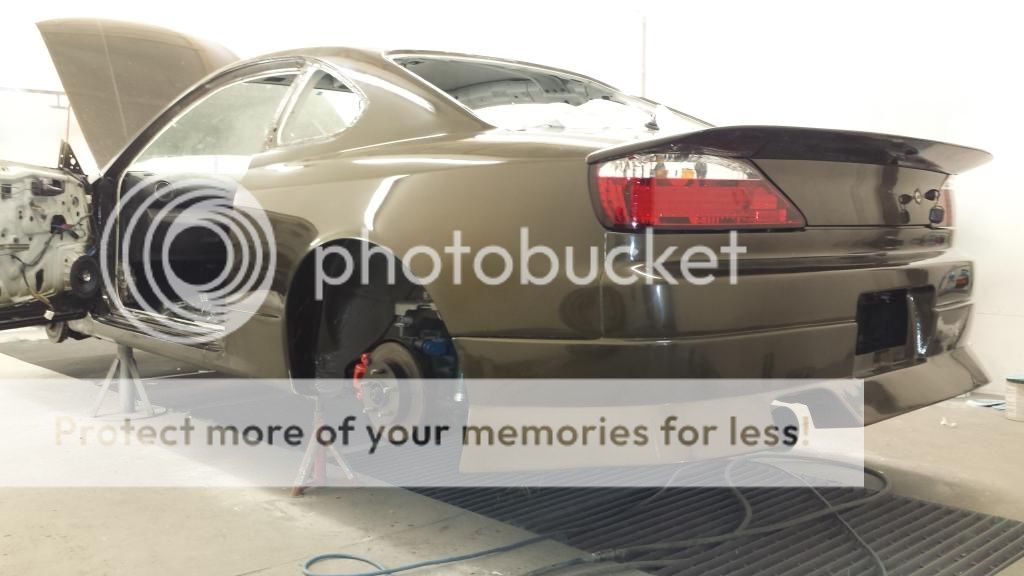
here you can really see the colour its very different and looks well on an s15 in my opinion
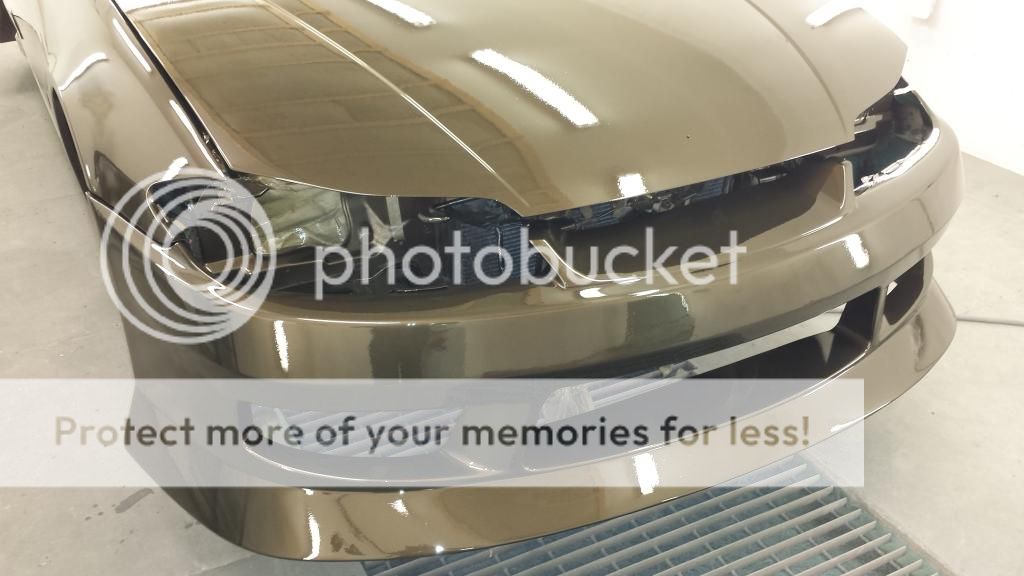
you can see some orange peel here due to the high amount of lacquer used but all this will be dealt with in time

All this was done by my friend Nick as I said he has huge experience with custom paints as he did alot of custom bikes in his time
Some of these pics are after a few coats of lacquer others after 1 or 2 in total there was 7 coats of lacquer used the lacquer I picked was standox as it shined amazing on my previous Toyota levin
anyways heres some of the snaps just as spraying


here you can really see the colour its very different and looks well on an s15 in my opinion

you can see some orange peel here due to the high amount of lacquer used but all this will be dealt with in time


For my own mind I wanted to tske the wheels into the booth just for a quick check to see what they looked like up against the new paint colour I alwayts liked the bronze on bronze look as I seen it pulled off really well on a honda s2000 before

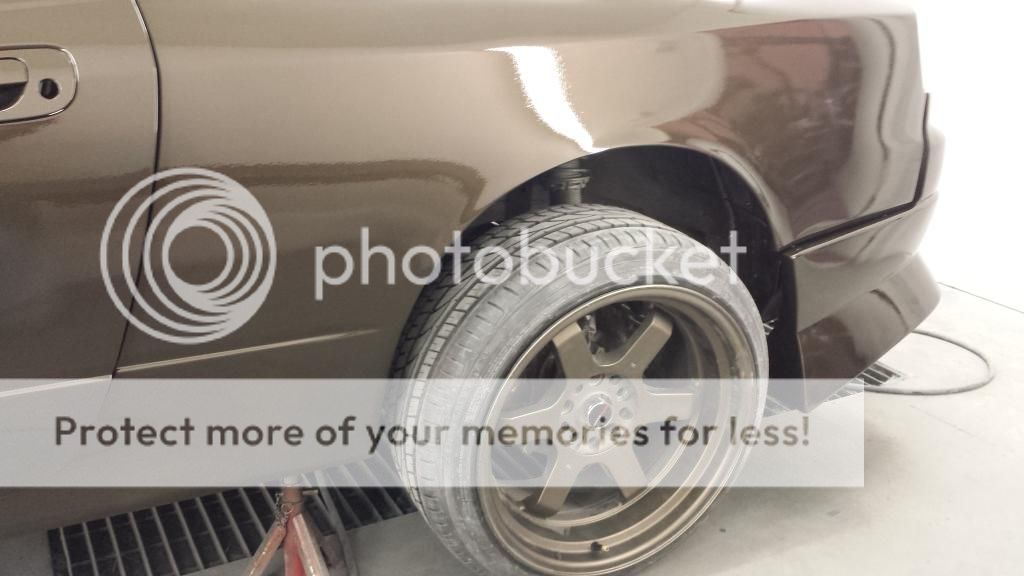
the wheels were dusty and needed a clean but look ok
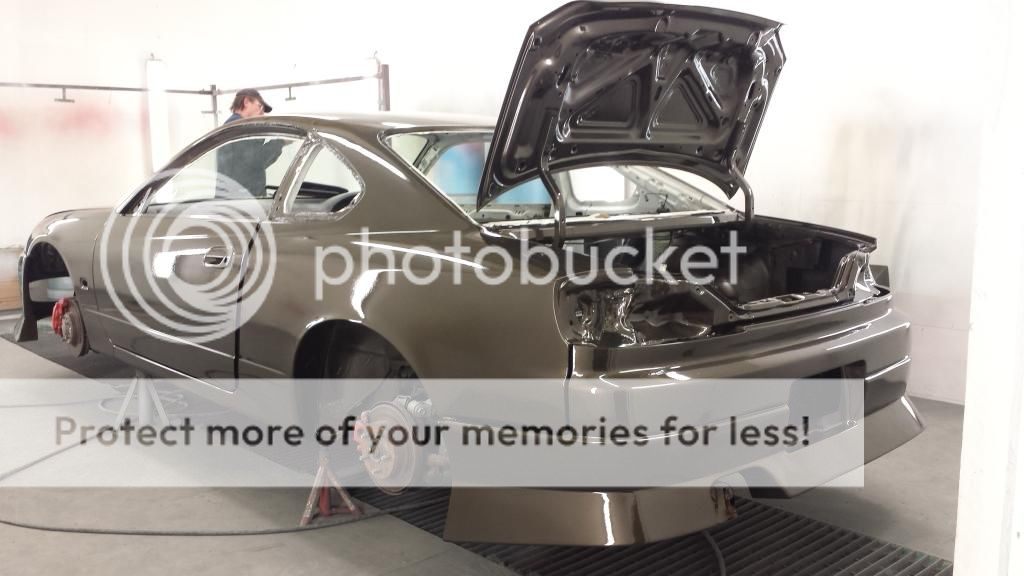
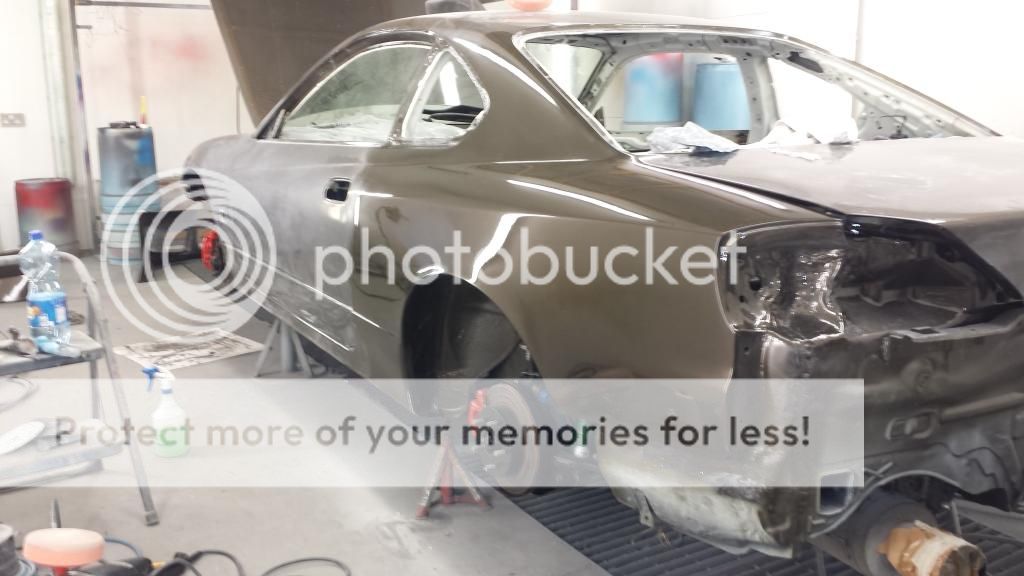
the next few pics are when the car was in the booth for a few days with the temp turned up to ensure proper drying

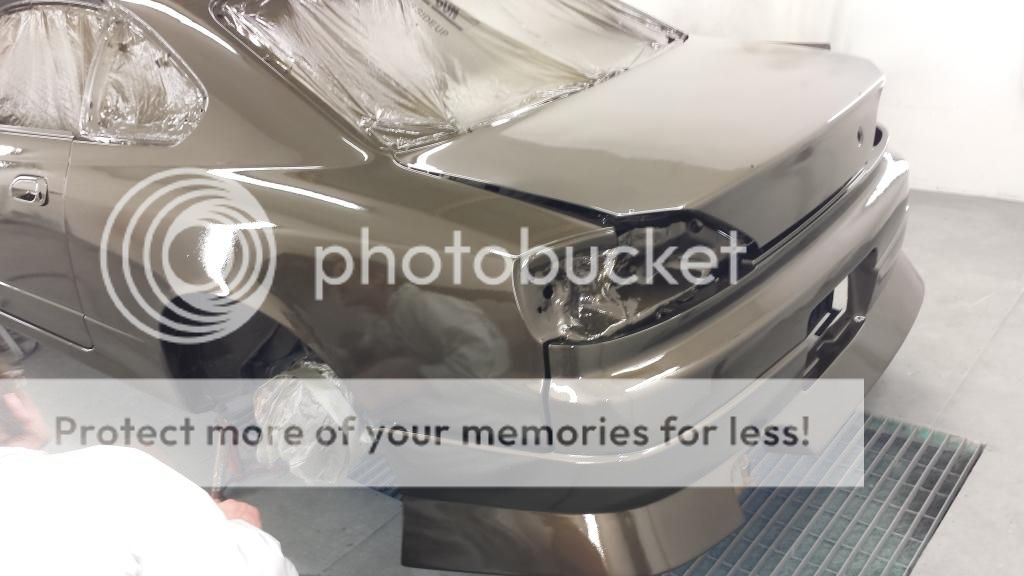
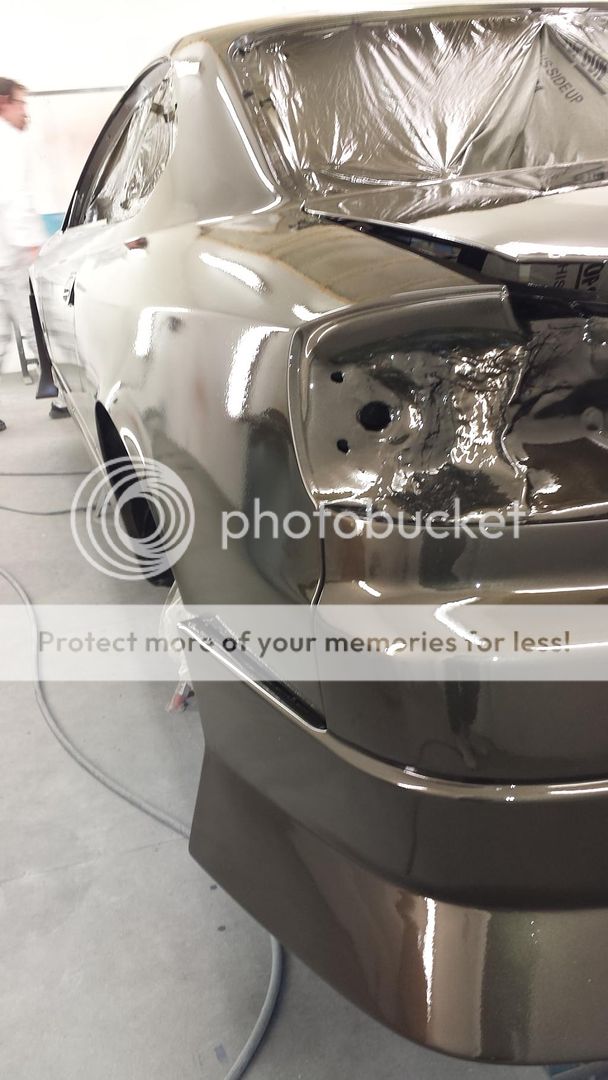
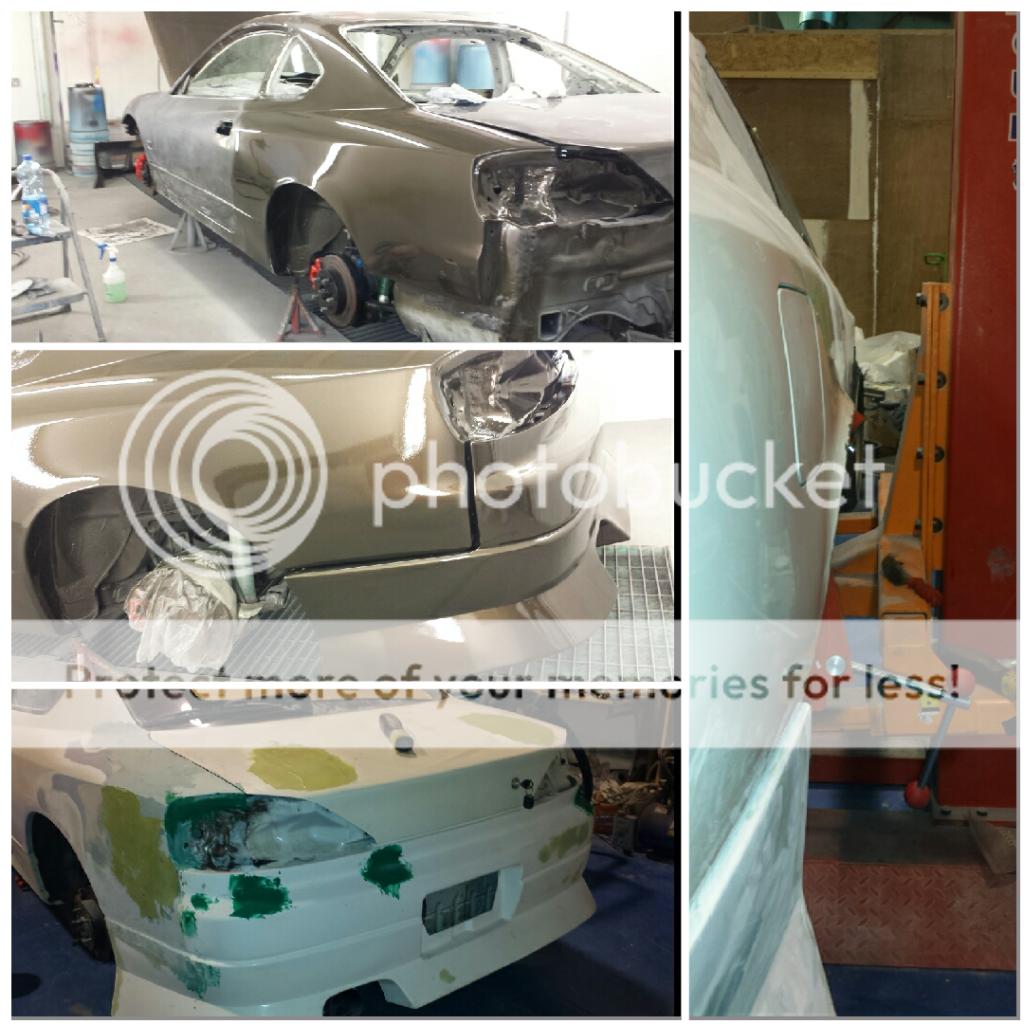
made a collage using my phone to show how much work the rear left actually needed..The car had a small accident before and the owner decided to repair himself in turn this was very poorly filled and repaired this pic shows the work nick did it really of a very high standard the flared arches make it really different
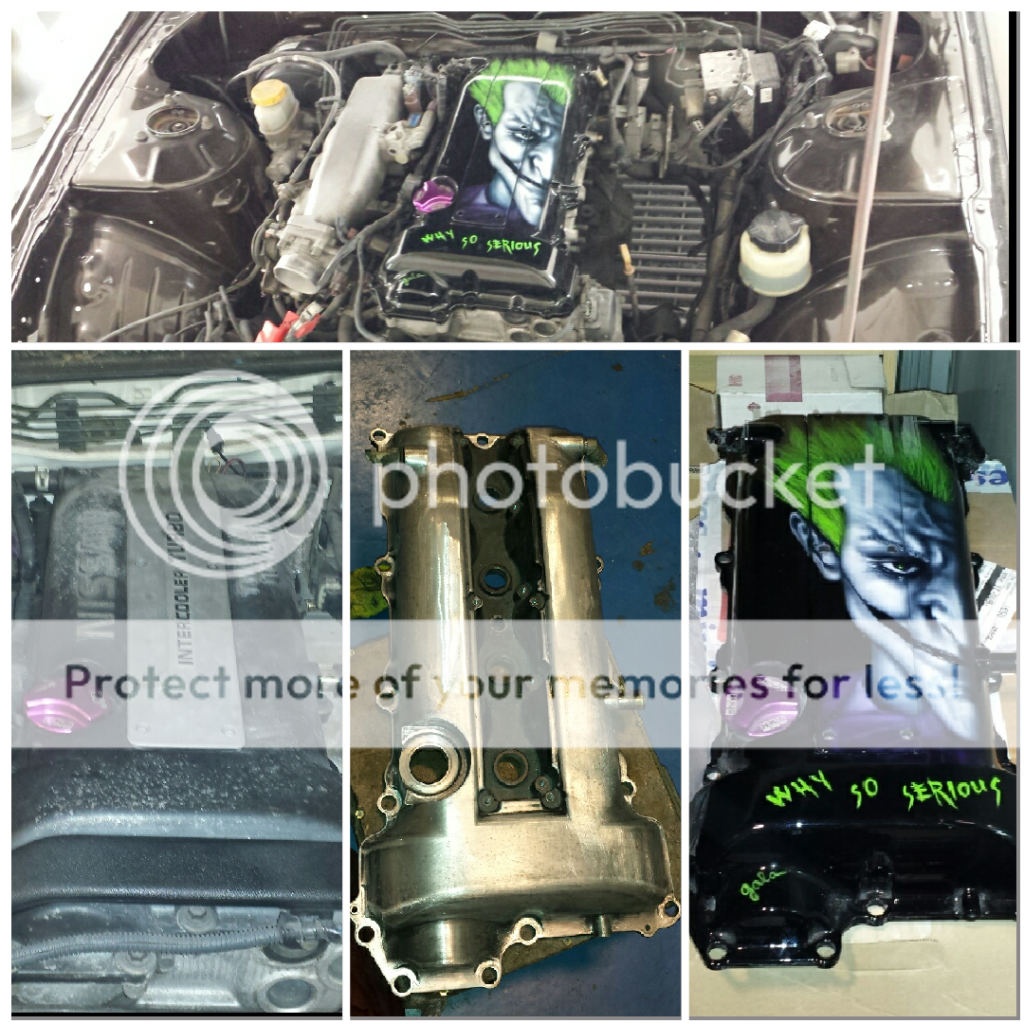
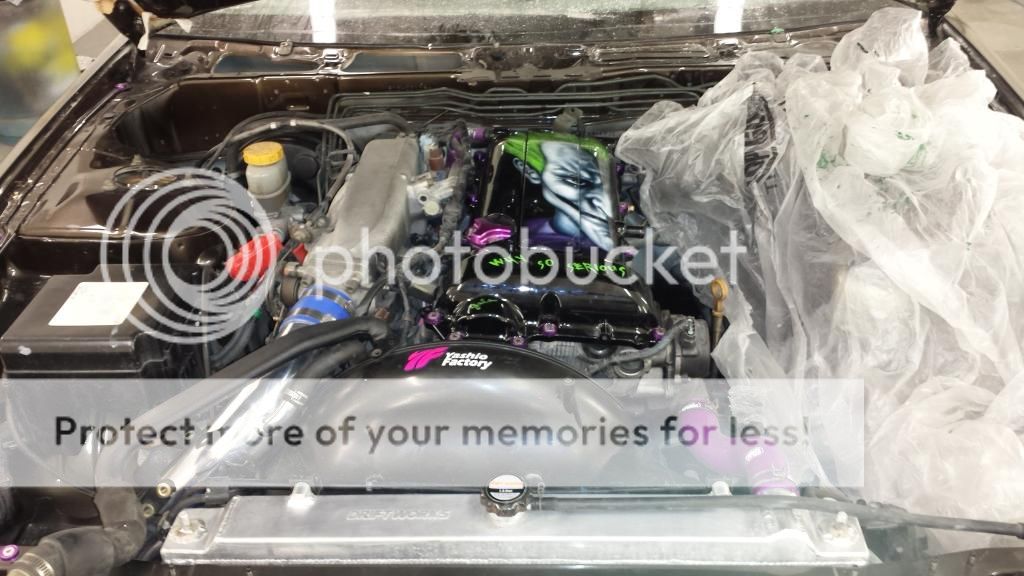
Something I mentioned earlier on in my build was since being at drifting events in the past I remembered seeing Airbrushed rocker covers on sr series engines so I wanted my own
The problem with this was the lettering had to be removed using an angle grinder and some seriously good delicate hands
all the "16valve twincam" and nissan lettering were dealth and them it was sanded using heavy grit sandpaper
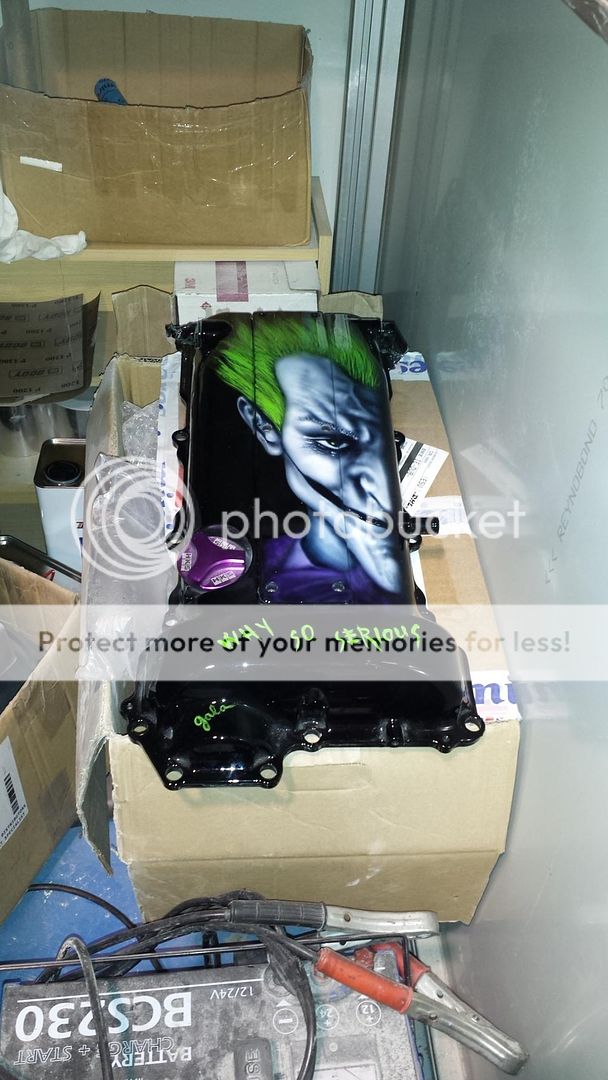
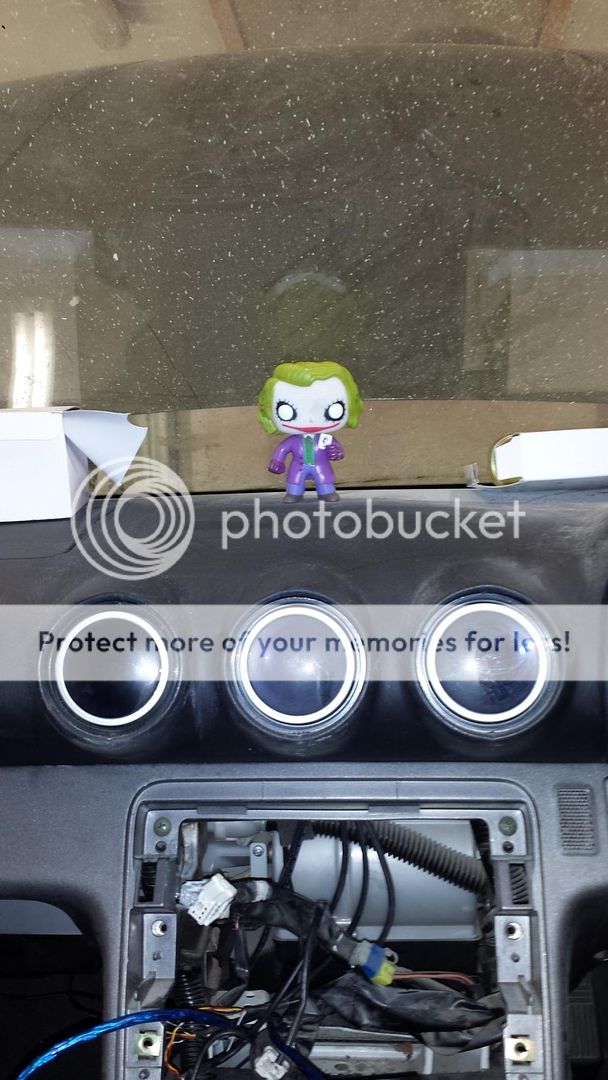
I then primed it and sprayed it toyota 205 black and the My girlfriends mother who is an airbrush artist did this work on it
Its the joker from the arkum assylum series console games


the wheels were dusty and needed a clean but look ok
the next few pics are when the car was in the booth for a few days with the temp turned up to ensure proper drying


made a collage using my phone to show how much work the rear left actually needed..The car had a small accident before and the owner decided to repair himself in turn this was very poorly filled and repaired this pic shows the work nick did it really of a very high standard the flared arches make it really different

Something I mentioned earlier on in my build was since being at drifting events in the past I remembered seeing Airbrushed rocker covers on sr series engines so I wanted my own
The problem with this was the lettering had to be removed using an angle grinder and some seriously good delicate hands
all the "16valve twincam" and nissan lettering were dealth and them it was sanded using heavy grit sandpaper
I then primed it and sprayed it toyota 205 black and the My girlfriends mother who is an airbrush artist did this work on it
Its the joker from the arkum assylum series console games


That paint job and kit look fantastic, well worth the money. Going to look fantastic when it's all put together. Any further plans for the engine bay appearance or interior of the car?
Have alot of dress up parts for the bay itself like hoses and besides and elbow downpipe and intercooler engine will remain standard as it is my daily driver starting march so dont want over powering modsThat paint job and kit look fantastic, well worth the money. Going to look fantastic when it's all put together. Any further plans for the engine bay appearance or interior of the car?
Thanks car should look great in the coming week
That is going to be a stunning daily and the commute will be a pleasure no matter what!! What power are you hoping to end up with? I was thinking somewhere around the 350bhp mark would be a nice power figure for a daily?
To be honest I am assuming my power will be around the 280bhp mark if I am lucky..
The engine hasnt any goodies really its a standard turbo with standard engine few bolt ons here and there
maybe next year I will buy an engine and rebuild it but as for now I just want it to look nice and drive well
In Ireland I think 350bhp is too much for a daily as our roads are worst week in week out..what power are you running?
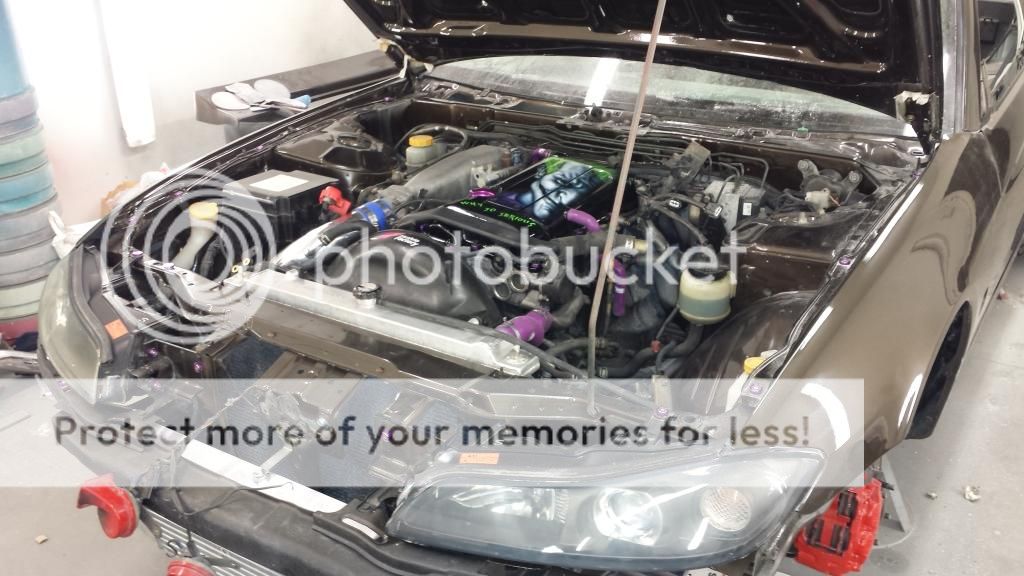
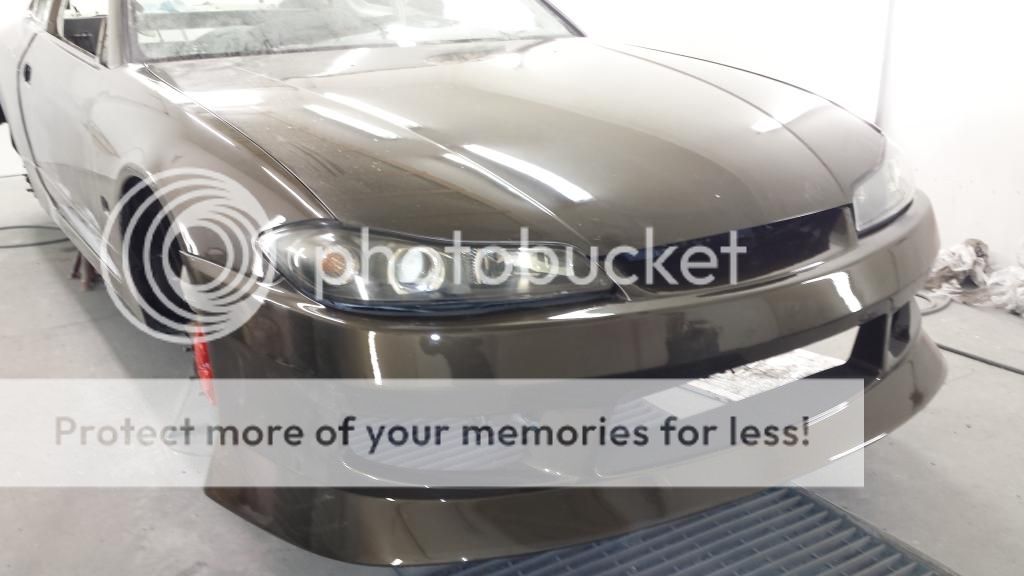
Over last weekend I have been starting some of the front assembly back together
It's a slow process as I dont want any scratches
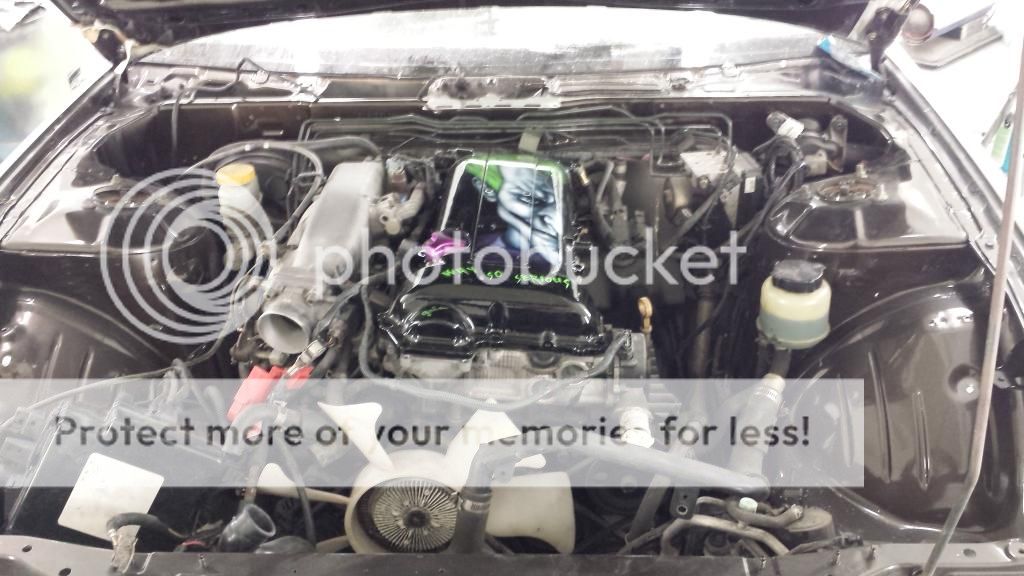
I fitted new nuts and bolts to where the engine bay needed them and fitted the headlights rocker cover and other misc bits..
I had my turbo setup all ready to go so once all these small bits were out the way I fitted the new braided lines to the block andsecured the turbo into the car with the new elbow studs gaskets and washers
the car should begin to take shape over the coming days as I am hoping to have it for a photoshoot late next week
The pics below show the re assembly of my engine bay like fitting back the fuse box and other small bits into place aswell the new samco hoses and the new driftworks radiator setup
once complete Im hoping it will be a nice tide engine bay with the rocker cover to be the standout piece
Beow is a pic i took of the new elbow fitted to the standard s15 turbo with new lines and new multi layer gaskets
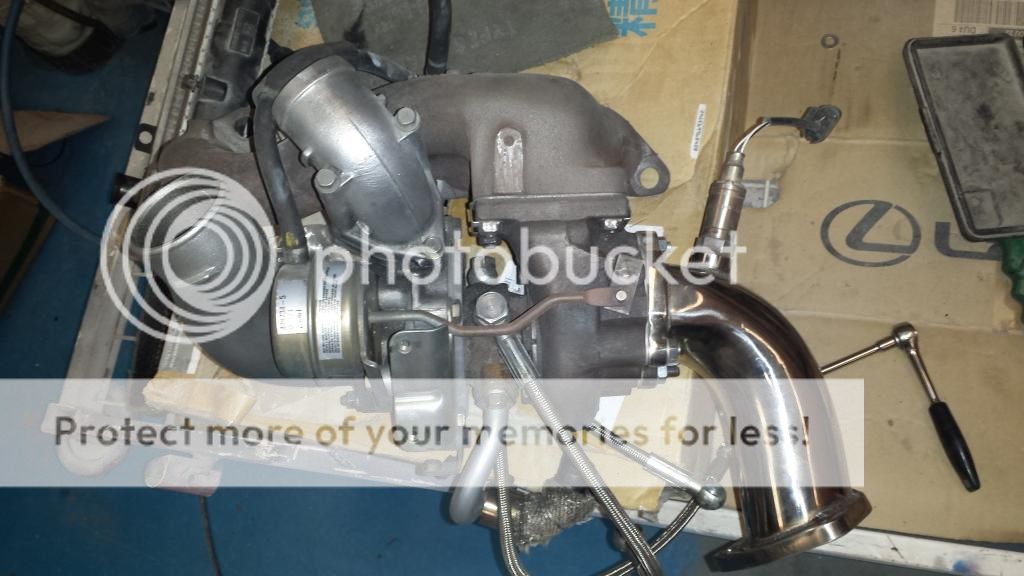
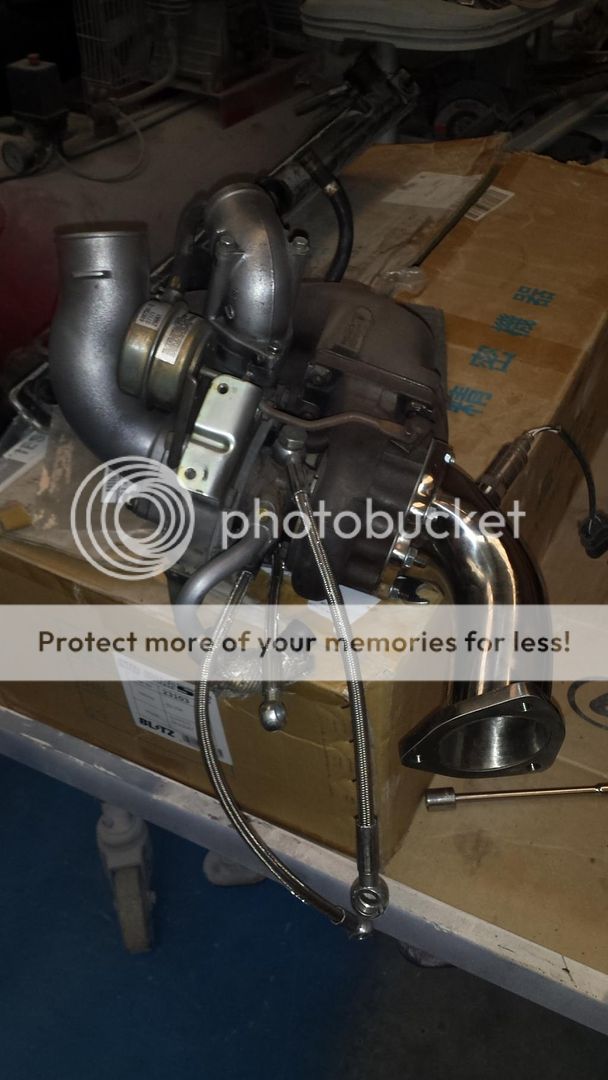
I refitted the turbo setup but havnt had the time as of yet to re plumb the front mount intercooler
The lines were so easy compared to the copper pipes from a standard setup

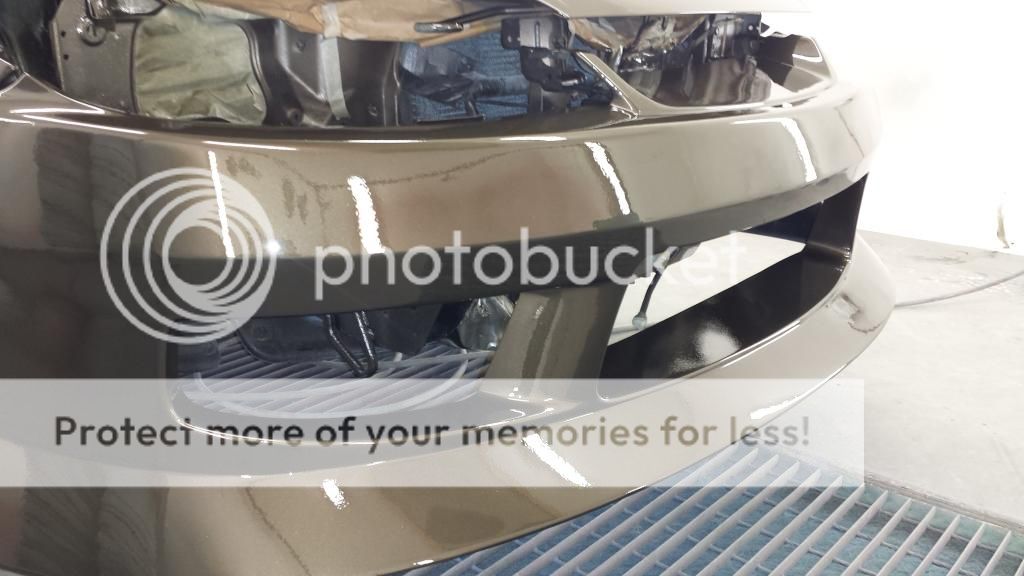
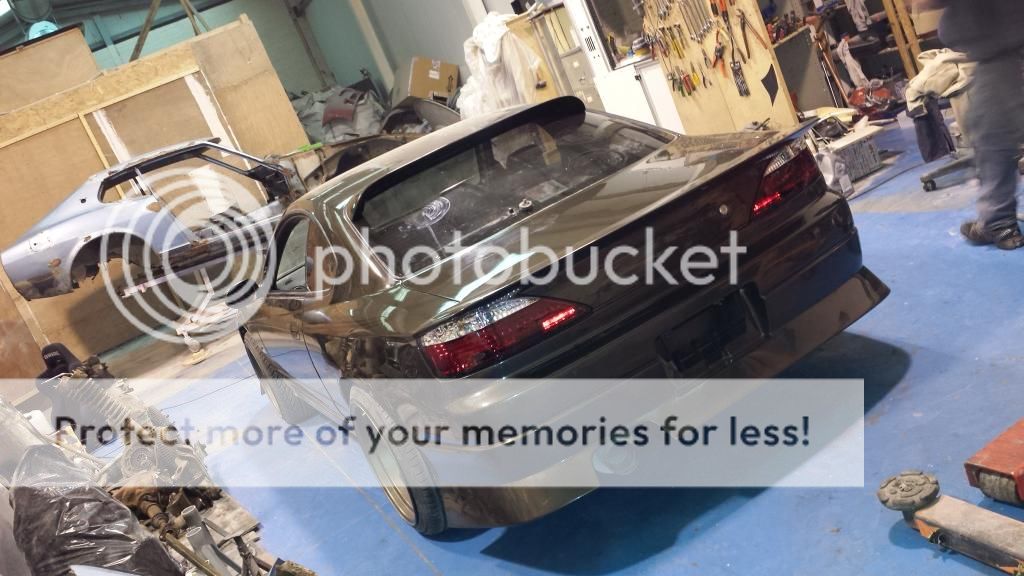
After the engine bay setup was coming to an end I used my spare time to fit the bumper for a test fit to see if I would be happy with the over all look
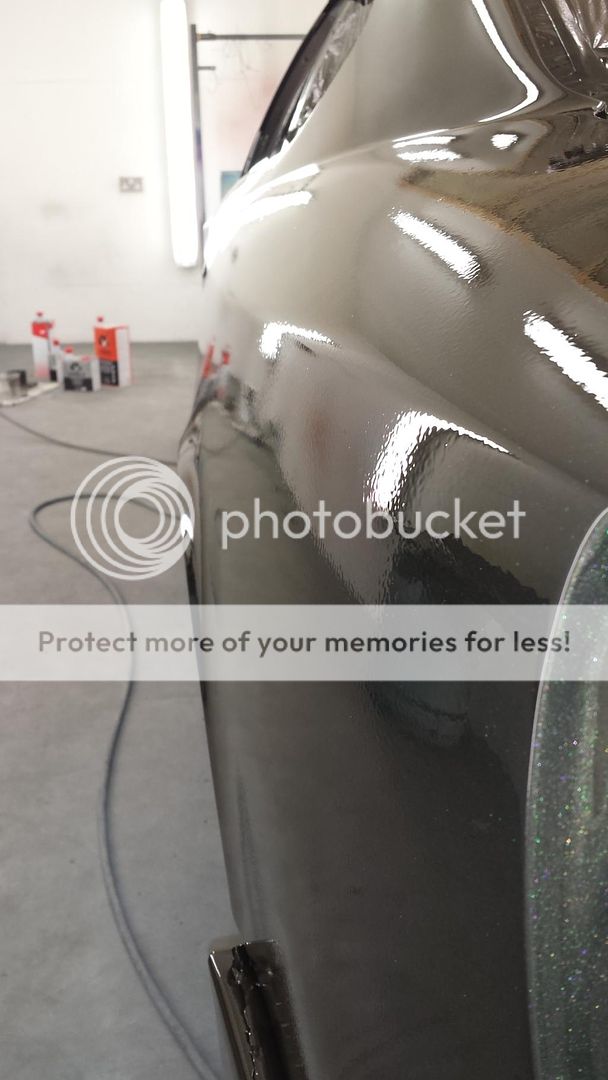
This is when we made the decision to sand the entire car with 1500grade sandpaper then 2000 and a final 3000
this was in preparation for some heavy compounding and a final sheen polishing as I wanted a very partiular look with the paint
below you can see one area after all its sanding and polishng
this is a pic before polishing
this is during
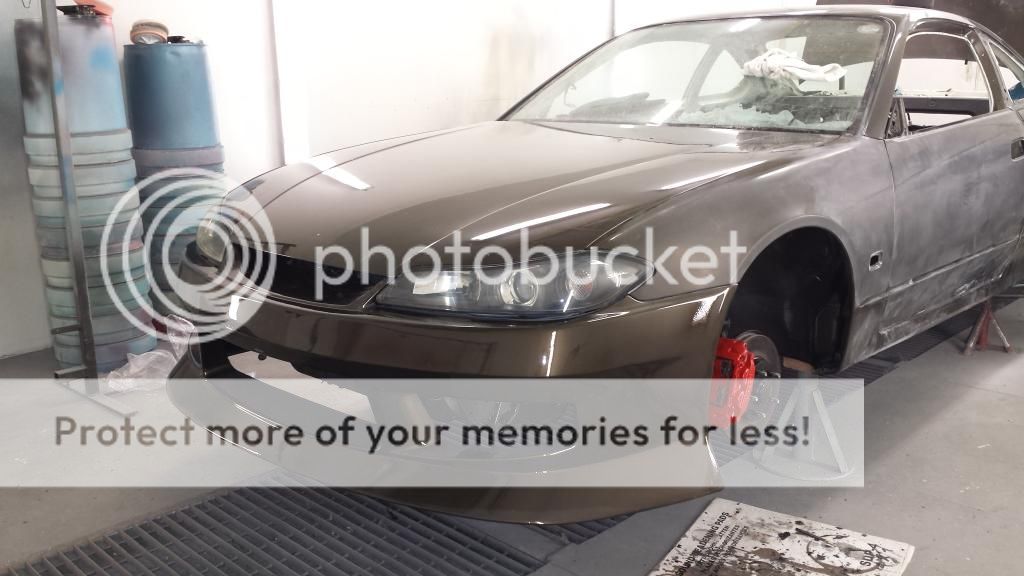
In the next day or so the entire car will be finished its imperfection sand and its final polishing once its comlete I plan to refit my windows and interior and finally asemble and service the car before getting some NCT and TAX and taking her for a drive
It's a slow process as I dont want any scratches
I fitted new nuts and bolts to where the engine bay needed them and fitted the headlights rocker cover and other misc bits..
I had my turbo setup all ready to go so once all these small bits were out the way I fitted the new braided lines to the block andsecured the turbo into the car with the new elbow studs gaskets and washers
the car should begin to take shape over the coming days as I am hoping to have it for a photoshoot late next week
The pics below show the re assembly of my engine bay like fitting back the fuse box and other small bits into place aswell the new samco hoses and the new driftworks radiator setup
once complete Im hoping it will be a nice tide engine bay with the rocker cover to be the standout piece


Beow is a pic i took of the new elbow fitted to the standard s15 turbo with new lines and new multi layer gaskets


I refitted the turbo setup but havnt had the time as of yet to re plumb the front mount intercooler
The lines were so easy compared to the copper pipes from a standard setup

After the engine bay setup was coming to an end I used my spare time to fit the bumper for a test fit to see if I would be happy with the over all look
This is when we made the decision to sand the entire car with 1500grade sandpaper then 2000 and a final 3000
this was in preparation for some heavy compounding and a final sheen polishing as I wanted a very partiular look with the paint
below you can see one area after all its sanding and polishng


this is a pic before polishing

this is during


In the next day or so the entire car will be finished its imperfection sand and its final polishing once its comlete I plan to refit my windows and interior and finally asemble and service the car before getting some NCT and TAX and taking her for a drive
i thought they were 280bhp as standard? I don't have an S15 yet!! I got a promotion at work from 1st Feb and in June it's my birthday so my present to myself will be putting my deposit down with Torque GT and asking them to source me either a red Aero or a modified motor i like the look of that is mechanically sound. I'm very lucky in that my father in law has looked after and restored classic minis for years so bodywork and rust repairs etc are no challenge to me(him)!! I am getting very excited and reading threads like this gives me ideas and understanding and helps my understanding of modifications etc. I am hoping to have a 350bhp daily, probably keep it as aero in the early days and get the engine where i want and then go for the cosmetics after that.

I love that colour has a really deep pearl to it- almost a shame to have something so fresh as a daily hack! nice to see someone taking extra pride in their S15. I was glad when i found the bit where you flatted the car off as in the early pictures the lacquer did look very orange peely and was praying you wasn't going to leave it like that- especially with 7 coats there's plenty on there to flat back without the risk of going through.
but yes top stuff, attention to detail is spot on :thumbs:
but yes top stuff, attention to detail is spot on :thumbs:
Thanks for the comments lad @ JDM Virgin most panel places would just shove the car back at you after paint but Due to previous eperiences I realized I wanted it all sheen throughout
@Boris
I believe these were more like 255bhp on japenese fuel if my own makes 280 I would be very happy
As you live in the uk I would imagine the 350bhp mark is ideal ye guys have much better roads !
Your choice with aero is perfect always loved those just be expected to pay more have some experience importing cars myself mostly smaller stuff the occasional bigger car but I wouldnt go below grade 3.5
Your choice of Aero and red is slightly rare defo possible to find but pricey for a year 2000 grade 3.5 in current jap market you would be looking at about 9.5k pounds pre vrt
Last edited:
Yeah the aero is always a premium, I've seen a red one on Torque GT that was a 4b and it was going through at around £10,500 so I'm budgeting around that mark.
Spent Some Time at this again today put off installing the windows as I plan to this tomorrow I was to lazy
I did lots of small stuff like wiring in headunit,soldering in new speakers and 6x9's in rear
also completed door assembly all brackets supports and glass etc
most stuff needed to be done now is all small time consuming jobs
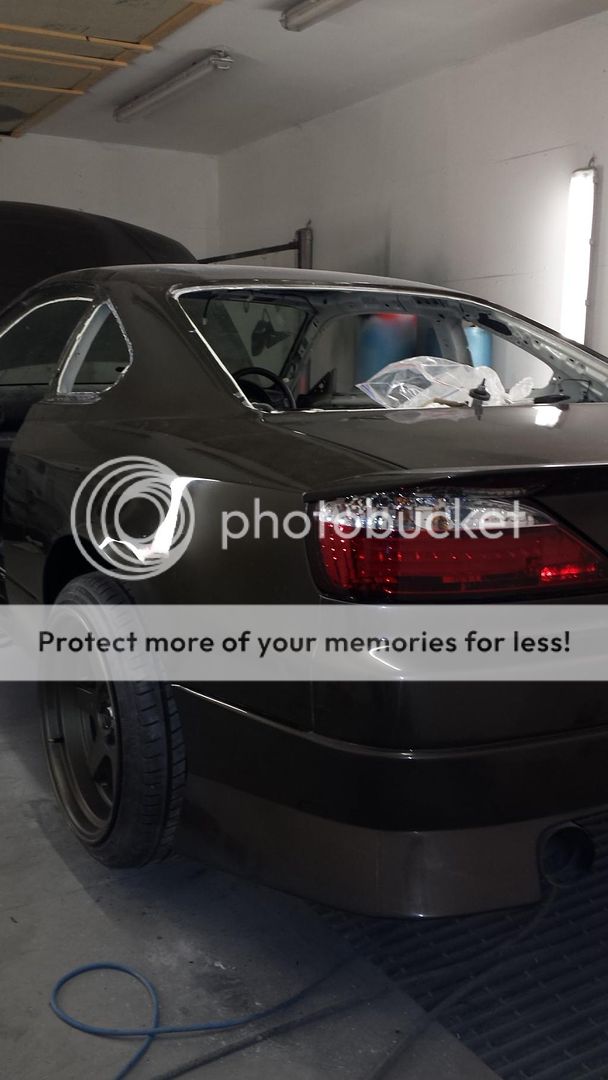
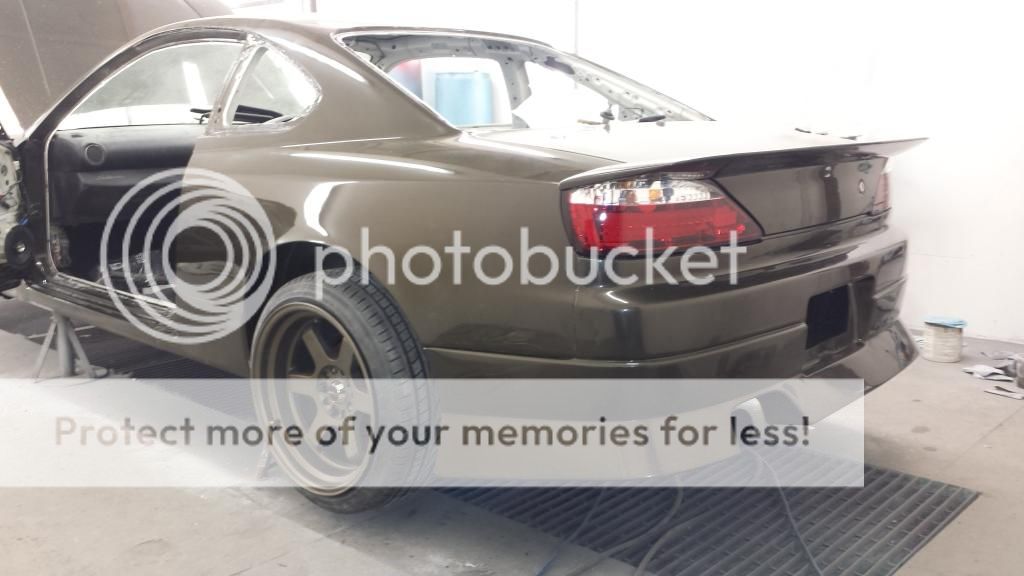
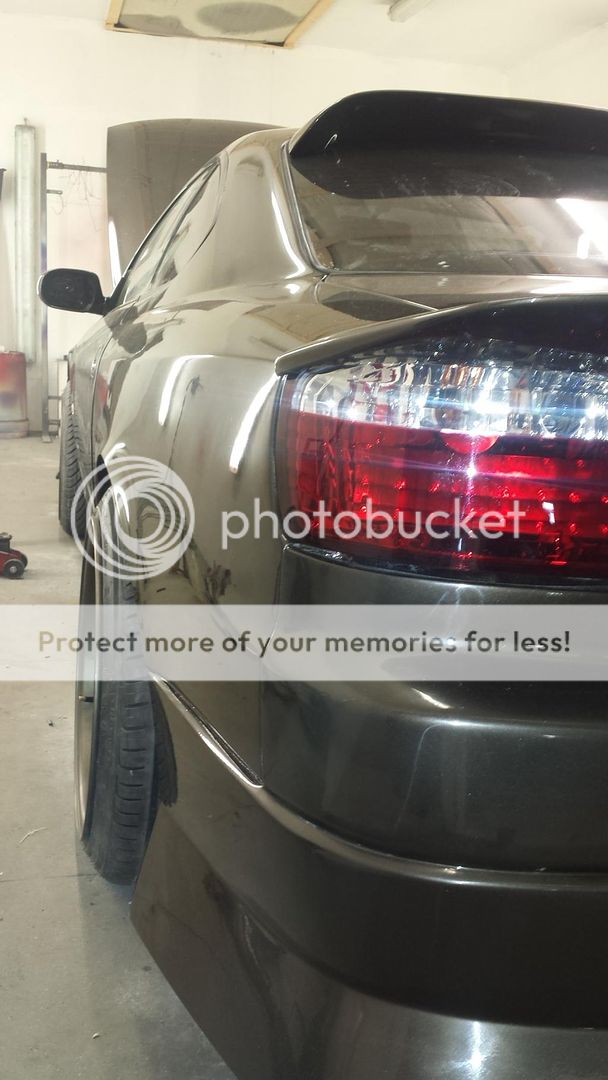
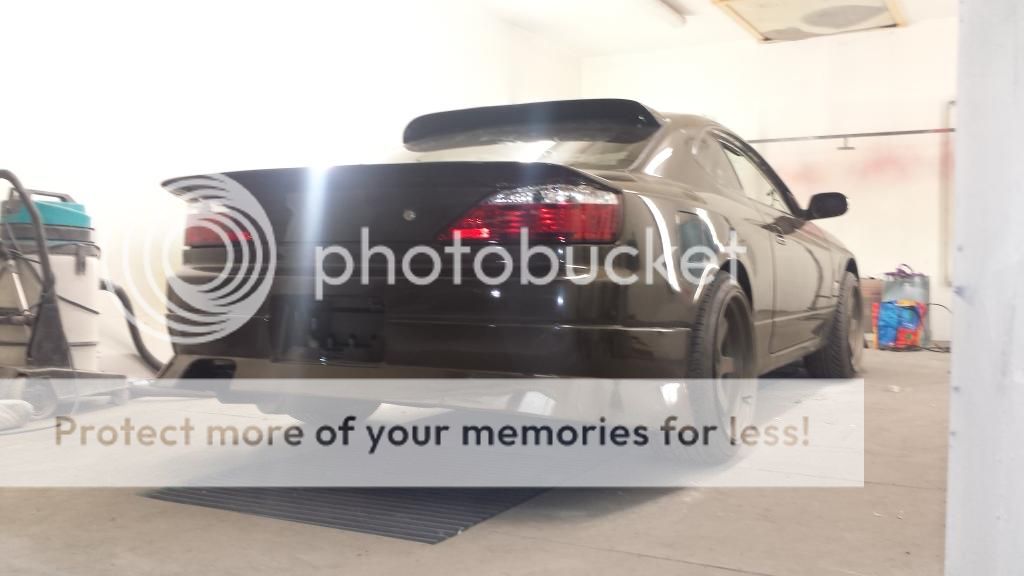
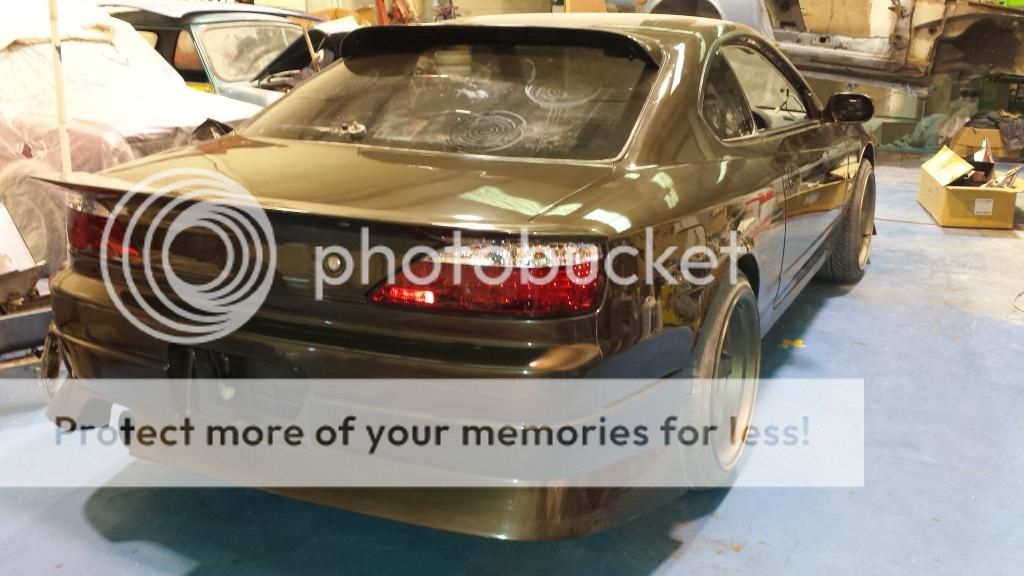
Managed to fit my D-max LED rear lamps and D-max spoiler the look really good with the colour
spoiler was properly secure with some heavy duty glue and nuts and bolts
car really is starting to take shape
I did lots of small stuff like wiring in headunit,soldering in new speakers and 6x9's in rear
also completed door assembly all brackets supports and glass etc
most stuff needed to be done now is all small time consuming jobs
Managed to fit my D-max LED rear lamps and D-max spoiler the look really good with the colour
spoiler was properly secure with some heavy duty glue and nuts and bolts
car really is starting to take shape


Car looks savage mate
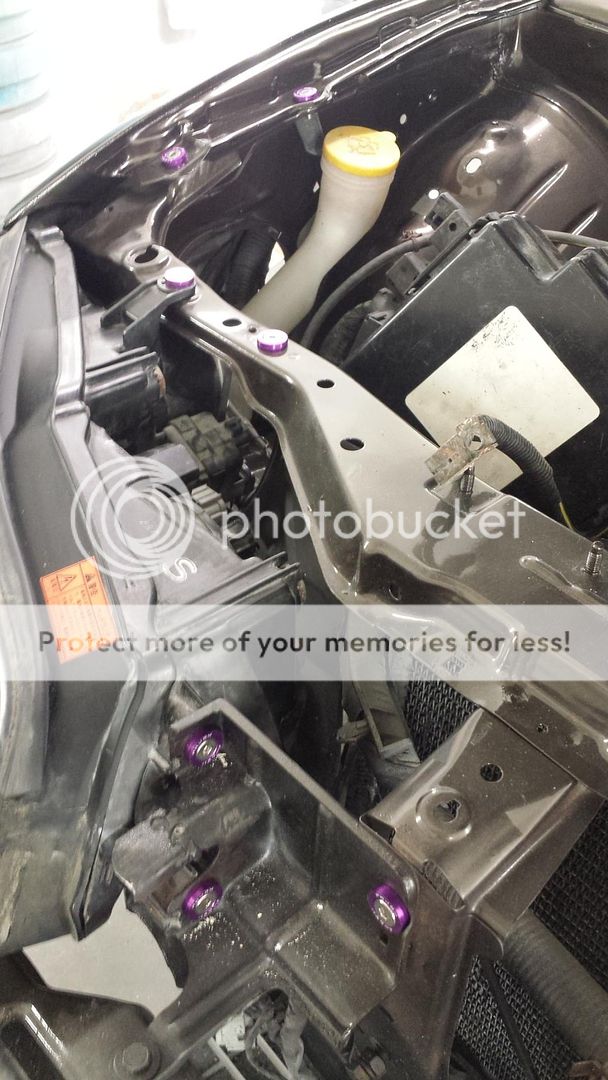
What size are the purple dress up bolts? May get some
You getting rid of much stuff out of the bay
What size are the purple dress up bolts? May get some
You getting rid of much stuff out of the bay
The bolts for rocker are 30mil long and for all around engine bay are 18mil long just a generic thread with a hex head on them
There readily available on ebay and other car sites
as for the bay atm its staying the way it is for the nct test afterwards i plan to remove bov and block all pipes
Managed to finally get the glass fitted yesterday ending Up using a local auto glass as they provided me with new window seals and rubbers for an excellent price aswell as a professional install
while the windows were gluing i popped on the roof spoiler and finished fitting the boot liners and rear plastics
Last edited:

Did you get original or original looking window seals for the rear side windows? Im struggling to find them anywhere... Im allmost at the same place now with my project :thumbs:
Keep up the nice work mate! :notworthy:
Keep up the nice work mate! :notworthy:
Uncle Sam I didnt actually remove the Seals for the rear Quater windows
I took out the windows using a special abrasive wire something lie that of piano wire but it only cuts the sealant rather than the window rubber and seal so all the OEm ones remained intact
as for the Rear Window itself I had a new seal fitted to this as it was quite perished from previous lack of cleaning etc
Been hectic at this all last few days lots of small work being Done but the occasional big piece here and there
The interior Is now installed apart from the Bride drivers seat as its drying after a Shampoo and clean
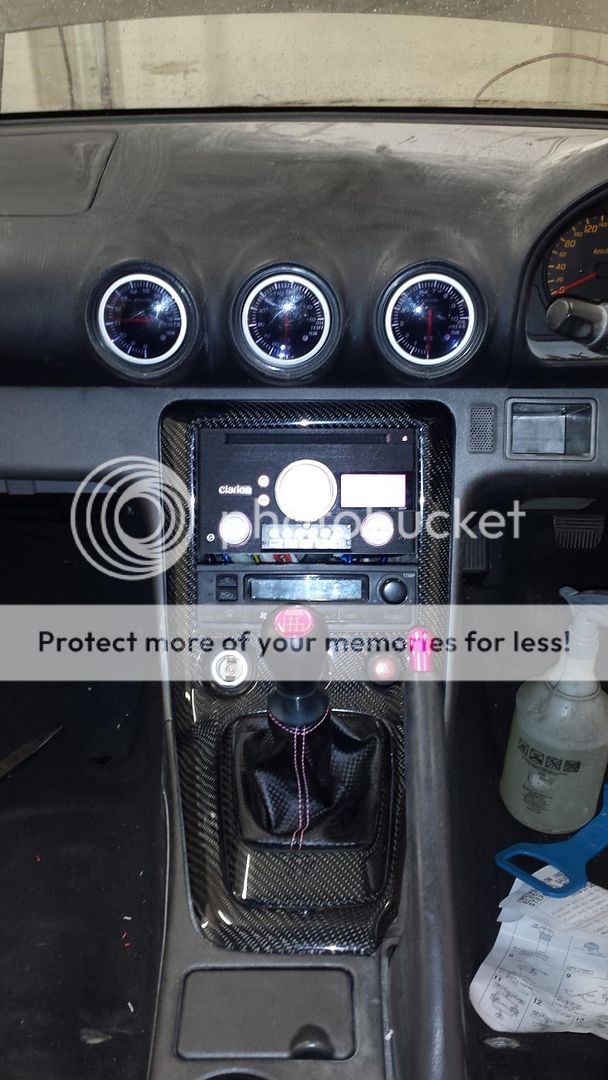
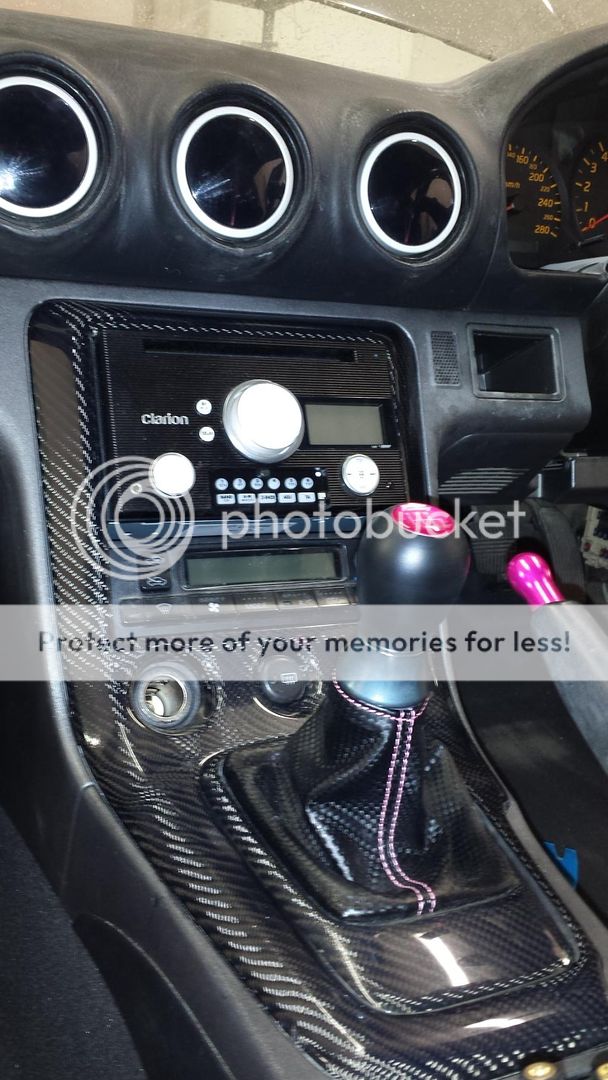
All the gauges are properly rigged up to there sensors and the Sound system including amp and 6x9's are finally fully wired
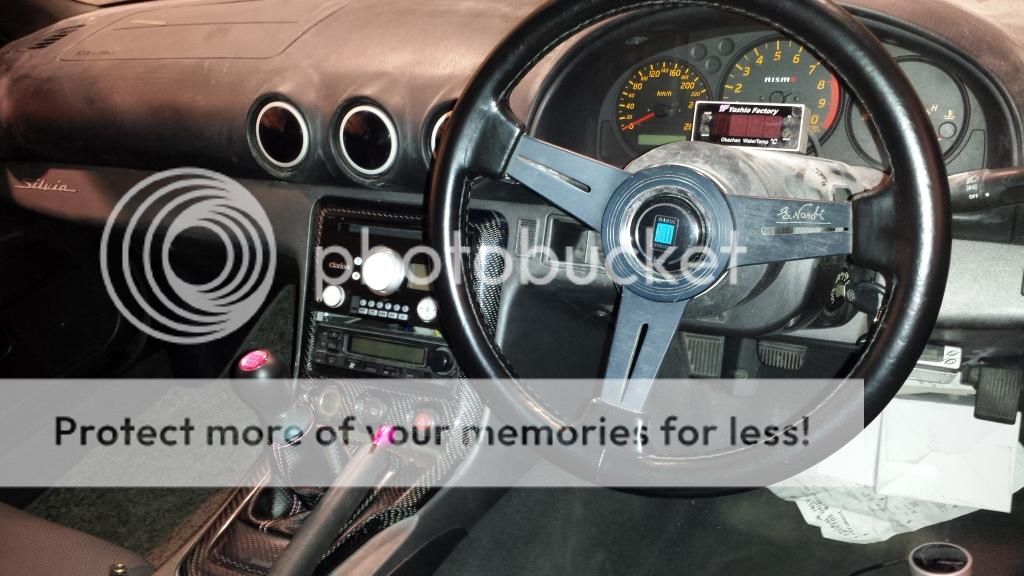
I Fitted mt carbon fibre centre Console and Clarion Dub radio the the Interior and have to admit it looks amazing really changes the inside as its surround with the small yashio factory goodies
I also refurbed my nardi sterring wheel with some fresh paint and fresh lacquer to ensure it matched the theme
The car is now about 90% complete heres some teaser pics
I have to fit the Side Sirts and give here the Final Polishing before its going for its Test.

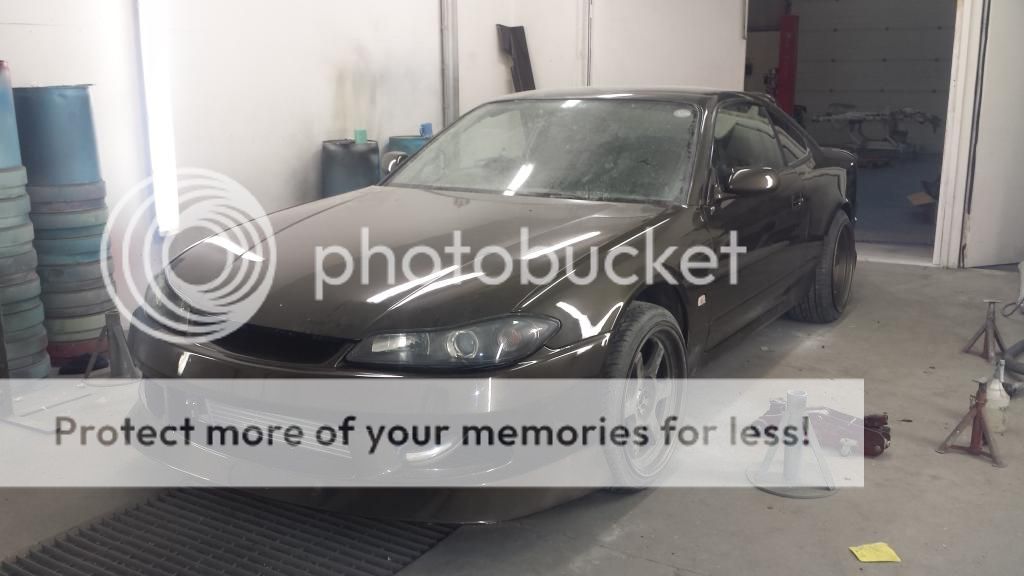
Car will be properly lowered once I refit all the Subframe washers and new catalytic converter so almost there for now
I took out the windows using a special abrasive wire something lie that of piano wire but it only cuts the sealant rather than the window rubber and seal so all the OEm ones remained intact
as for the Rear Window itself I had a new seal fitted to this as it was quite perished from previous lack of cleaning etc
Been hectic at this all last few days lots of small work being Done but the occasional big piece here and there
The interior Is now installed apart from the Bride drivers seat as its drying after a Shampoo and clean
All the gauges are properly rigged up to there sensors and the Sound system including amp and 6x9's are finally fully wired
I Fitted mt carbon fibre centre Console and Clarion Dub radio the the Interior and have to admit it looks amazing really changes the inside as its surround with the small yashio factory goodies
I also refurbed my nardi sterring wheel with some fresh paint and fresh lacquer to ensure it matched the theme
The car is now about 90% complete heres some teaser pics
I have to fit the Side Sirts and give here the Final Polishing before its going for its Test.


Car will be properly lowered once I refit all the Subframe washers and new catalytic converter so almost there for now
Loving the colour of this mate! Fantastic build, so thorough with everything.. Doing your own body and spray work must be great! Take a lot of hassle away! Its something Id love to be able to do! Really tempted to go for a nardi the more I see them! ") Honestly I wasnt keen on the bronze on bronze but its growing on me! Keep up the great work, cant wait to see this on the road, hopefully!
Honestly I wasnt keen on the bronze on bronze but its growing on me! Keep up the great work, cant wait to see this on the road, hopefully!
Honestly I wasnt keen on the bronze on bronze but its growing on me! Keep up the great work, cant wait to see this on the road, hopefully!About Us
This owners club has been made in the benefit of owners of the Nissan Silvia chassis, allowing them to socially integrate and share their knowledge and advice.
We also intend to create events and social activities for members to take part in to help members meet and get to know each other.
We also intend to create events and social activities for members to take part in to help members meet and get to know each other.
Online statistics
- Members online
- 1
- Guests online
- 678
- Total visitors
- 679
Totals may include hidden visitors.