
Well if bmw fit that for a 2.0 then I may as well stick it in this. Might be overkill but don't want the same issues I had before. If I can go big I may as well
- Joined
- 12 December 2006
- Messages
- 776
- Reaction score
- 69
- Points
- 28
- Location
- London
- Website
- www.silivaoc.com
- Country
-

- @silviaownersclub
Fair play! It will start super easy with that batteryWell if bmw fit that for a 2.0 then I may as well stick it in this. Might be overkill but don't want the same issues I had before. If I can go big I may as well

well according to the last post on here its taken me 5 months to finally pull my finger out of my arse and get the battery fitted. Ive been working on her the odd hour in the evenings so has taken about 2 weeks to actually get to the point I'm at now, in reality its probably been about 4 hours. Also having to work in a single garage has meant space is at a premium so I've advanced my S15 interior tetris no end! I'm now also level 9000 at body contortion.
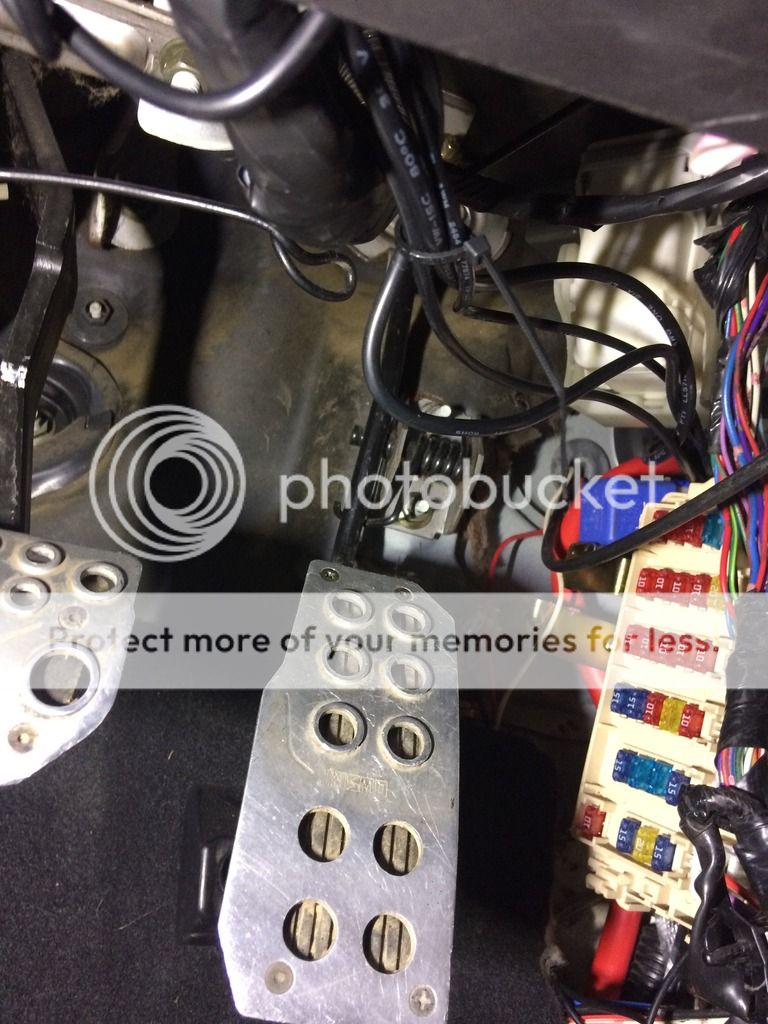
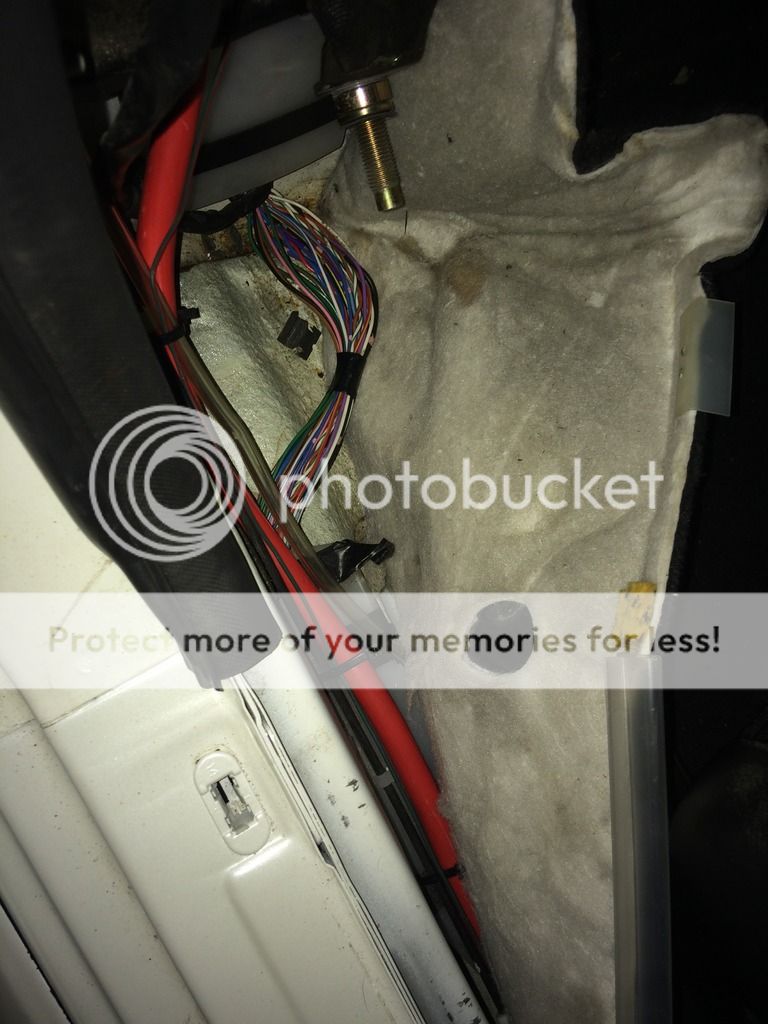
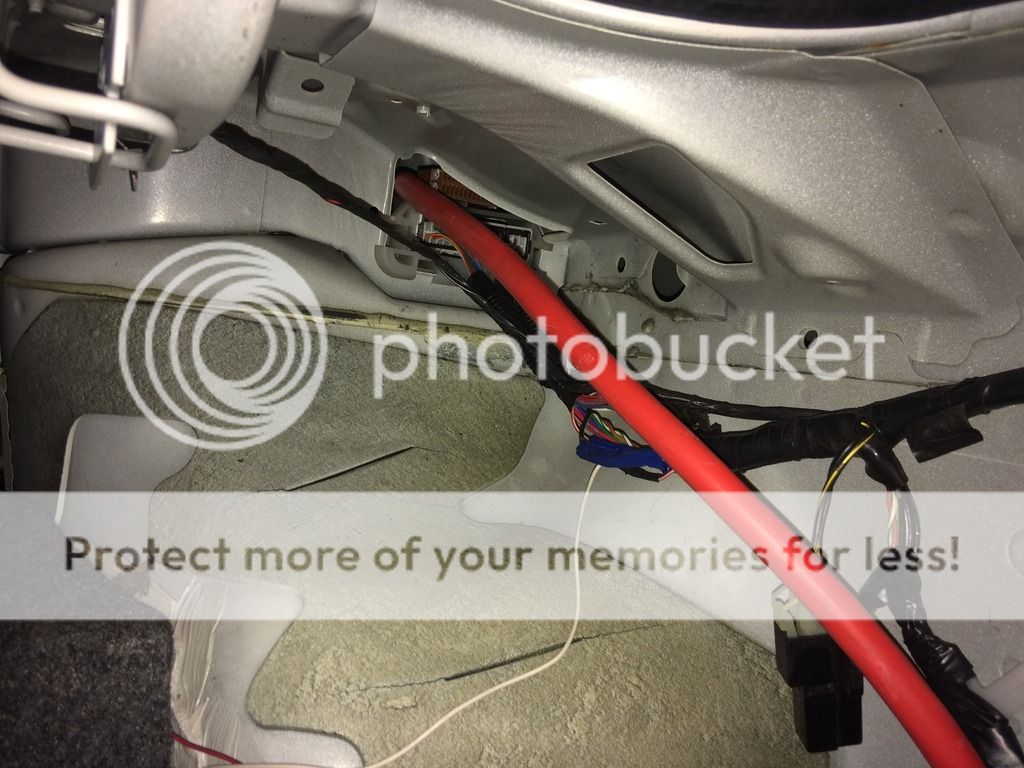
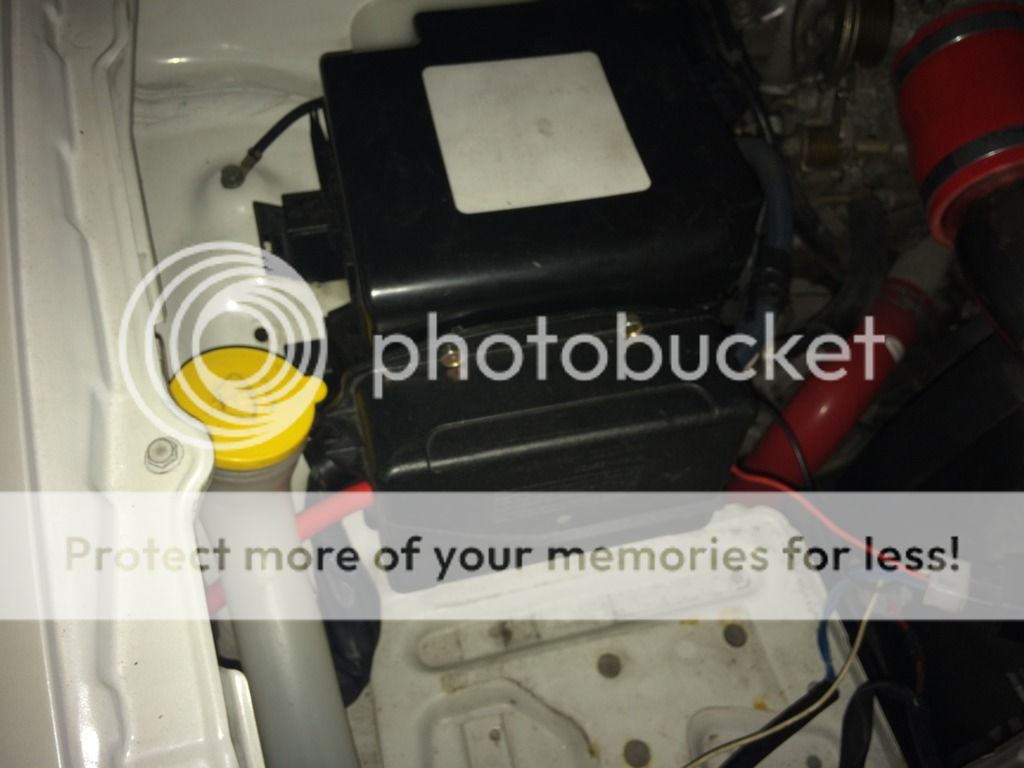
The hardest part has been working out where to run the cable, i initially though of running it behind the radio and under the centre console but then decided on down the side of the drivers door for ease of access and less fooking about. To get the cable from the engine into the car i found a nice hole by the brake servo down to the gromit behind the fuse box in the drivers footwell. After about 30 mins of knuckle scraping and much swearing i found i could go inside the wheel arch making the install a lot neater. So pics below of progress so far.
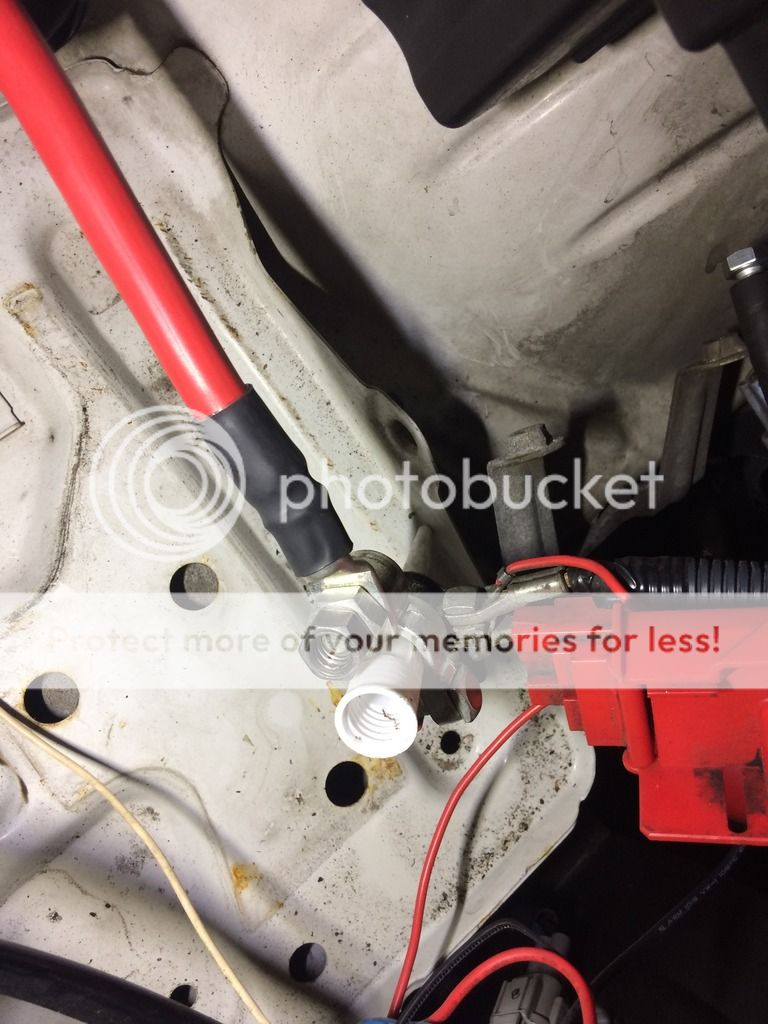
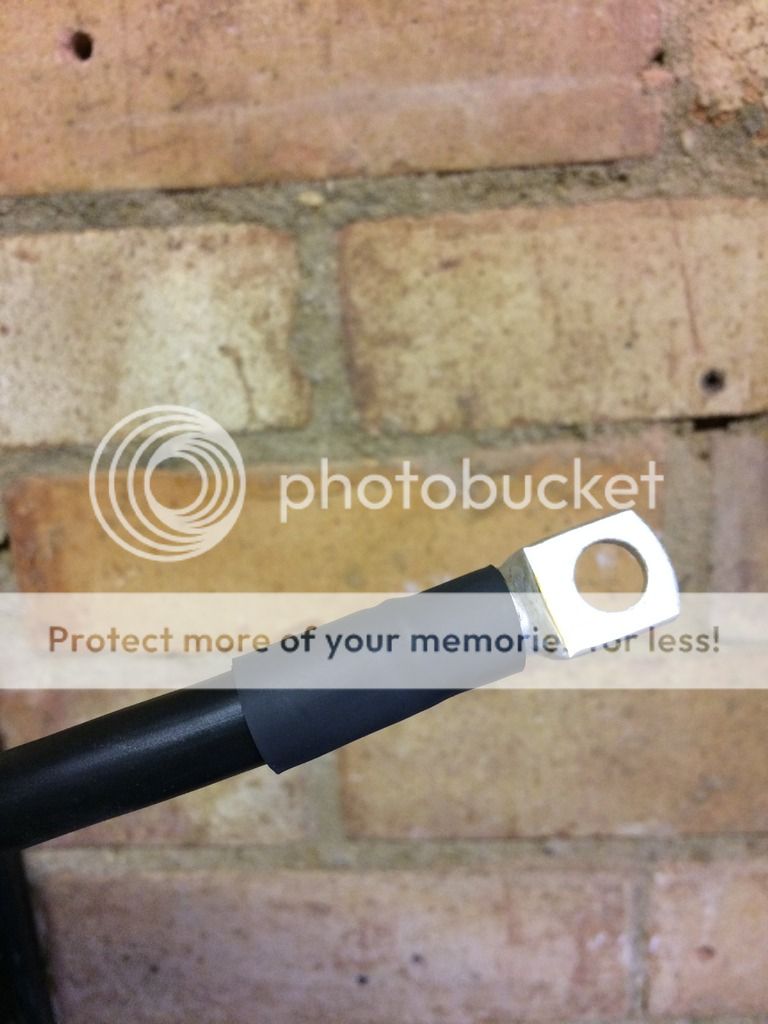
i need to turn some steel bar to connect the terminals so to keep everything in place a mastic nozzle fitted perfectly!
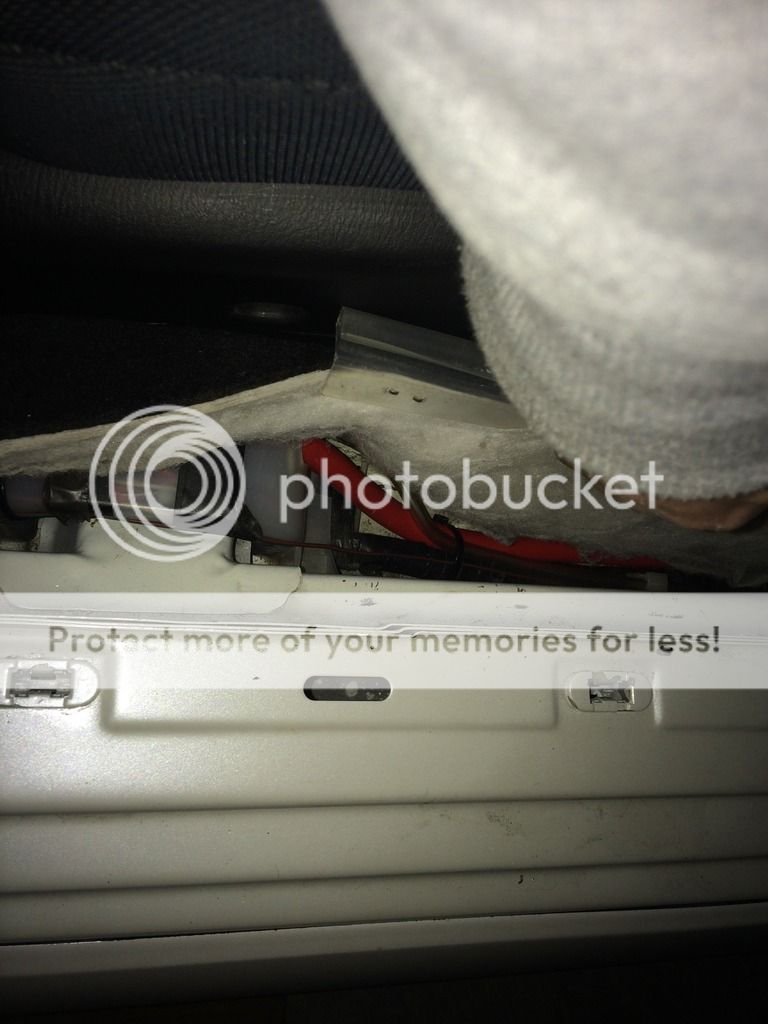
Id put everything back then thought i havent taken any pictures so sorry they're a bit sketchy
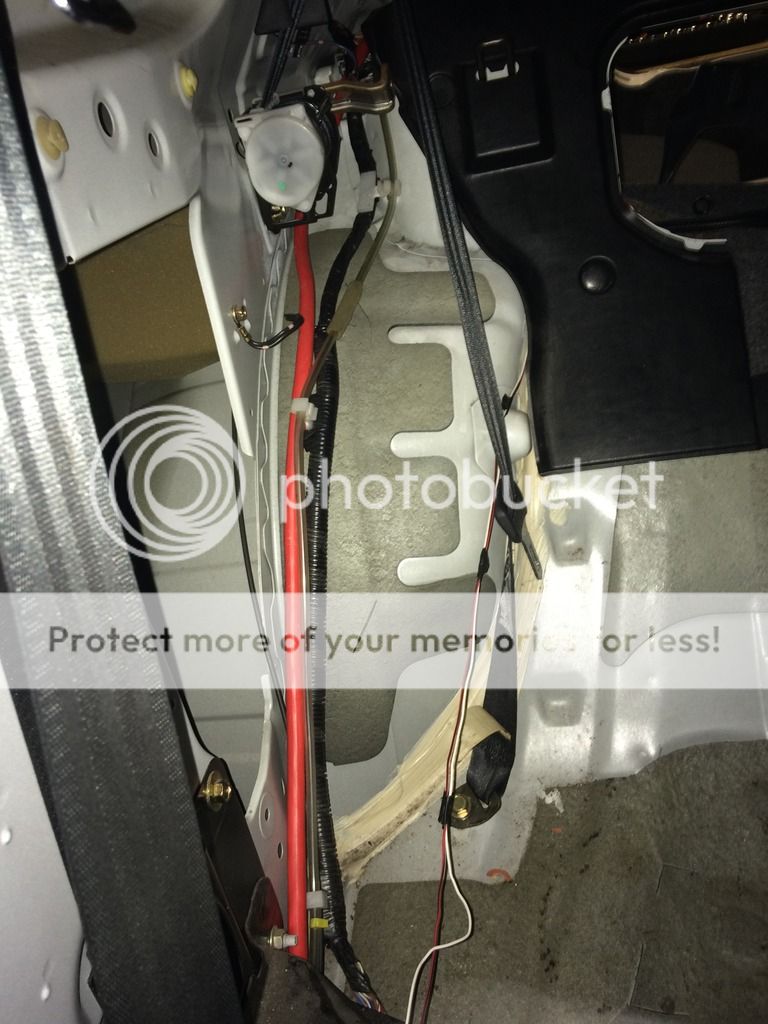
cable is now into the boot, just need to find a place to mount the breaker and also where to locate the battery. And i need to get a tray made up.
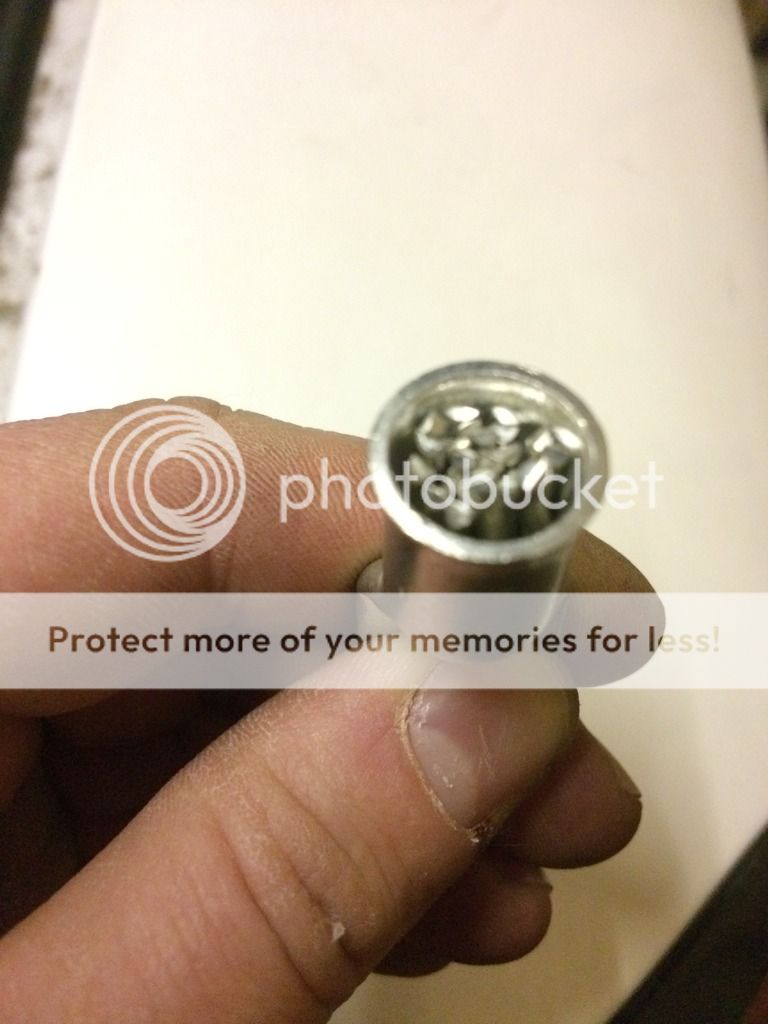
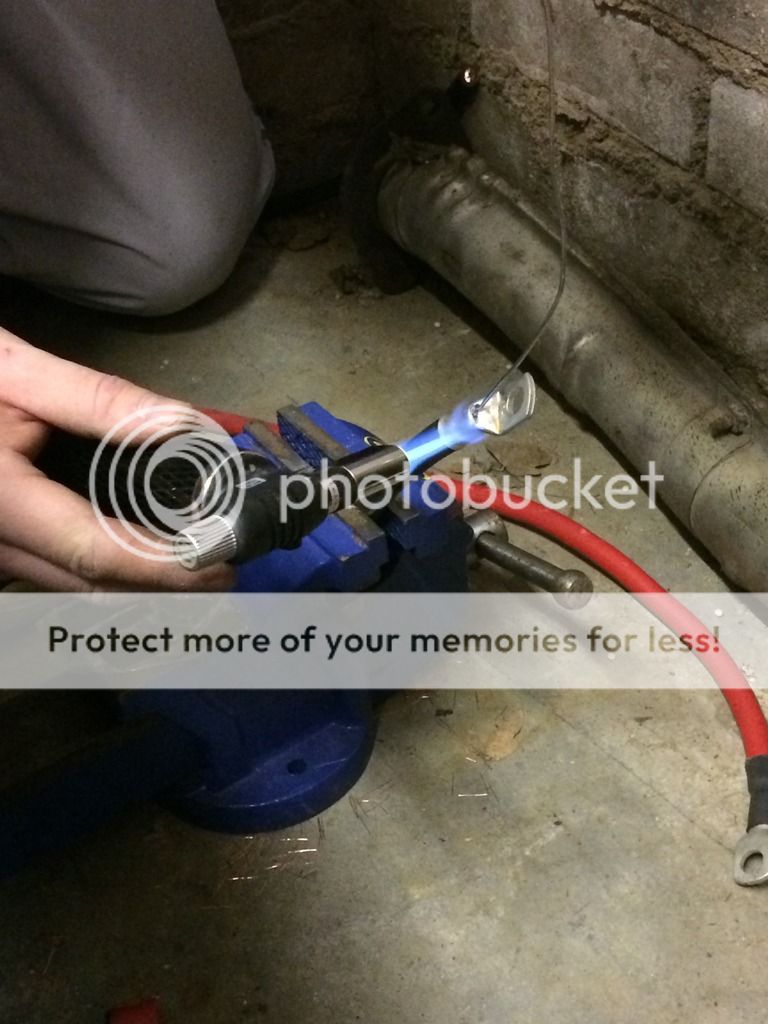
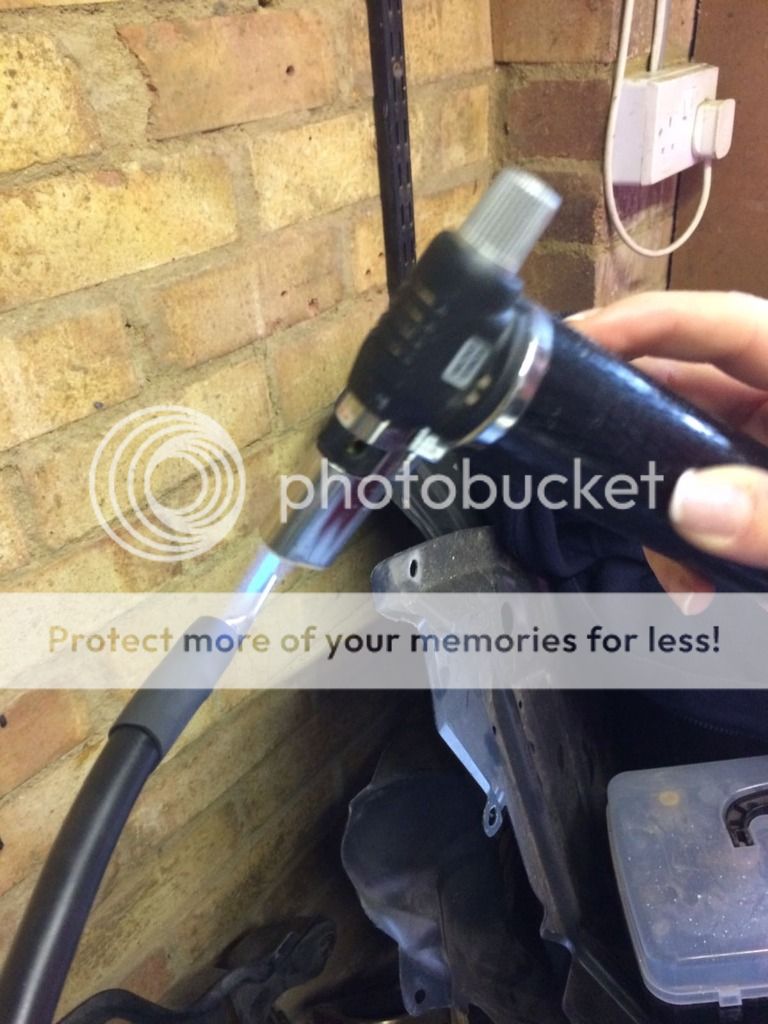
Also i found online a good way of soldering connections on is with the use of solder pellets/slugs which fit in the end, you heat them with a torch and then push the wire in. Typically these arent available in the uk so i made my own works a treat even if it looks a bit wtf
by saturday she should have power and i can see if she will actually start! wish me luck
The hardest part has been working out where to run the cable, i initially though of running it behind the radio and under the centre console but then decided on down the side of the drivers door for ease of access and less fooking about. To get the cable from the engine into the car i found a nice hole by the brake servo down to the gromit behind the fuse box in the drivers footwell. After about 30 mins of knuckle scraping and much swearing i found i could go inside the wheel arch making the install a lot neater. So pics below of progress so far.

i need to turn some steel bar to connect the terminals so to keep everything in place a mastic nozzle fitted perfectly!


Id put everything back then thought i havent taken any pictures so sorry they're a bit sketchy


cable is now into the boot, just need to find a place to mount the breaker and also where to locate the battery. And i need to get a tray made up.
Also i found online a good way of soldering connections on is with the use of solder pellets/slugs which fit in the end, you heat them with a torch and then push the wire in. Typically these arent available in the uk so i made my own works a treat even if it looks a bit wtf

by saturday she should have power and i can see if she will actually start! wish me luck
I'll have to try that idea with the solder pellets/slugs - like it :thumbs:
FINISHED!!! well kind of, i have no rear interior and haven't connected back up to the main loom but its as good as done Oh and also need to make up a battery tray and cover. Got a few action shots below and had the mrs on shrink wrap duty.

Oh and also need to make up a battery tray and cover. Got a few action shots below and had the mrs on shrink wrap duty.


Once all this is finished I need to get the horn working so I can get an MOT. Then time to finally fit my c's short shifter and coilovers


So got got some goodies to fit :hail:


Started with the short shifter got this far and realised I need some circlip pliers which are still at my parents with most of my other tools which is annoying
will have to wait till monday. Was supposed to be a before and after picture but whatever
Last edited:
Few little jobs this weekend, finished off covering the wiring in the engine bay
and also finished the c's install, the throw is crazy short probably about an inch movement from centre either side and front to back.
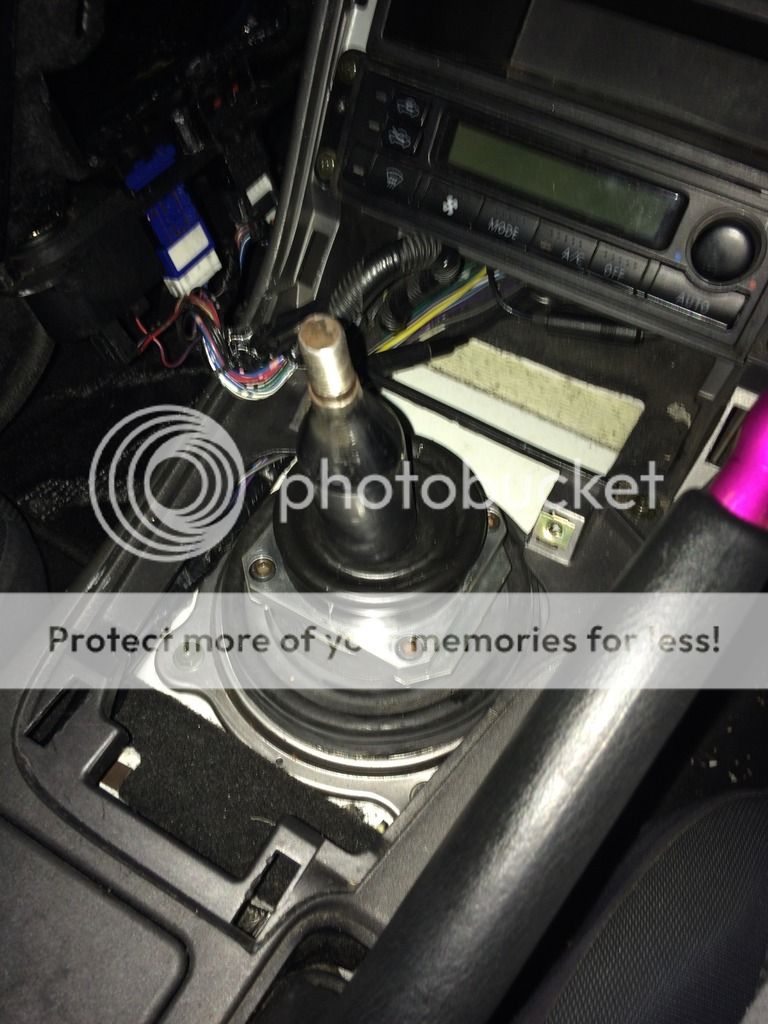
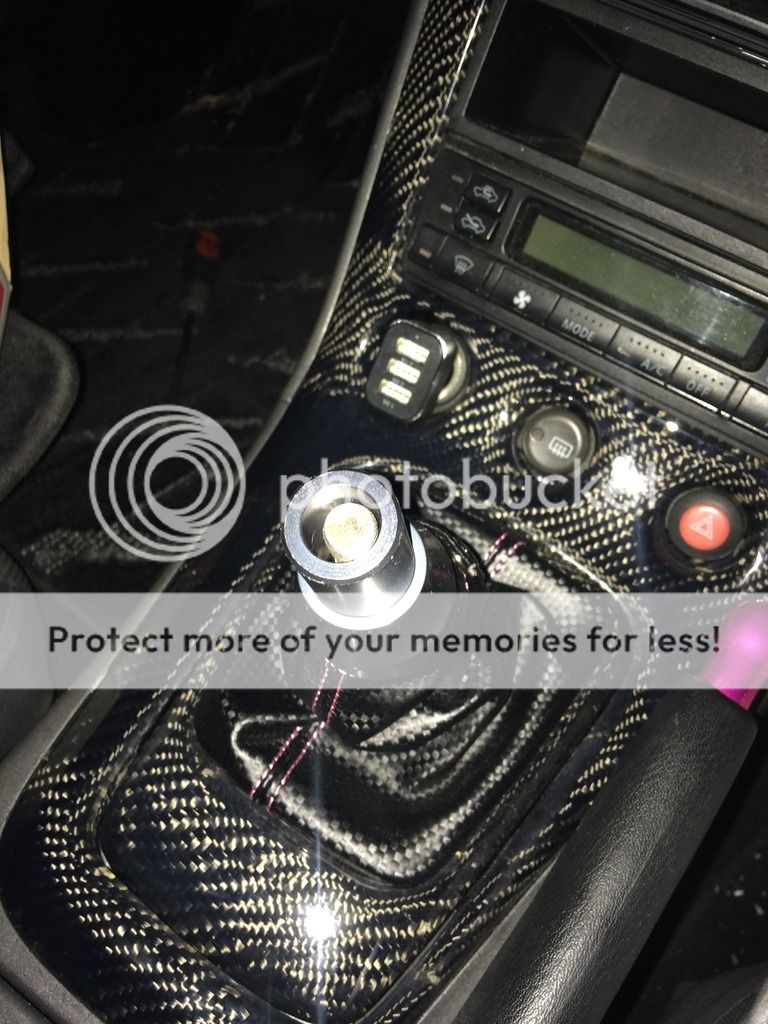
However only issue is that the shaft is shorter so my yashio stuff doesn't fit need to make a slight extension so the flange bit fits

and also finished the c's install, the throw is crazy short probably about an inch movement from centre either side and front to back.


However only issue is that the shaft is shorter so my yashio stuff doesn't fit
need to make a slight extension so the flange bit fitsSome more non go faster goodies added yesterday. I haven't bonded anything yet they are just screwed on but look pretty good. I was a bit dissappointed with the fit of the carbon exhaust trim. I don't know what bumper they apparently took the mould from but it defo wasn't and s15 one! ��
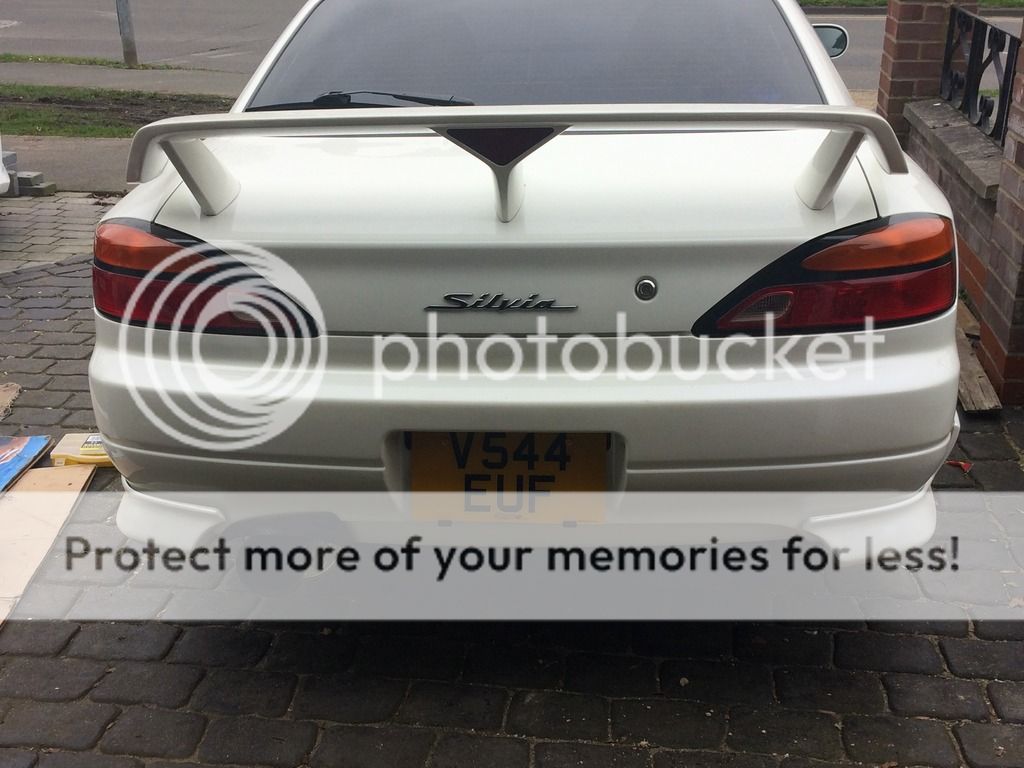


Weekend before last the car got its first official outing in about 18 months- a nice trip down to my local MOT centre! Castle Point Motors in Benfleet were spot on, really friendly and nice to deal with so will be using them from now on.
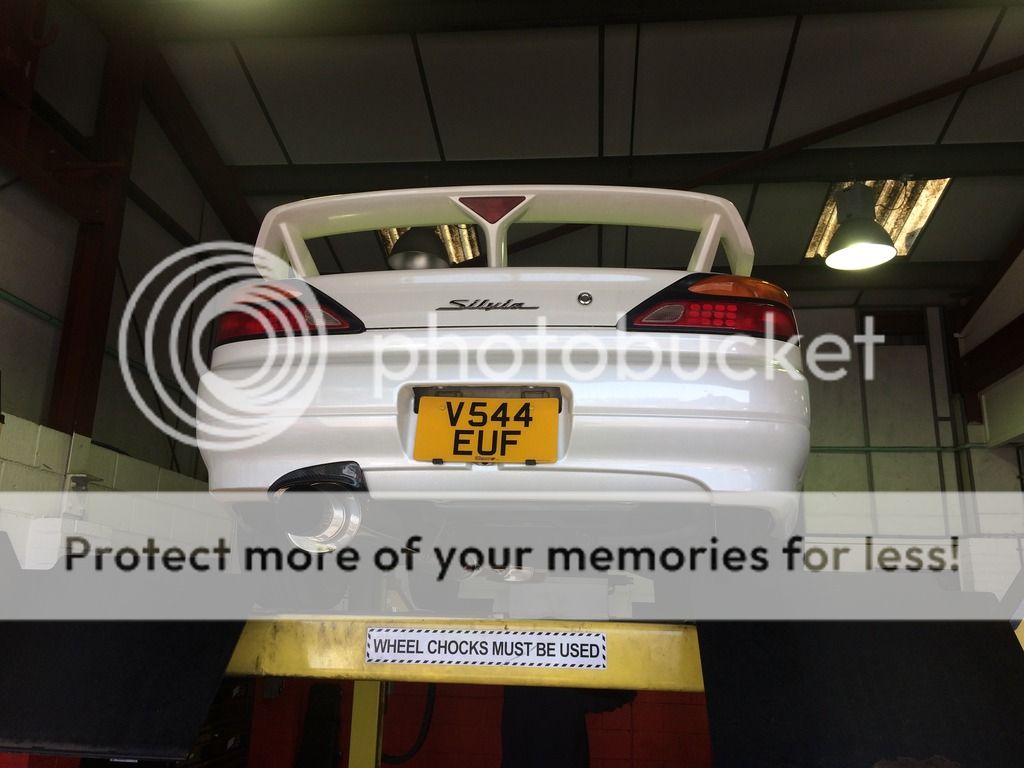
All Taxed and MOT'd the next job was to burn up the 3/4 tank of Tesco's finest combustible loveliness. This acted as a shakedown test and also to empty the tank so i can fit my walbro pump. 177 miles completed and happy to report no issues. Also managed to go to car meet at the halfway house on the A127, think its a regular thing 2nd friday of the month but not sure. was some very nice imports down there including a 1JZ PS13 and a nice looking SIL13. there were even 2 other silvias

So next jobs are fuel pump and a trip to the dentist... watch this space!
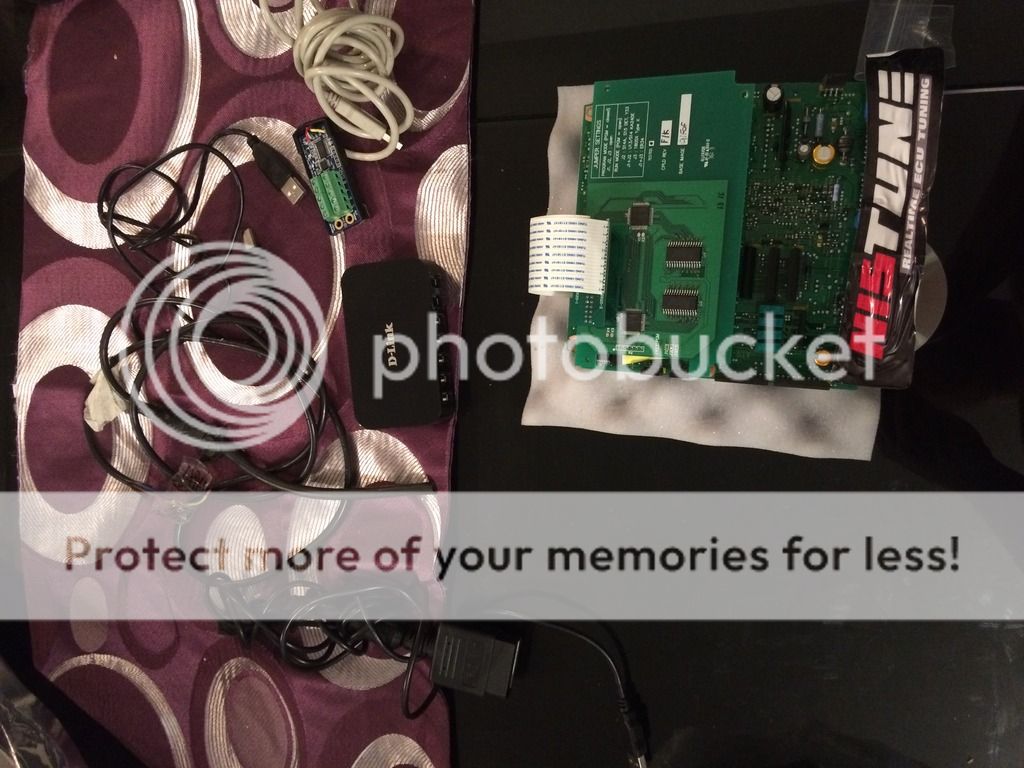
I have also bought myself a NISTUNE ecu setup which I'm stoked about so I actually have something to map the car with

All Taxed and MOT'd the next job was to burn up the 3/4 tank of Tesco's finest combustible loveliness. This acted as a shakedown test and also to empty the tank so i can fit my walbro pump. 177 miles completed and happy to report no issues. Also managed to go to car meet at the halfway house on the A127, think its a regular thing 2nd friday of the month but not sure. was some very nice imports down there including a 1JZ PS13 and a nice looking SIL13. there were even 2 other silvias

So next jobs are fuel pump and a trip to the dentist... watch this space!
I have also bought myself a NISTUNE ecu setup which I'm stoked about so I actually have something to map the car with

Nice work man, proper in depth. What did you think of the Halfway house meet? Always such a mix of cars when I get down there! I know you said the throw was crazy short, but do you think it too much even or just a huge improvement?
Thanks mate, yeah thought I'd document everything as a way of keeping history with the car as I've not kept receipts or a folder but don't plan on selling it! At first I thought it was too much but now I love it after driving with it.
Lots has been going on over the last few weeks, I seem to keep accumulating more and more 's**t' as the girlfriend calls it but don't seem to get around to putting much on the car
but anyway, bought myself a Fuel Pressure Regulator and adapter to fit on the rail, made this lovely bracket at work today to mount it on will get this done over the weekend- hopefully no leaks.
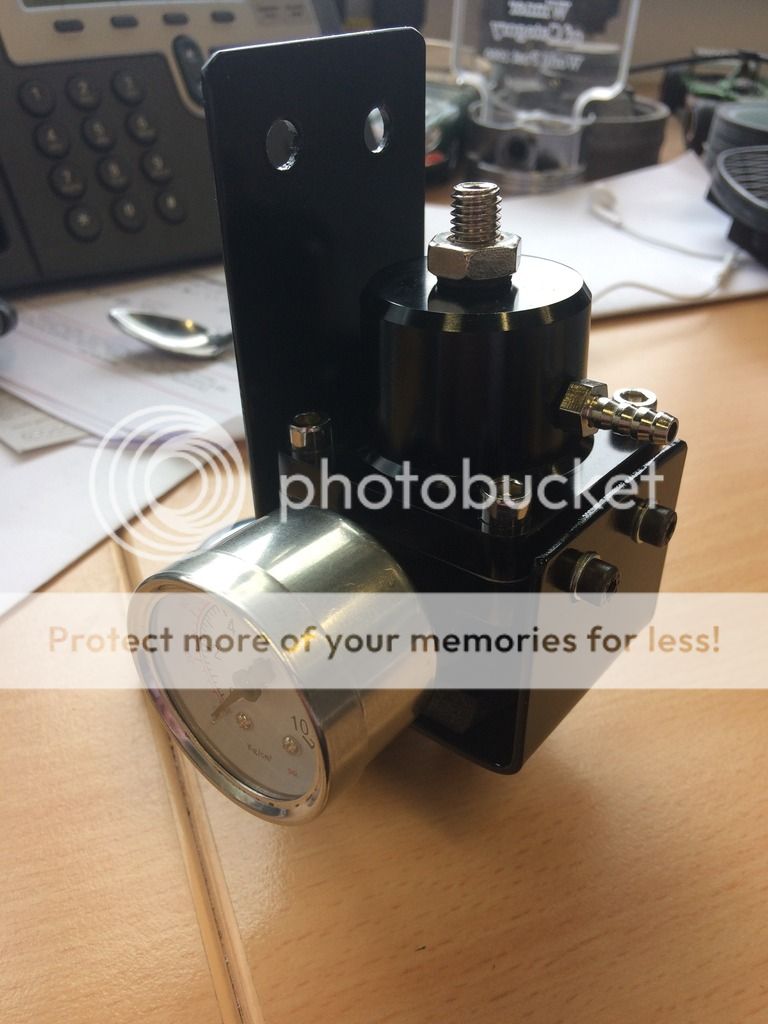
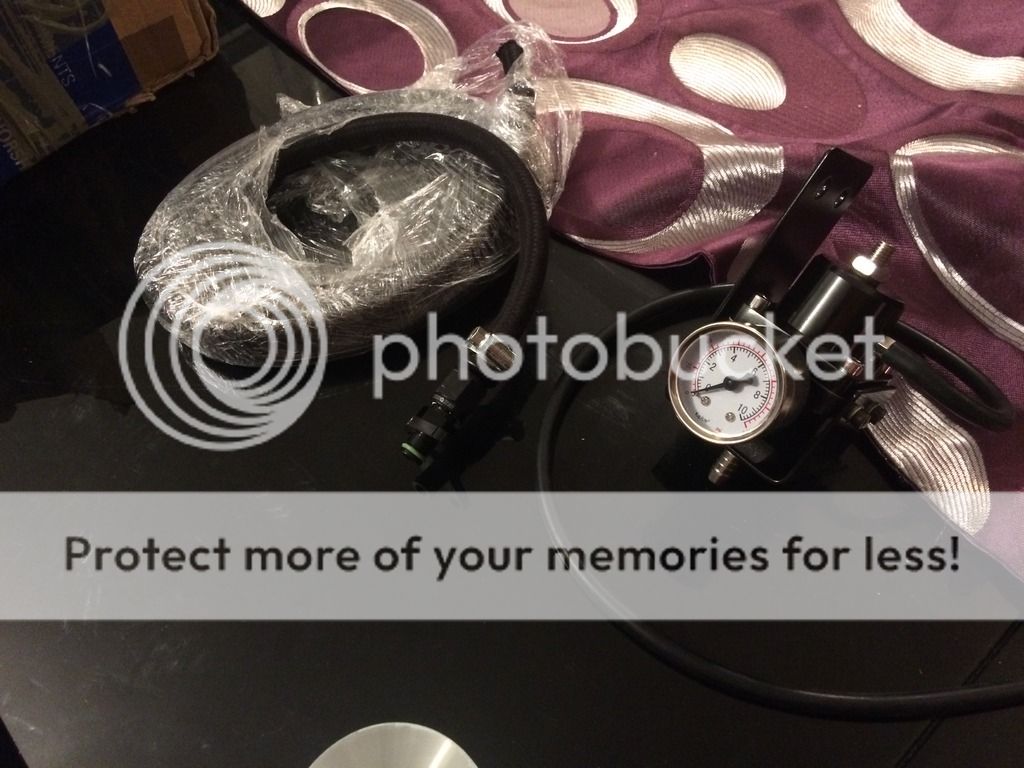
will also be doing the fuel pump as i have the system drained of fuel.
Oh and the best news, this turned up today...wonder what it could be??
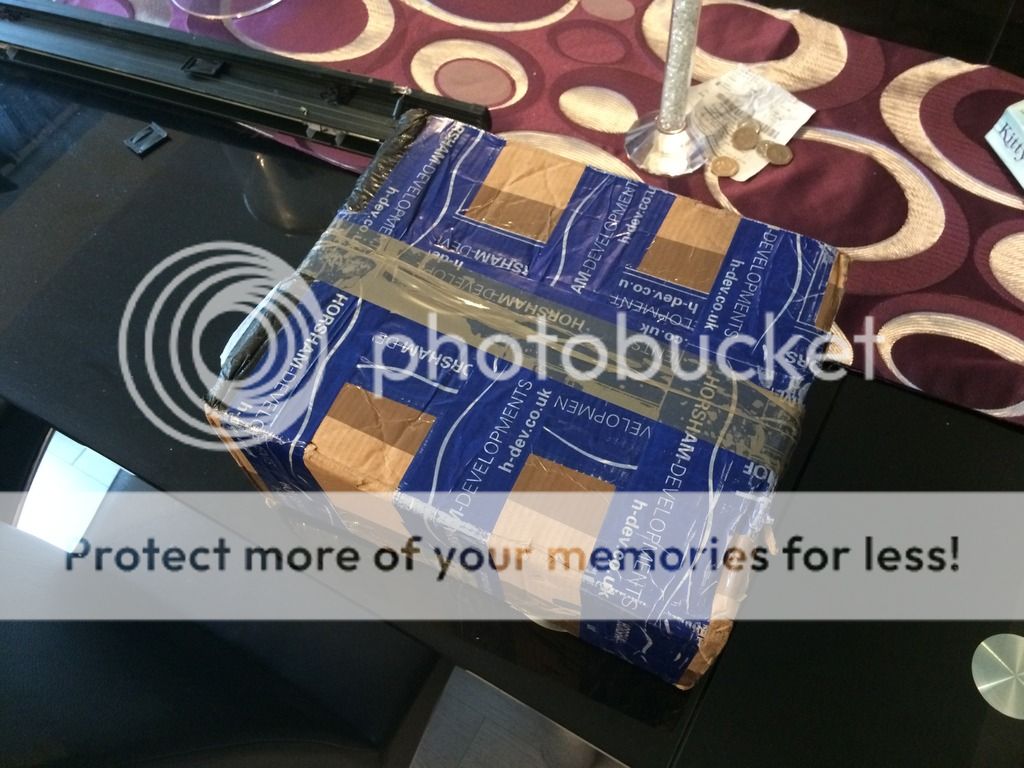
Give me all the boost :biggrin1:
but anyway, bought myself a Fuel Pressure Regulator and adapter to fit on the rail, made this lovely bracket at work today to mount it on
will get this done over the weekend- hopefully no leaks.

will also be doing the fuel pump as i have the system drained of fuel.
Oh and the best news, this turned up today...wonder what it could be??


Give me all the boost :biggrin1:
That exhaust trim fitment is ridiculous! Did you return it?
no, to be honest I had it for so long and didn't get around to fitting it so was a bit late, but they'd all be the same. Obviously the lay up mould they use is wank. You can only see it if you're on the floor. I will pump a load of black mastic behind it to bond it on and fill the holes so it looks less obvious
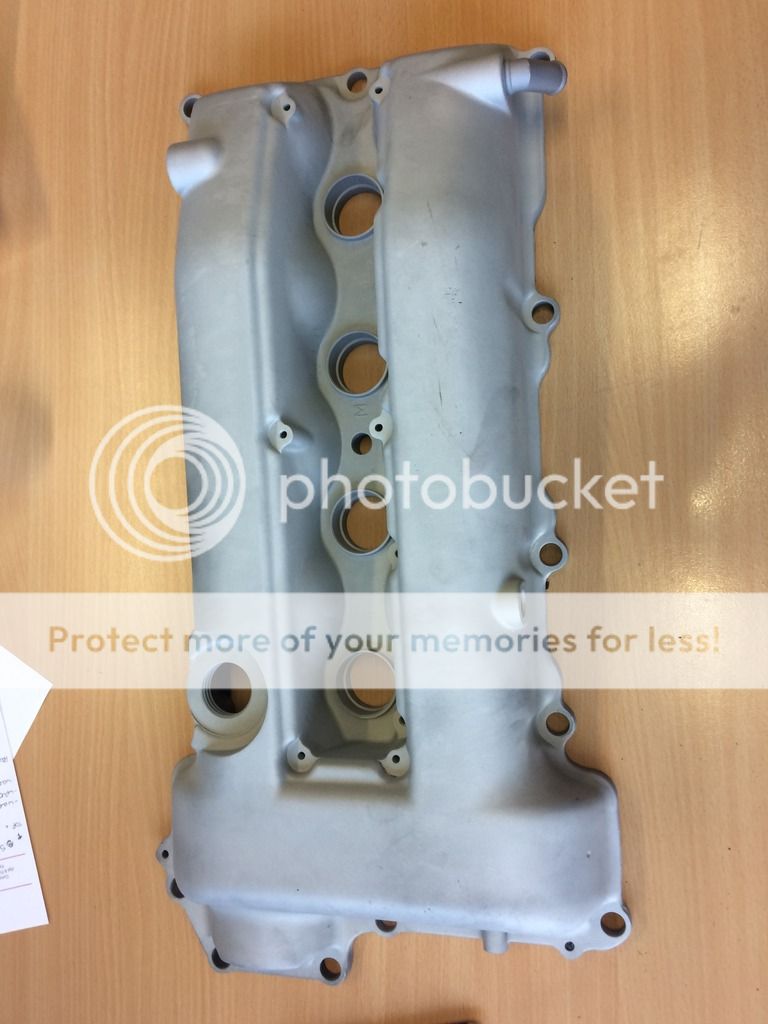
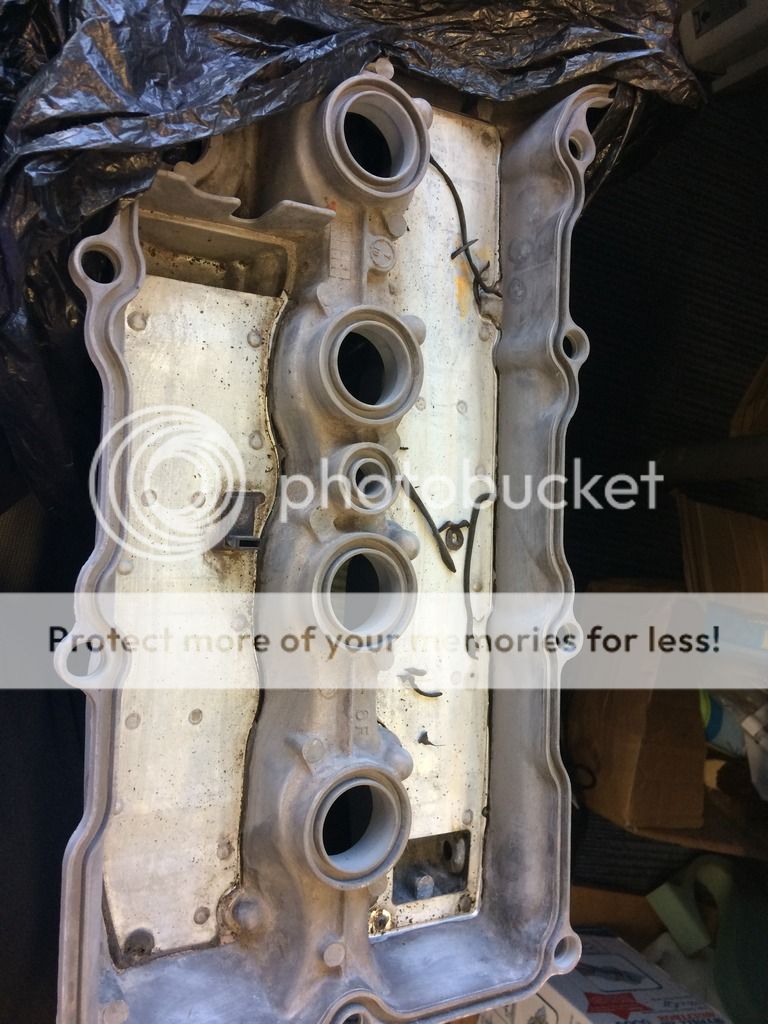
Been doing some work on a spare cam cover I bought ages ago, had it shot blasted and chemical dipped but i think there is still media under the baffles so I'm going to remove them. Interestingly the baffles are steel and not ally link the cover- is there any reason for this? as if not i will just make templates up and cut them from ally and have them tig welded back in. Also this one doesn't have a PCV valve but after some research seems that the PCV is only for emissions so I will run this to a catch can VTA setup


progressed a little bit more this weekend, got my FPR fitted. I wanted to put it next to the vin plate on the fire wall but there wasn't really enough room so I had to move my boost gauge wiring. It needs tidying but looks good I think.
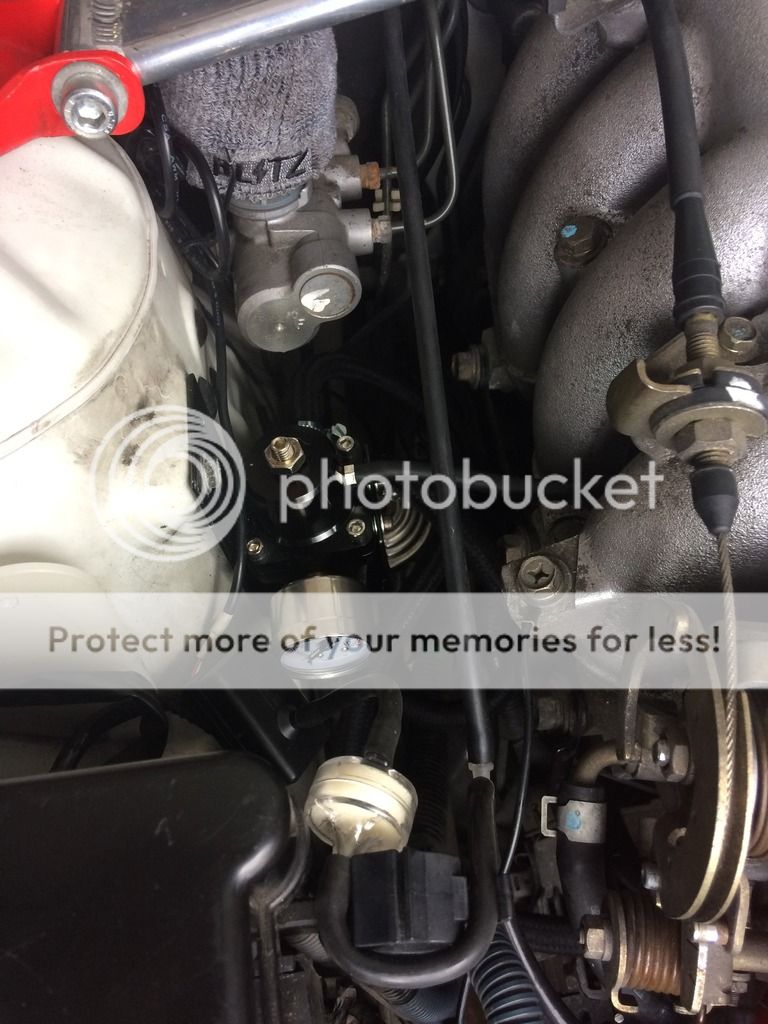
purchased this adapter with AN to push fit connection, I had to bend the pipe from the intercooler ducting to the intake manifold as it was in the way. I would advise buying a 90 degree adapter instead of a straight one.
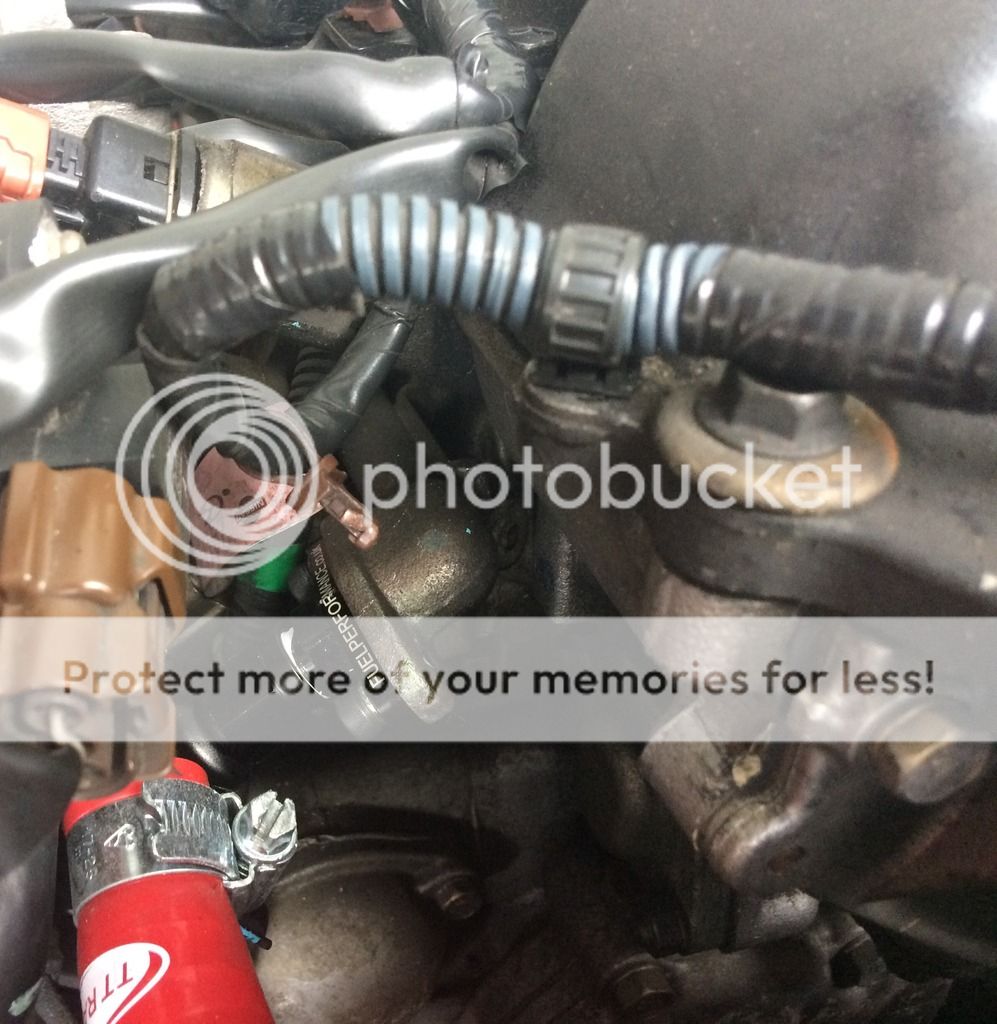
I also got around to removing the fuel pump finally- was actually a very simple job although taking stuff apart always is! getting the bracket back on could be tricky.
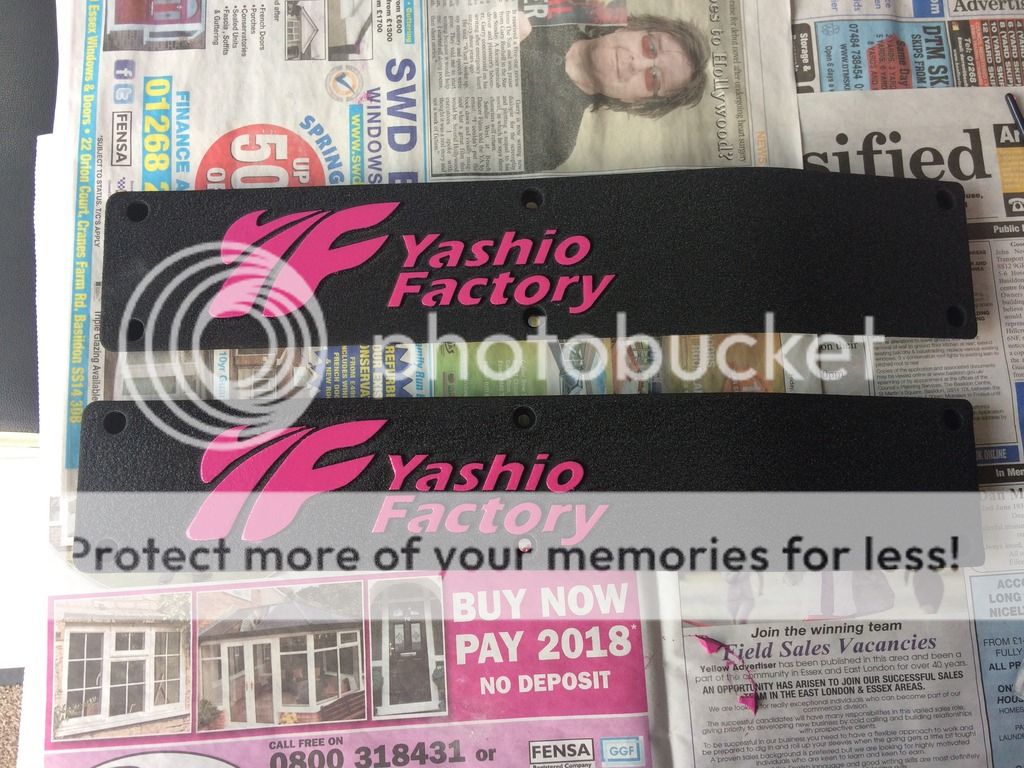
Also as im playing around with a second cam cover, I thought I'd make it a bit unique so i have made a couple of these for copyright these are 100% not genuine haha!
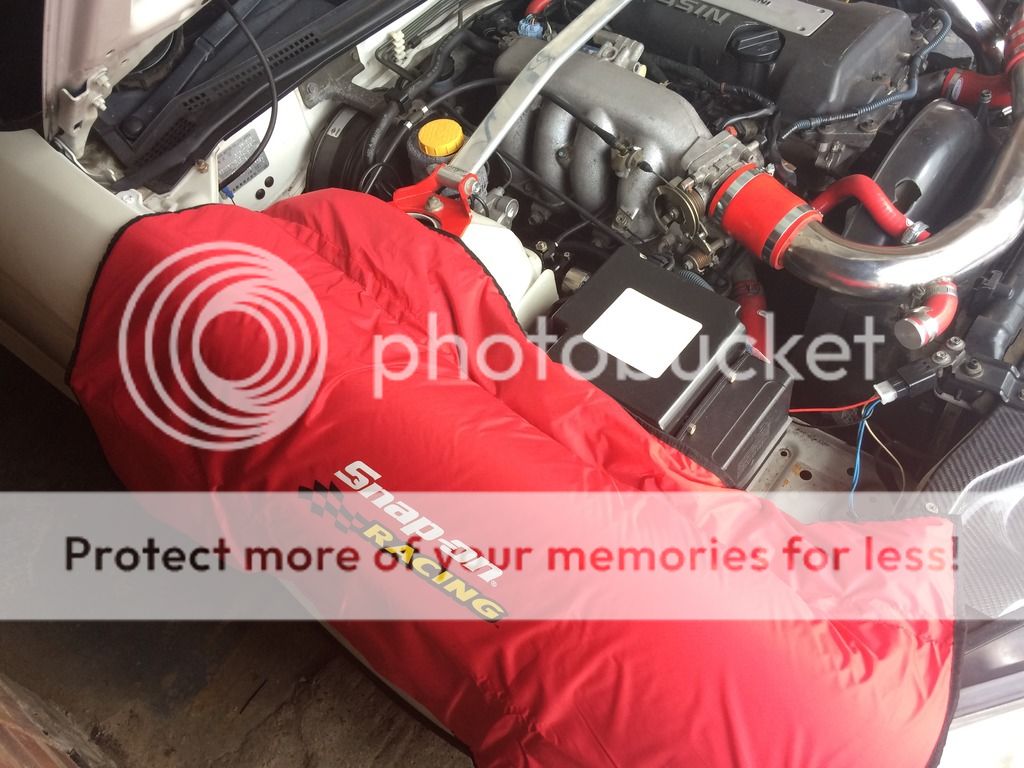
got myself a wing protector too which I'm very pleased with

purchased this adapter with AN to push fit connection, I had to bend the pipe from the intercooler ducting to the intake manifold as it was in the way. I would advise buying a 90 degree adapter instead of a straight one.

I also got around to removing the fuel pump finally- was actually a very simple job although taking stuff apart always is! getting the bracket back on could be tricky.
Also as im playing around with a second cam cover, I thought I'd make it a bit unique so i have made a couple of these
for copyright these are 100% not genuine haha!
got myself a wing protector too which I'm very pleased with

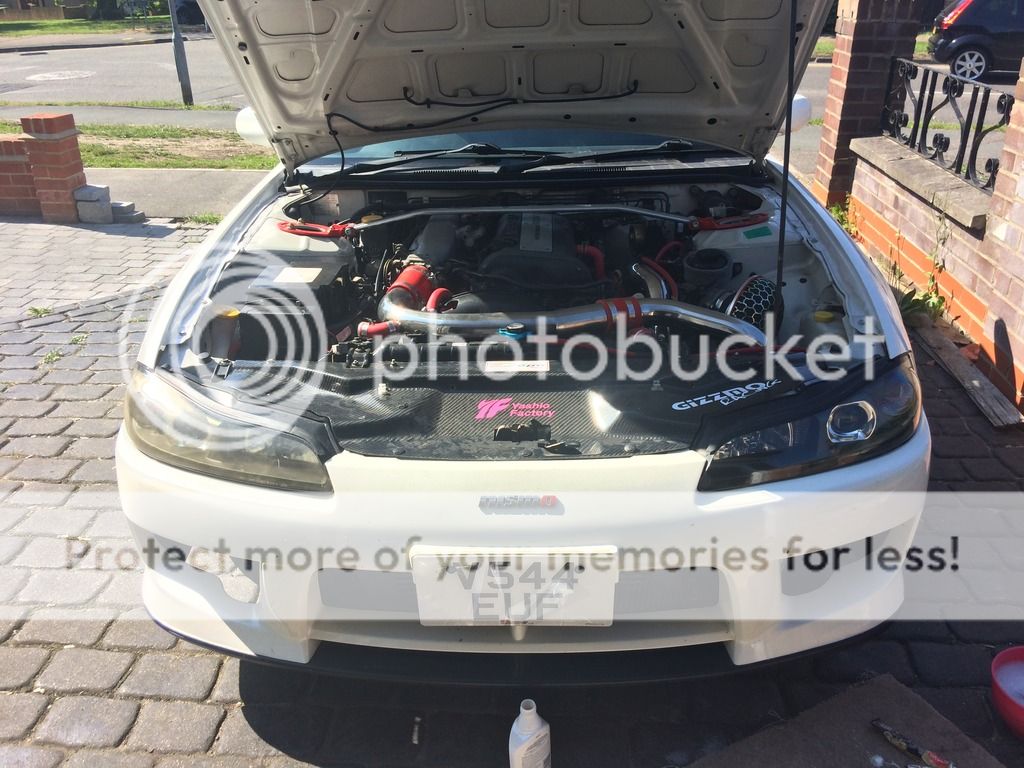
finally got around to sorting out my cruddy yellow headlights
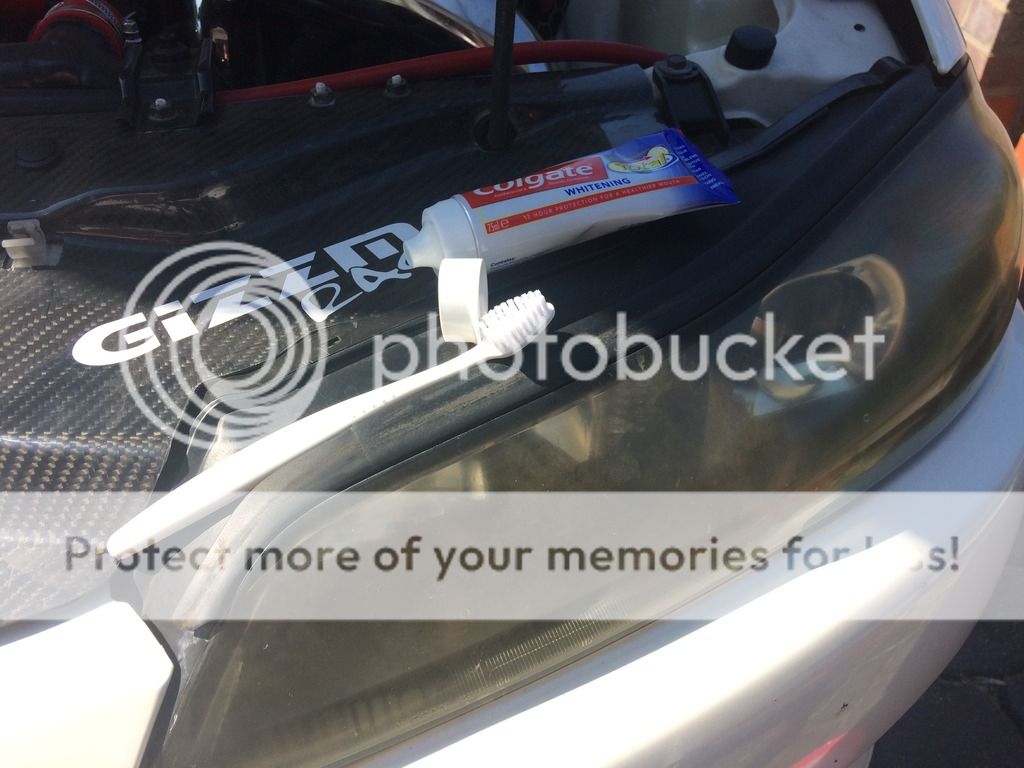
as i said previously trip to the dentist lol
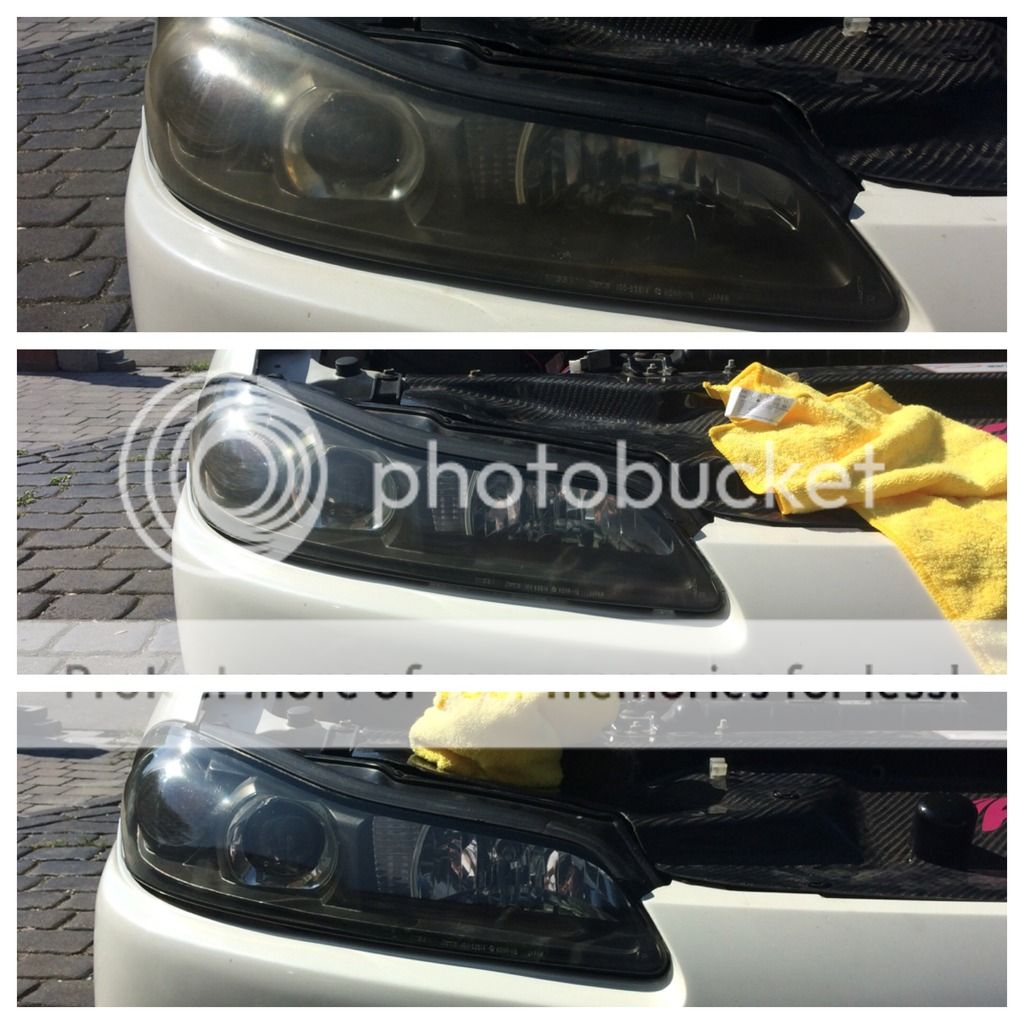
top:manky yellow light to start
Middle: after 2 scubs with colgate gentle whitening- got rid of the yellow but didnt really shine
bottom: Literally 20 second polish with Tcut and they come out perfect.
The insides look like there is crazing across the plastic but im not brave enough to take them apart- but my headlights work so much better in the dark now!

as i said previously trip to the dentist lol


top:manky yellow light to start
Middle: after 2 scubs with colgate gentle whitening- got rid of the yellow but didnt really shine
bottom: Literally 20 second polish with Tcut and they come out perfect.
The insides look like there is crazing across the plastic but im not brave enough to take them apart- but my headlights work so much better in the dark now!
Keifer1903
Instagram Staff
Looks a massive improvement mate well done!
Sent from my iPhone using Tapatalk
Sent from my iPhone using Tapatalk
About Us
This owners club has been made in the benefit of owners of the Nissan Silvia chassis, allowing them to socially integrate and share their knowledge and advice.
We also intend to create events and social activities for members to take part in to help members meet and get to know each other.
We also intend to create events and social activities for members to take part in to help members meet and get to know each other.
Online statistics
- Members online
- 0
- Guests online
- 956
- Total visitors
- 956
Totals may include hidden visitors.