What's new

DB's S15 Build Thread

craig8585

I'm so cool, I have my own fan thread :p
🔥 Contributing Member 🔥
Joined
16 November 2007
Messages
4,118
Reaction score
0
Points
0
Location
Lichfield, UK
Country
BTW, I've merged your 2 threads as they were of the same topic, just in different sections :)
 
Joined
13 July 2010
Messages
567
Reaction score
12
Points
38
Location
Brighton-UK
Country
Thanks for that I was going to ask you if you could do that, the original build thread had been inactive for ages but just got some new posts, cheers
 
Joined
5 October 2009
Messages
746
Reaction score
0
Points
0
Location
Shropshire, UK
If you get someone to paint the car who has experience with painting pearls, or better still WK0 pearl white, then there won't be any problems. You can't just paint one panel though. If you fit a bodykit you'll have to paint most of the car in order to blend the colour.
I see, was thinking bout this as some of the paint doesn't match the best from previous work.. It's not bad just noticeable in some lights
 
Joined
13 July 2010
Messages
567
Reaction score
12
Points
38
Location
Brighton-UK
Country
Actually if i'm critical of the kit paint I have to agree that in some light/angles you can see a difference in shade but in general it's not noticable. I'm going to have the car detailed specificaly to have the paint corrected with a rotary, this should help with the colour matching between the panels. will let you know how i get on.
 
Joined
13 July 2010
Messages
567
Reaction score
12
Points
38
Location
Brighton-UK
Country
update

Been a bit quiet recently due to my move to the states, but have had a few things done on the car.

The rear end action since day one was and I can't describe it any other way other than Dangerious!!

Just changing lanes on boost had the car sideways, coming off boost even in a straight line had the read end twitching, so decided to have the subframe bushes and all the rear arm bushes replaced with Energy Suspension items and the Diff bushes replaced with Driftworks solid ones


The difference is incredible, even without adjustable arms sorting the geometry the rear end is now tight as a tight thing, super grip and general amazing difference, if you've not had this done do it....
Actualy the rear Potenza RE050A's probably havn't hurt either.
 
Joined
13 July 2010
Messages
567
Reaction score
12
Points
38
Location
Brighton-UK
Country
Would have loved to have done a Dean and Craig and detailed the rear end but that'll have to wait until I'm back in the UK, also all the rear arms and rear lower control arms plus the front control arms and tie rods/end are being replaced, just the Tein Tensions rods are remaining, more on this later...
 

craig8585

I'm so cool, I have my own fan thread :p
🔥 Contributing Member 🔥
Joined
16 November 2007
Messages
4,118
Reaction score
0
Points
0
Location
Lichfield, UK
Country
The difference this makes is epic. I can pin mine round corners in 2nd and the back end just grips. Bet your looking forward to getting back to the UK for a drive?! :)
 

DeanS15

My car is so clean you could eat off it.
Joined
16 March 2008
Messages
2,977
Reaction score
4
Points
38
Location
sheppey, kent
Country
Makes a massive difference, well worth doing :) I'm finding the handling great butmsometes too sharp where it reacts to crappy uk roads. When you find a nice smooth one it's lovely
 
Joined
13 July 2010
Messages
567
Reaction score
12
Points
38
Location
Brighton-UK
Country
Cheers and if you get a chance over the winter it's well worth the hastle, big difference.

If anyones interested here's the Energy Suspension part numbers for the subframe bushes and the rear arm bushes

 
Joined
13 July 2010
Messages
567
Reaction score
12
Points
38
Location
Brighton-UK
Country
another bit of work that was done recently. The Decat - got a nice Apexi one from Jap Performance Parts.


Joined
13 July 2010
Messages
567
Reaction score
12
Points
38
Location
Brighton-UK
Country
I'm doing a battery relocation to the boot as I want to make some space in the engine bay and have been looking around for a nice bracket to hold the Optima Yellow Top i'm getting, found one here in the states that's compliant with the US NHRA as is uses 3/8" bolts for mounting so should do fine for day to day and track use back home :). CNC machined out of solid billet 6061-T6 Aircraft Grade Aluminium.. Nice. Turned up today.


Will post some pics once it's in and the Optima's wired up. Need to sort my plans for the sounds install first as there will be a far bit of wiring and distribution to sort as part of the battery install but getting there.
 
Joined
13 July 2010
Messages
567
Reaction score
12
Points
38
Location
Brighton-UK
Country
I know... and it only cost £50 shipped lol.... Would pay loads for something like this back home......

This was the cheapest of the brackets they sell, they also make custom ones with your own design machined into it...

http://optimatrays.com/

Now thinking about getting two of these so I can run a split charge set up for the hifi install, more on this later..... :)
 
Last edited:
Joined
13 July 2010
Messages
567
Reaction score
12
Points
38
Location
Brighton-UK
Country
Sr23vet slow build

I'd originaly intended to build a solid 400bhp motor, with forged internals and solid lifters for high rpm use, so I bought most of what I needed including bored and honed block (86.5mm), micropolished crank, water pump, oil pump/front cover, 740cc Nismo injectors, Tomei FPR, Garrett GT2871r, HKS Fcon V Pro 3.3 etc etc. But not the rods and pistons, head parts got were BC springs and Titanium retainers, super tech valve stem seals and Tomei RAS.
Since then (late last year) i've moved to the US and my plans have changed (coming back to the UK in 2013 sometime) :)

I'm now going to build a SR23VET, P11 head and the full works for both (all machining and assembly by Mazworx), it's going to be a slow build mainly due to funds but also because I want to ship various parts of the build to WPC Treatments (http://www.wpctreatment.com/) in California for their metal treatment including the block (after the Darton sleeve install, bore and hone), crank, rods, bearings and head parts, plus 'Swain Tech ceramic coatings - Similar to Zircotech' and 'Callico DLC on the wrist pins'. So logistics wise it's gonna take some doing.

This is the plan: -

Mazworx intake manifold/fuel rail
90mm Plazmaman throttle body
Injector Dynamics 2000 injectors
Mazworx Top Mount Exhaust Manifold – V Band (Swain Tech Coated)
Garrett GTX3071r with Tial Exhaust housing (0.64a/r) (V Band)
Tial MR-V 44mm Wastegate

90mmx91mm Engine

Cylinder Head

Core SR20VE Cylinder Head (P11)
Supertech Dual Valve Spring, SR20VE, 123lbs on the seat, for turbo
Supertech Titanium Retainers, SR20
Supertech Nissan 6mm Exh Guide, DE/VE
Supertech Valve Guide Intake Nissan SR20DET/RB26 6 mm stem Manganese Bronze
Supertech Intake Valve Stem Seal, SR20
Supertech Exhaust Valve Stem Seal, SR20DE
Supertech Intake Valve, +1mm, SR20VE
Supertech Iconel Exhaust Valve, +2mm,SR20VE
Supertech Inner Spring Locator, 6mm Valve,SR20
Kelford Racing Cams, SR20VE, High RPM Turbo duration (WPC Treated)
Tomei Adjustable Cam Gears
Mazworx 1/2" Head Stud Kit w/ Dowels
Mazworx SR20DET Headgasket, 90mm Bore
Clean and R/R Oil Ports
CNC Combustion Chamber, 90mm Bore
Stage 2 Port and Polish Gasket Match, Bowl Work, Blend and Polish
Competition Valve Job, VE
Resurface Head
R/R Valve Guides
SR 1/2" Stud Machining, Head
Machine Headgasket for 1/2" Head Studs
Assemble/Shim (Solid Pivots)

Block

S15 Core Block
Darton Nissan SR20 Dry Sleeve, Double Flat
Darton Nissan SR20 Dry Sleeve, Single Flat
Oil Pump, SR20VE (Blueprinted and WPC treated)
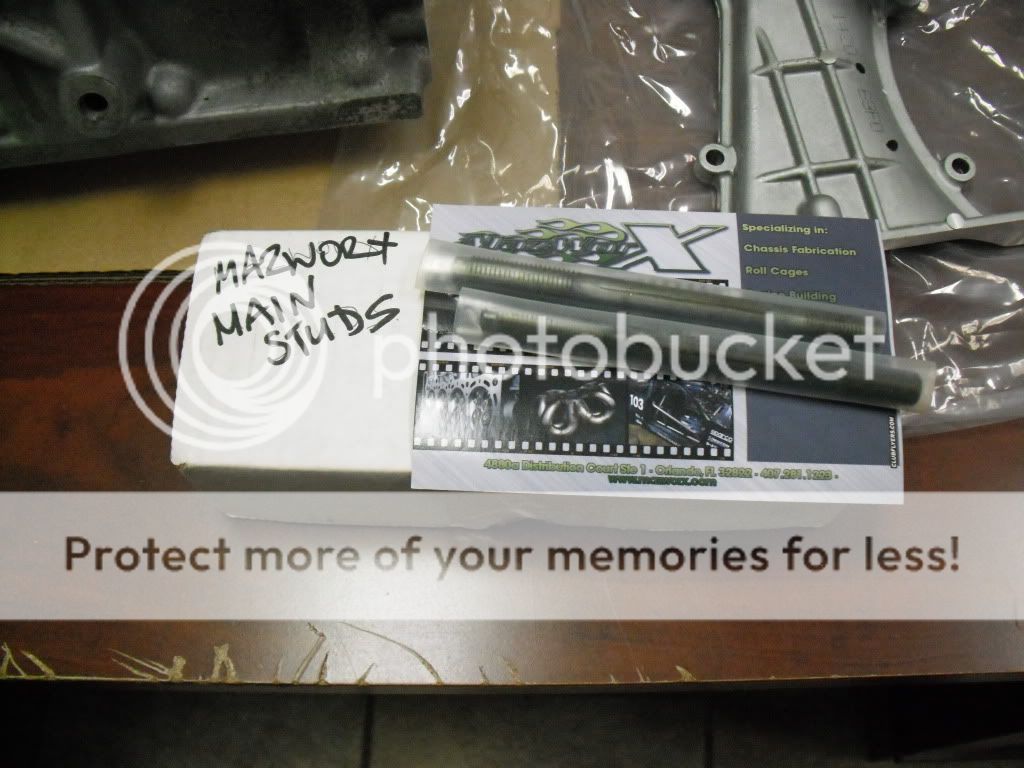
Mazworx SR20 Main Stud Kit
4 Custom CP Pistons (set of 4) -- 90mm 9.0:1 VE Head (special profile for CNC Combustion Chamber machining) (Swain Tech Coating – Gold Coat piston top and PC-9 Skirt Coating) (Calico DLC coated ‘wrist pins’)
Carrillo H Beam Connecting Rods, SR20, CARR Bolts
Mazworx SR20 91mm Billet Crankshaft
Callico coated ACL Race Thrust Bearing, Nissan SR20
Callico coated ACL Race Rod Bearing 19mm Wide SR20DET
Callico coated ACL Race Main Bearing Set, NissanSR20DET, w/ 5 Oiling Holes
Nismo Pilot Roller Bearing
ATI Super Damper, SR20 RWD
Oil Pickup, SR20
SR20VE Oil Pickup Assy
Water Pump, S15, SR20
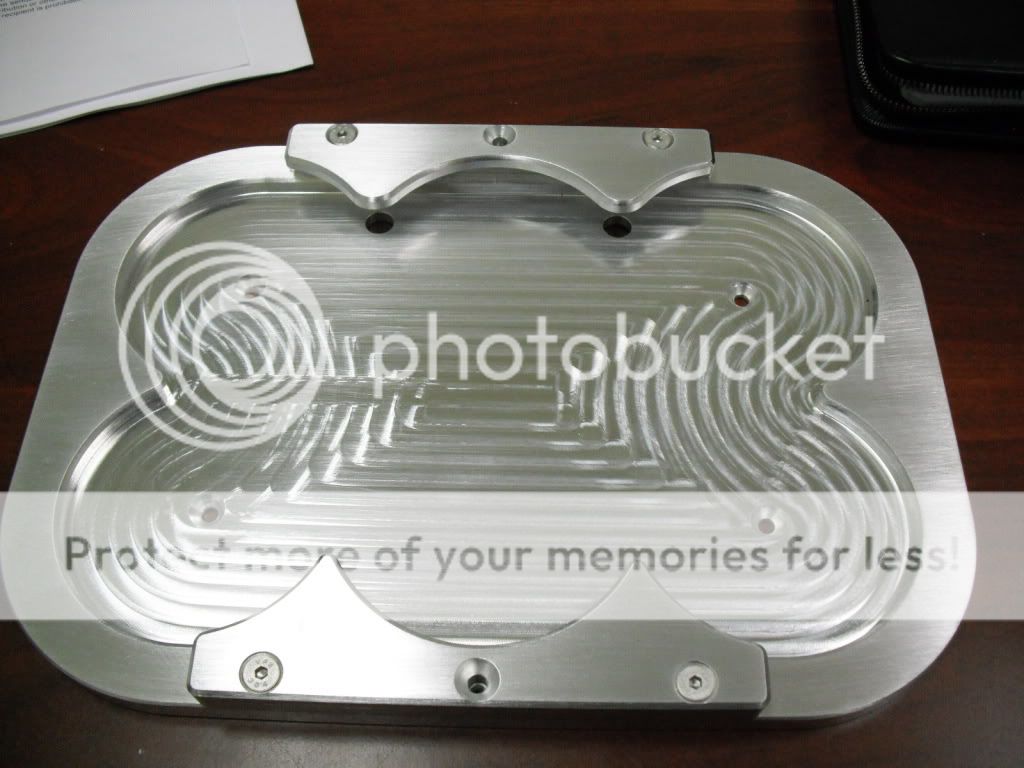
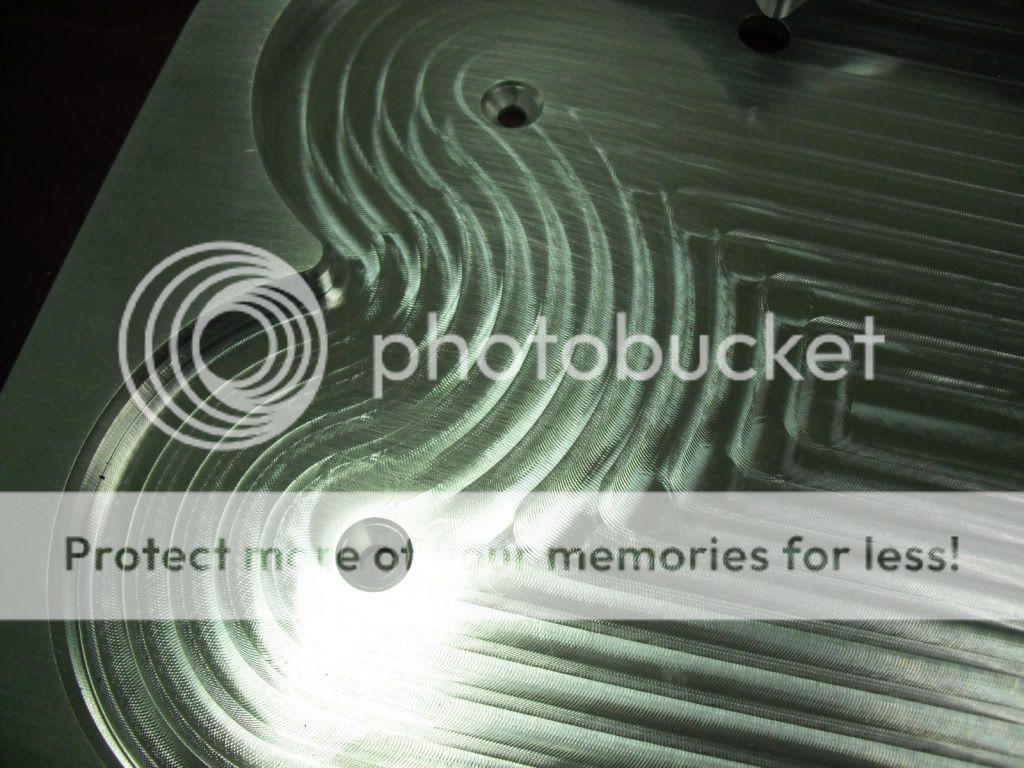
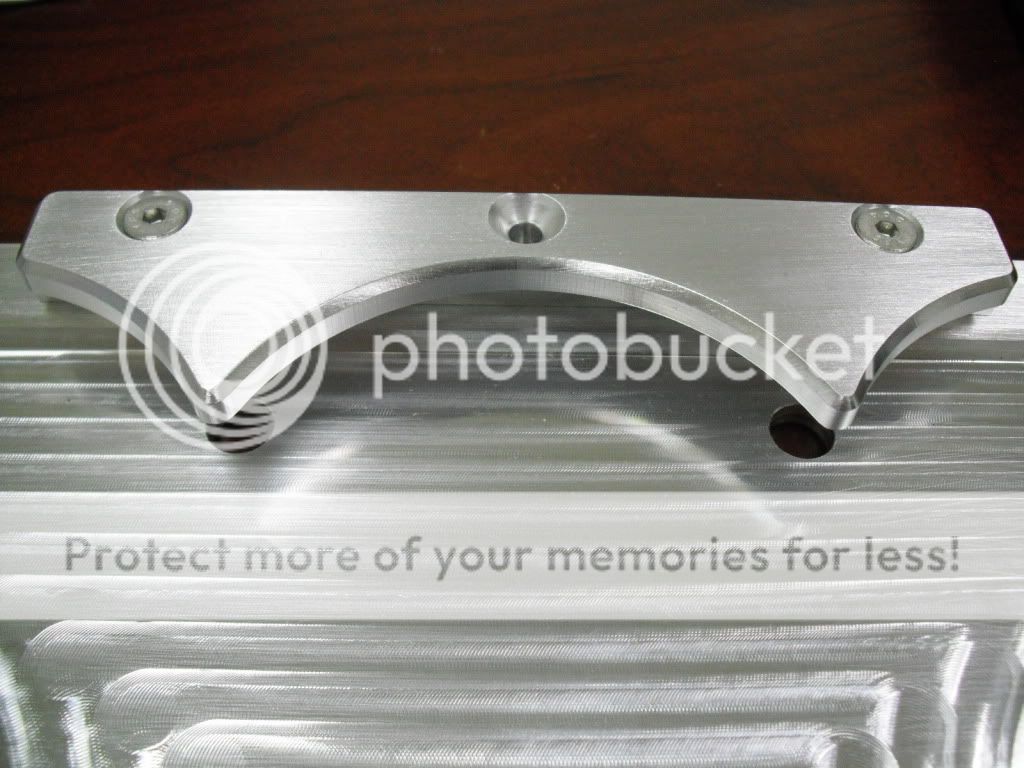
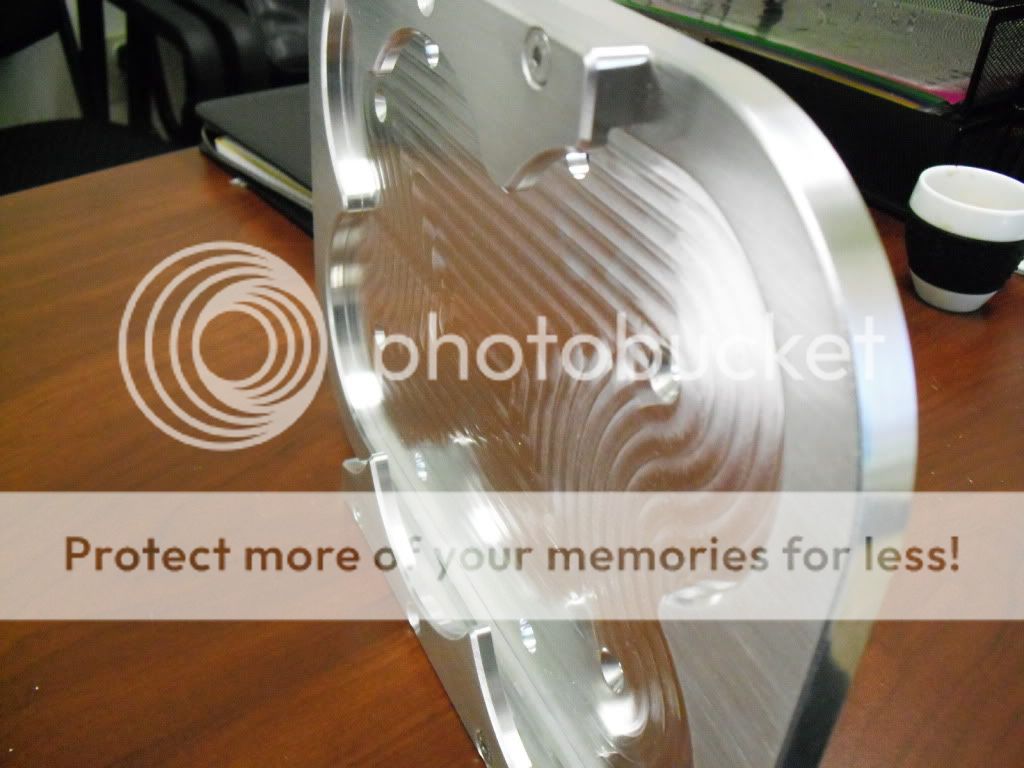
Greddy High Capacity Oil Pan, SR20 RWD
Clean and R/R Oil Ports
Sleeve Install
Bore & Hone w/ Torque Plate -- 90MM
Resize Line Bore
Resurface Block & Oil Pump
Oil Groove Machining, SR20
SR 1/2" Stud Machining, Block
19mm Rod Bearing Machining
Weld Oil Pickup
Assemble Short Block
Timing Chain, SR20
Crank Key
Sprocket, Crank, SR20
Timing Chain Tensioner, SR20
Tensioner Gasket
Timing Chain Guide, Fixed, SR20
Timing Chain Guide, Adjustable, SR20
Bolt, Adjustable Chain Guide
Mazworx SR20 Bolt Kit, Fixed Timing Chain
Guide
Labor Assemble Short Block/Degree Cams

Should be good for 550bhp with this turbo, it's intensionaly a small turbo as I want max response rather than chasing hp figures.

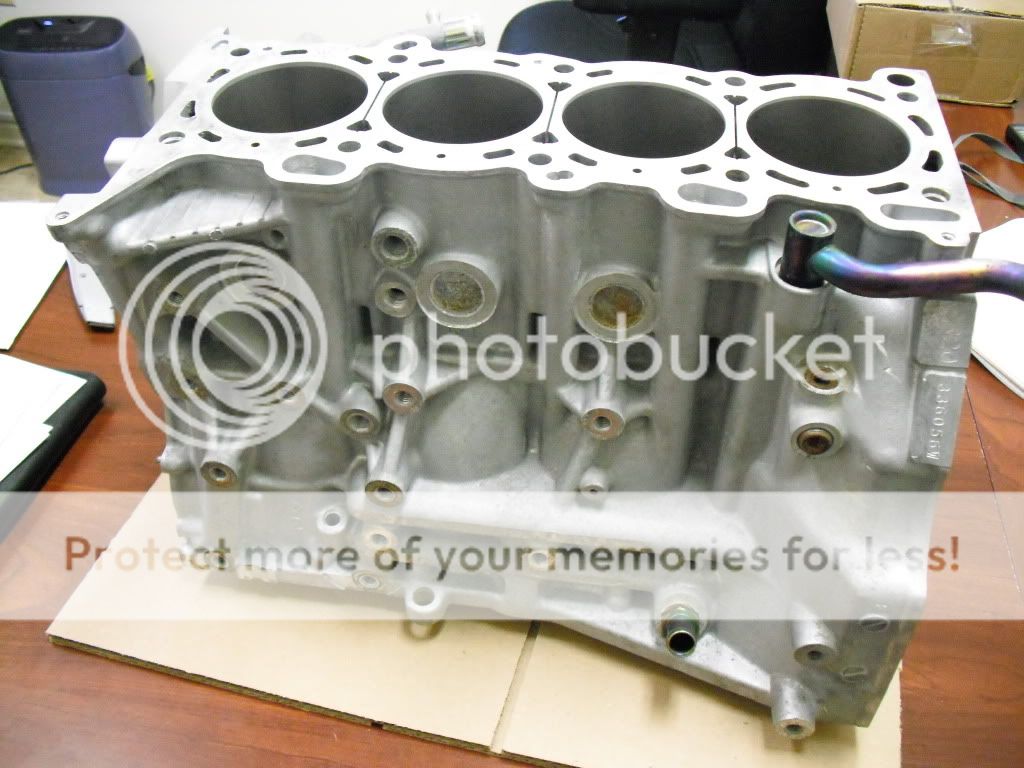
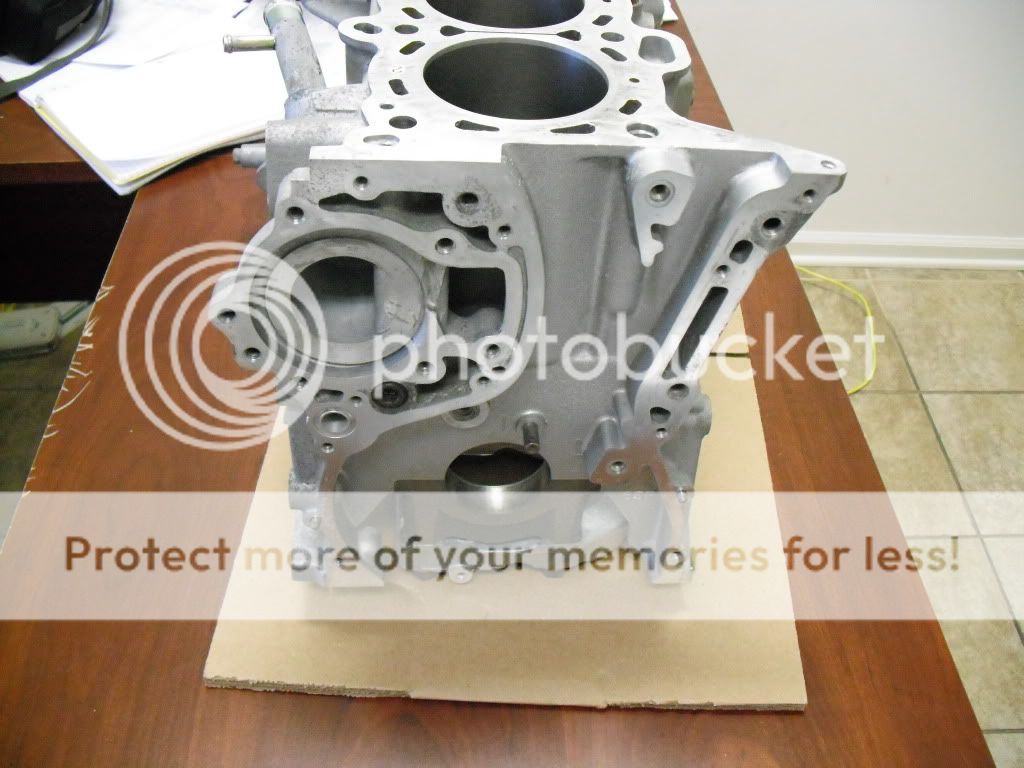
This is what i've got so far: -


Cleaned, bored and honed to 86.5mm (shame it's being machined out)
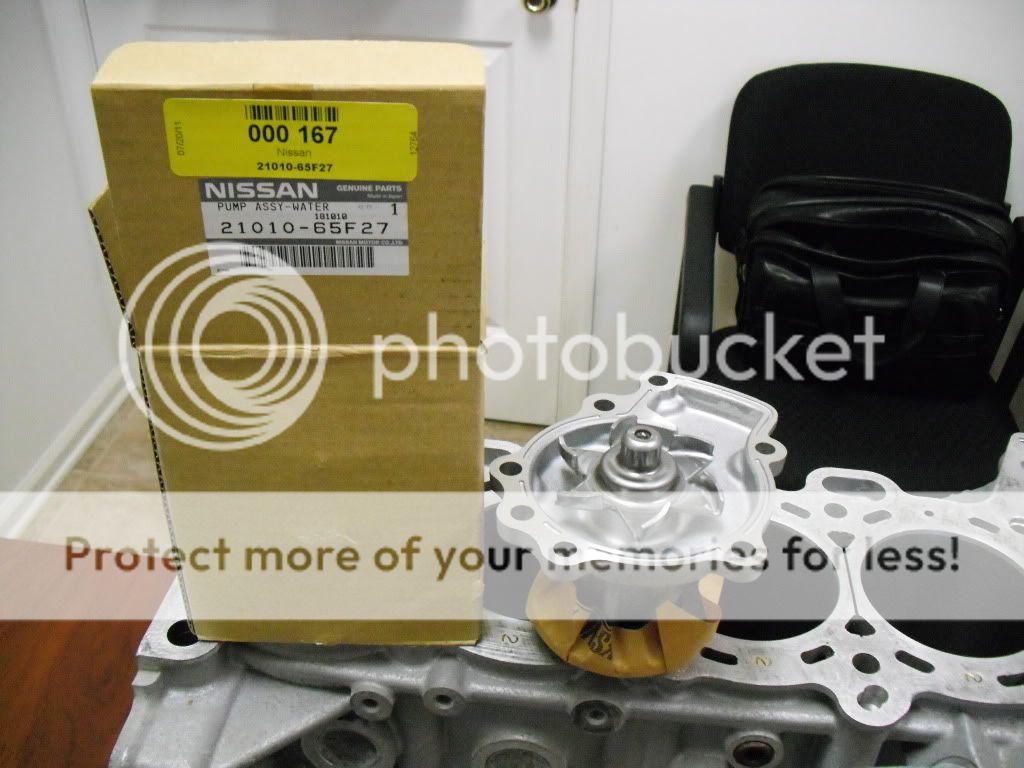
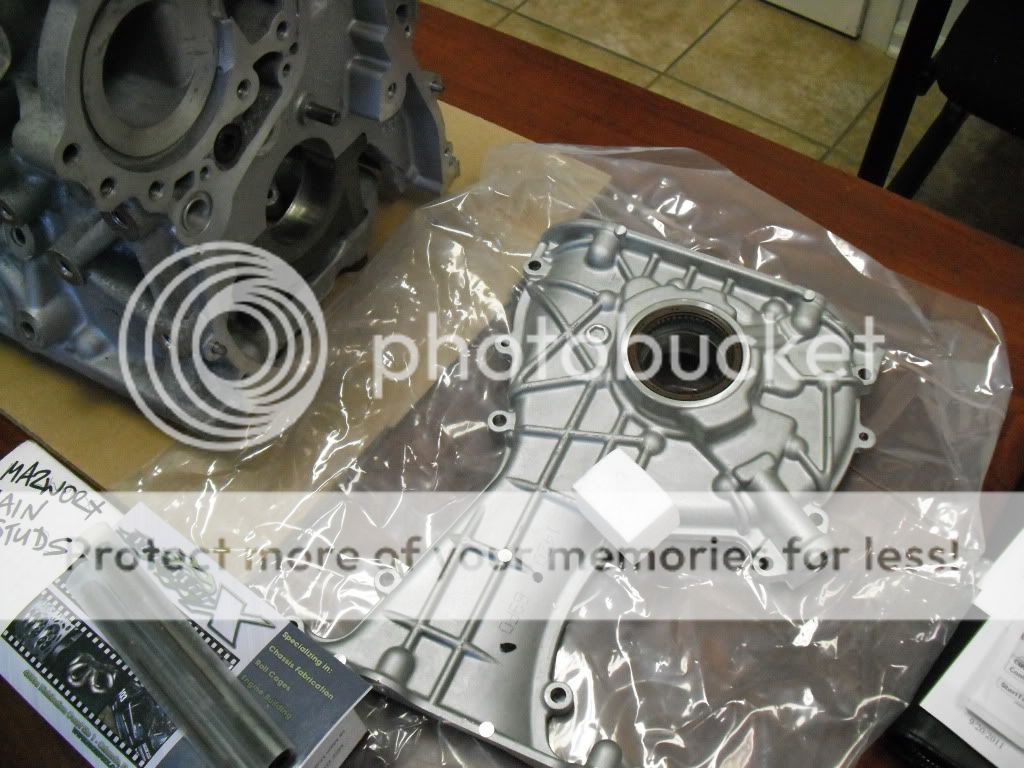


New Water Pump


New front cover/oil pump (can't use this now need a VE version to clear the head)


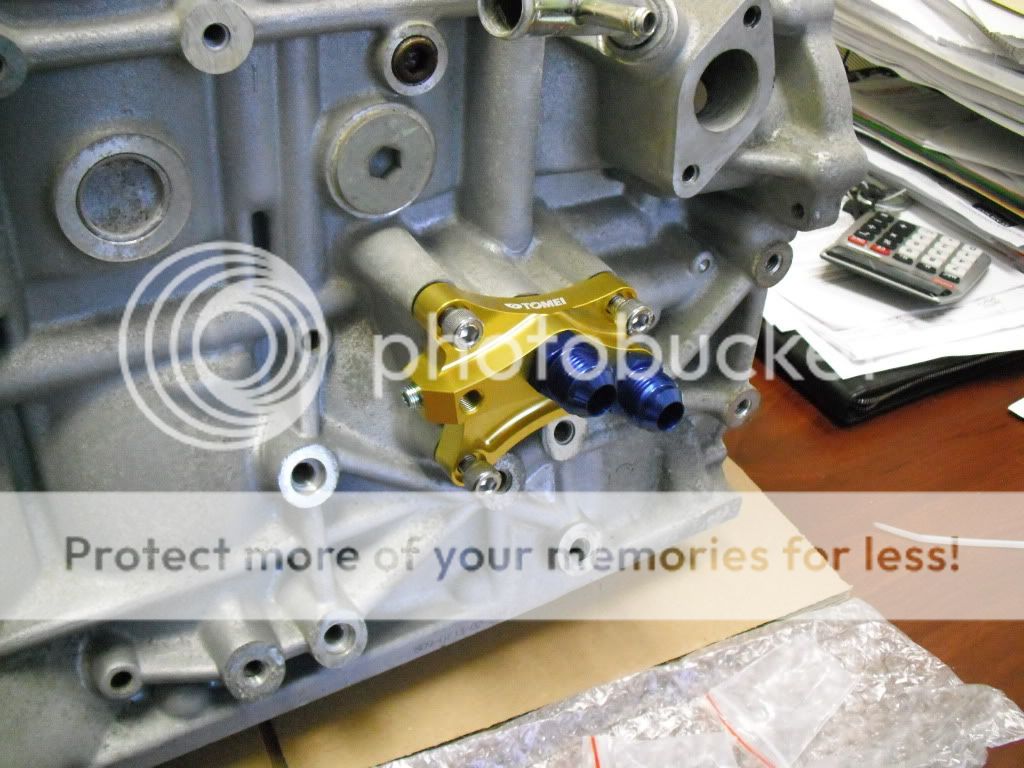
New oil filter relocation adaptor


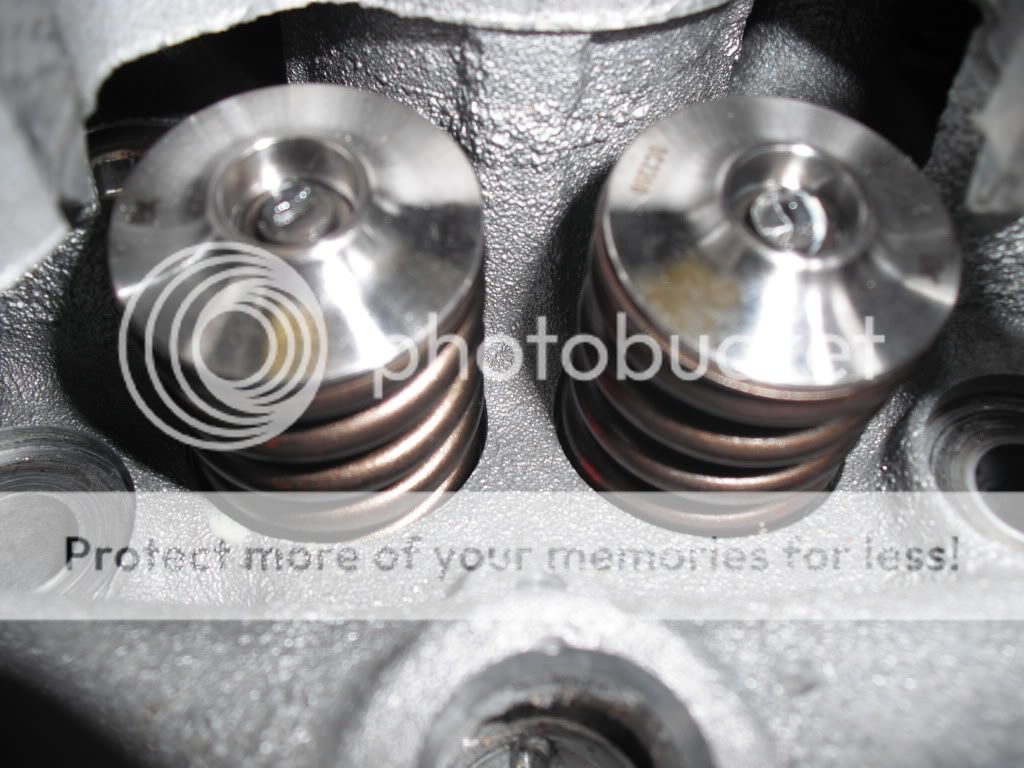
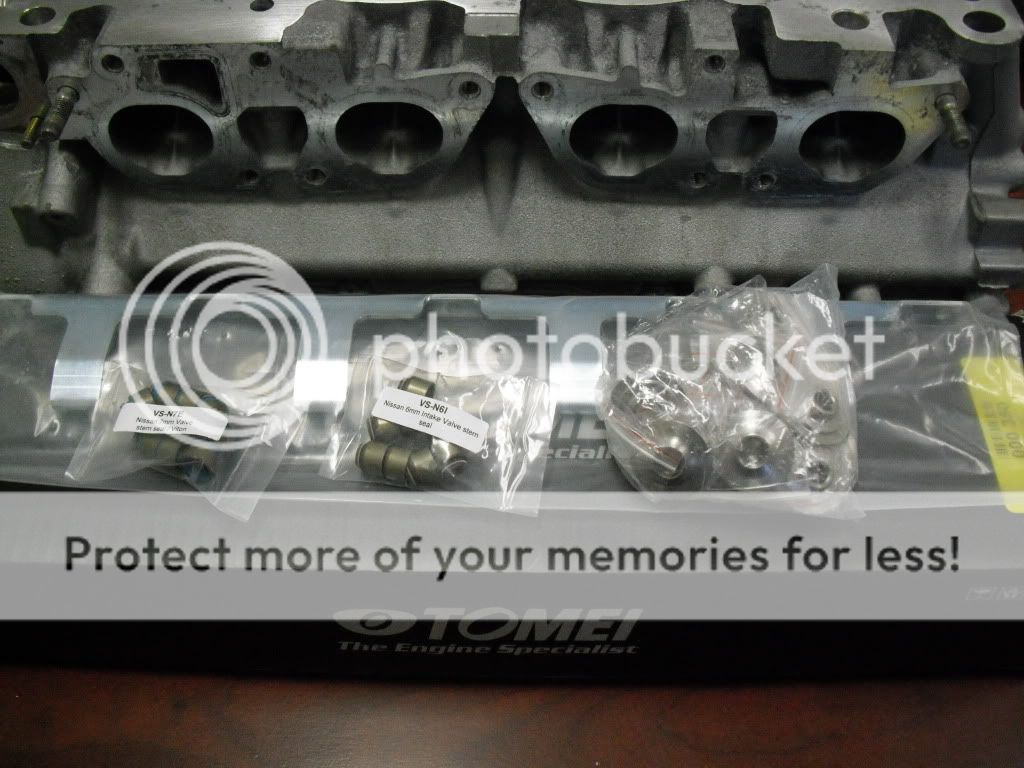
Prepped DET head with new springs and titanium retainers (no good to me now so will be selling)


Main studs


I'll be posting up progress on the build fairly regularly, next on the list to buy: -

Greddy Oil Pan
ATI Pulley

Next to do: -

Refurb my spare S15 alternator and have casing powder coated
Send starter motor (spare) out for polishing


Plus I have a load of brand new in box parts for the old build that i'll be selling.
 
Last edited:
Top